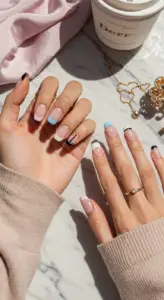
1. Minimalist Nail Art: Embracing Negative Space for 2023 Trends
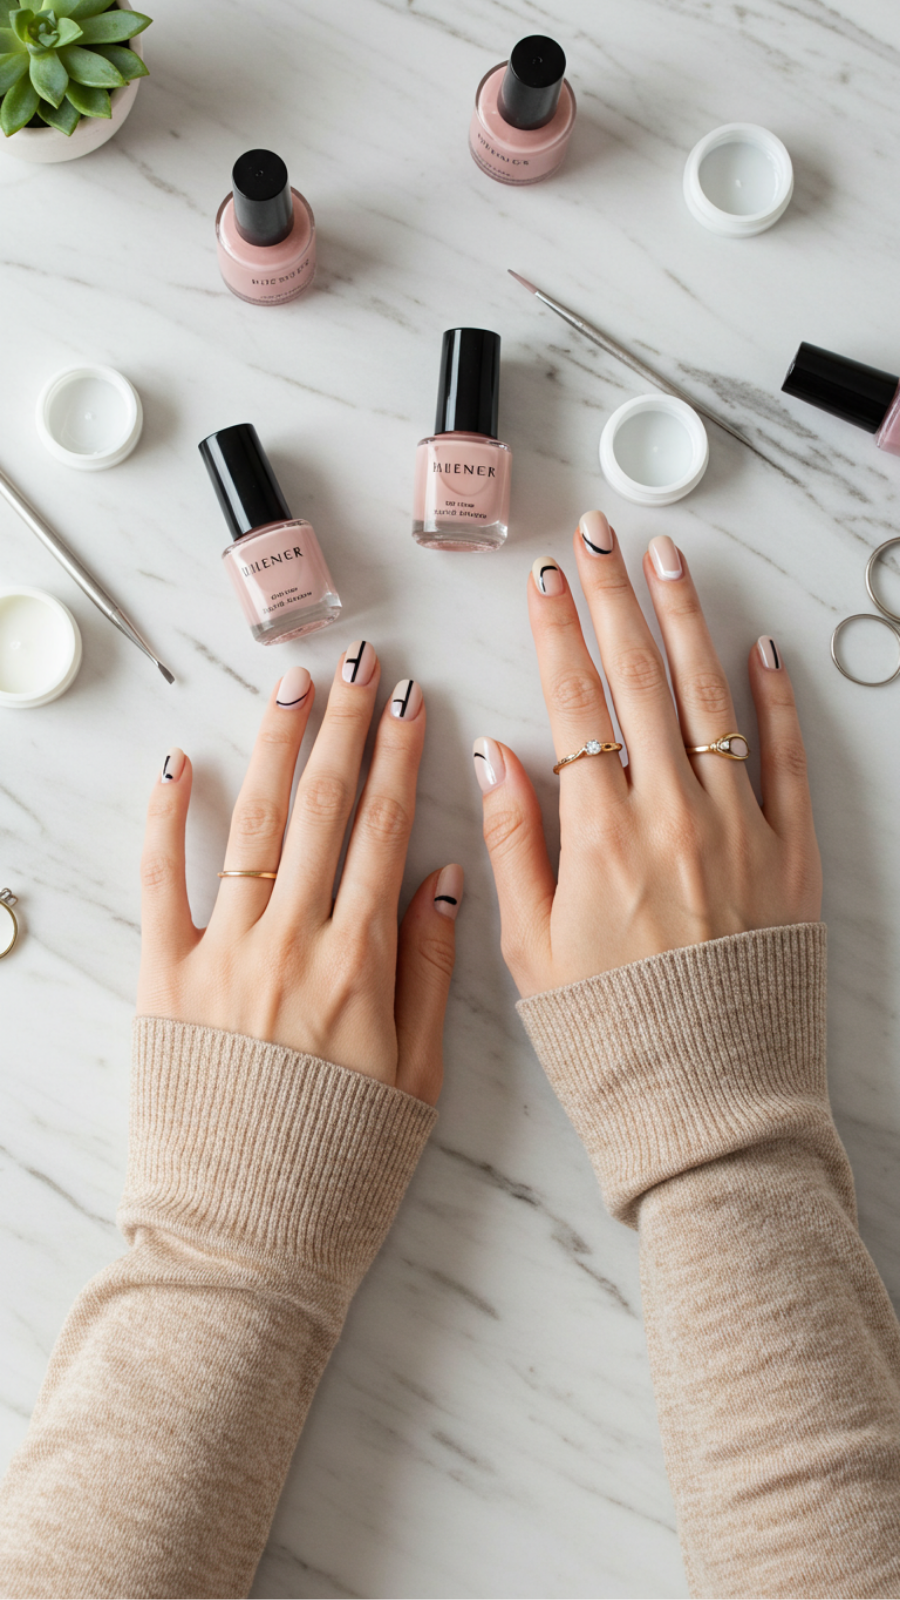
Minimalist Nail Art: Embracing Negative Space for 2023 Trends
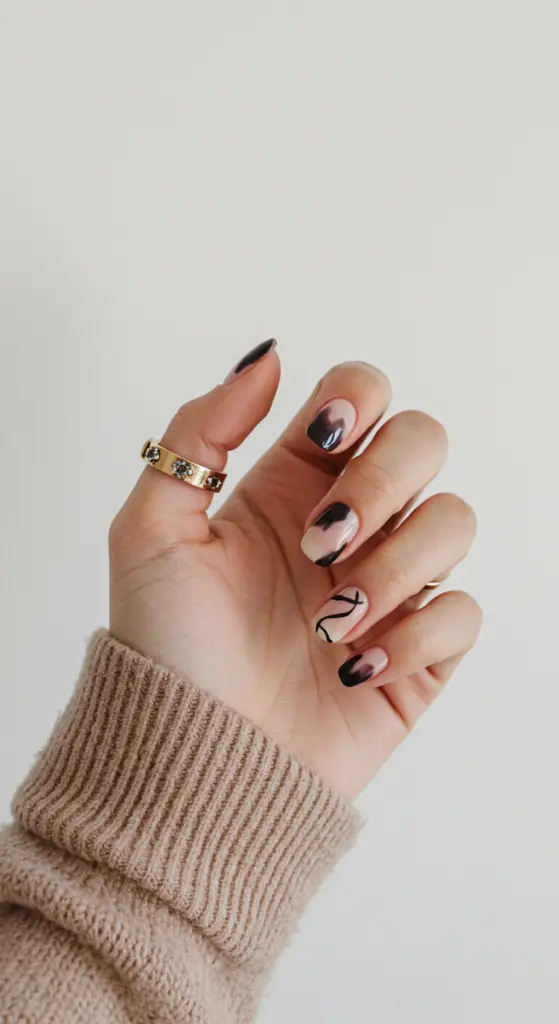
As we dive into 2023, minimalist nail art continues to dominate the beauty scene, with an emphasis on negative space designs. This trendy approach not only enhances the natural beauty of your nails but also offers a chic, understated aesthetic that complements any style.
Understanding Negative Space
Negative space in nail art refers to the deliberate use of unpainted areas, allowing the natural nail color to shine through. This technique creates a clean and modern look, making it popular among those who appreciate simplicity and elegance.
Step-by-Step Guidance
- Choose Your Base Color: Start with a nude or pastel shade that complements your skin tone.
- Create the Design: Use tape or nail art brushes to section off areas for the negative space. Geometric shapes and stripes are particularly trendy this year.
- Apply Polish: Paint over the designated sections with a contrasting color, such as white, black, or metallics.
- Finish with a Top Coat: Seal your design with a glossy top coat to enhance shine and longevity.
Expert Tips and Tricks
- Use high-quality nail tape for clean lines.
- Experiment with matte versus glossy finishes for varied looks.
- Incorporate subtle textures, like a satin finish, for added depth.
Common Mistakes to Avoid
Avoid rushing the design process; allowing each layer to dry can prevent smudging. Additionally, be cautious with color selection—too many contrasting shades can detract from the minimalist aesthetic.
Best Practices
Keep your nails well-groomed and moisturized to enhance the minimalist look. Regular maintenance is key to showcasing your nail art effectively.
By embracing negative space in your nail art, you not only stay on trend but also express your individuality with a sleek and sophisticated style. This year, let your nails reflect the beauty of simplicity.
2. Bold Color Blocks: Capturing the Retro Revival in Nail Designs
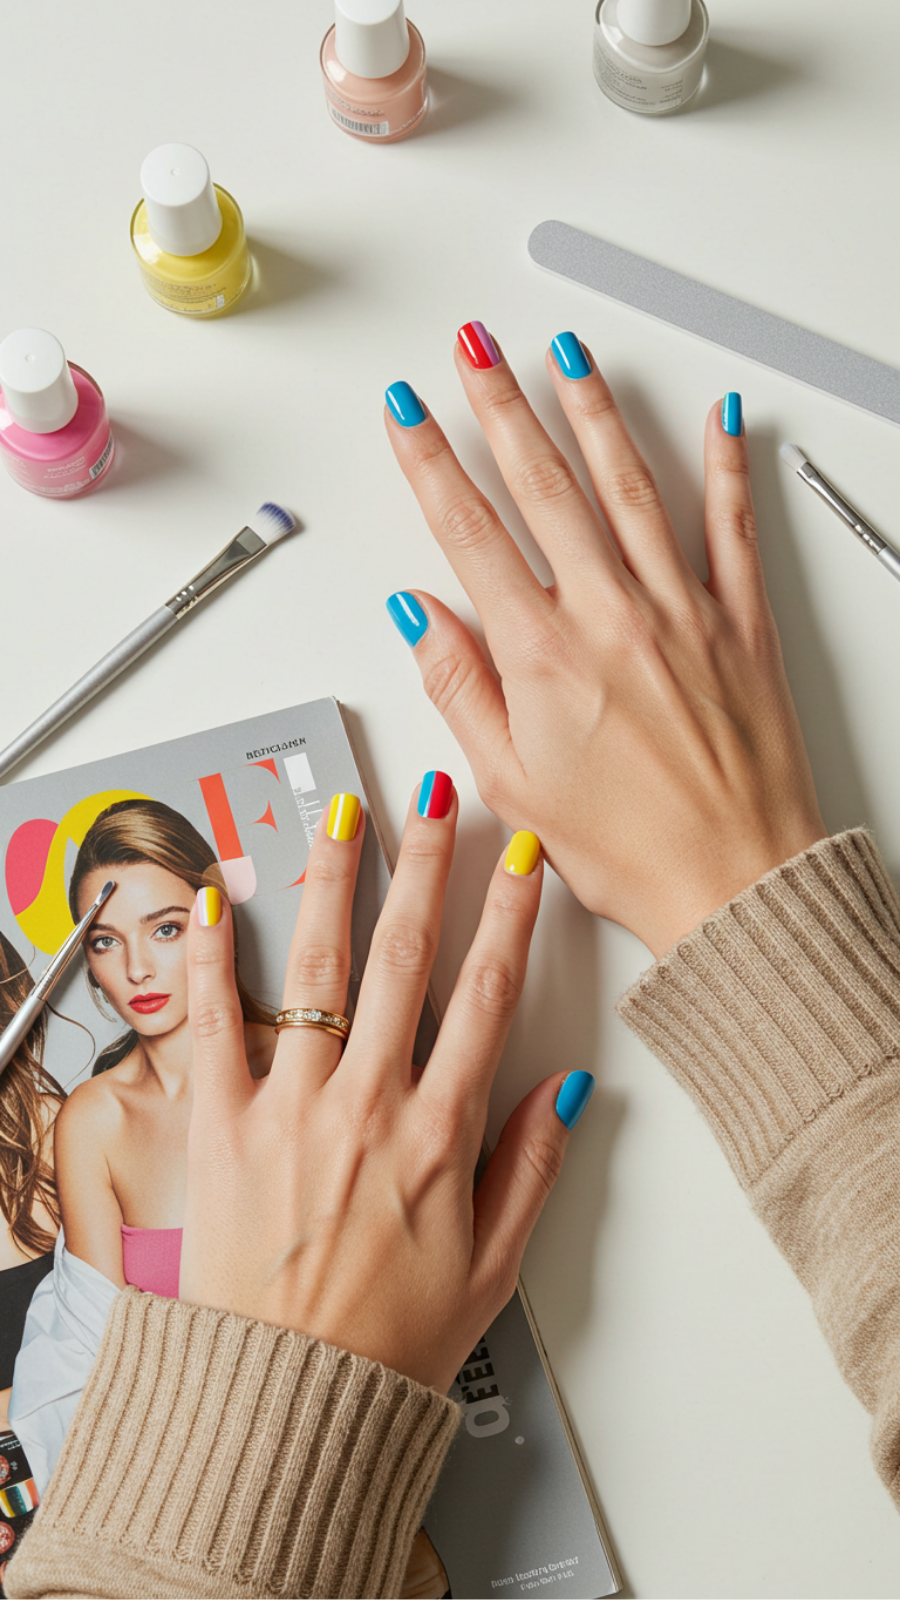
Bold Color Blocks: Capturing the Retro Revival in Nail Designs
Bold color blocks are making a vibrant comeback in the world of nail art, seamlessly blending nostalgia with modern aesthetics. This retro revival is all about embracing bright, contrasting colors that make a statement. Whether you’re prepping for a special event or just want to elevate your everyday look, bold color block nails can express your personality and creativity.
Current Trends in Nail Art
In 2023, the trend of bold color blocks is particularly popular among fashion-forward individuals. Expect to see bright yellows, electric blues, and vivid pinks paired together in geometric patterns. Color blocking not only enhances the visual appeal but also allows for endless customization. For instance, you can choose a classic square shape or experiment with almond or stiletto tips to showcase your design further.
Step-by-Step Guidance to Achieve Bold Color Blocks
- Prep Your Nails: Start by removing old polish and shaping your nails. Clean and buff the surface for a smooth finish.
- Base Coat: Apply a high-quality base coat to protect your nails and ensure the longevity of your design.
- Select Colors: Choose at least three complementary colors. For a retro vibe, consider using primary colors.
- Block Your Colors: Using nail tape, create geometric shapes on your nails. Apply the first color and let it dry completely before removing the tape.
- Finish Up: Repeat the taping process with the other colors. Seal your design with a top coat for shine and protection.
Expert Tips and Common Mistakes to Avoid
- Tip: Use a fast-drying top coat to speed up your process and avoid smudging.
- Mistake: Skipping the base coat can lead to staining and uneven application.
- Tip: Experiment with different shapes and sizes to find what best suits your style.
- Mistake: Not allowing each layer to dry fully can cause colors to bleed into one another.
By following these expert tips and embracing the bold color block trend, you can effortlessly achieve a stunning nail design that pays homage to retro styles while staying fresh and modern. Remember, the key to beautiful nails is not just in the colors you choose but also in the application technique. Happy painting!
3. Floral Nail Art: Trending Botanical Patterns for Spring/Summer 2023
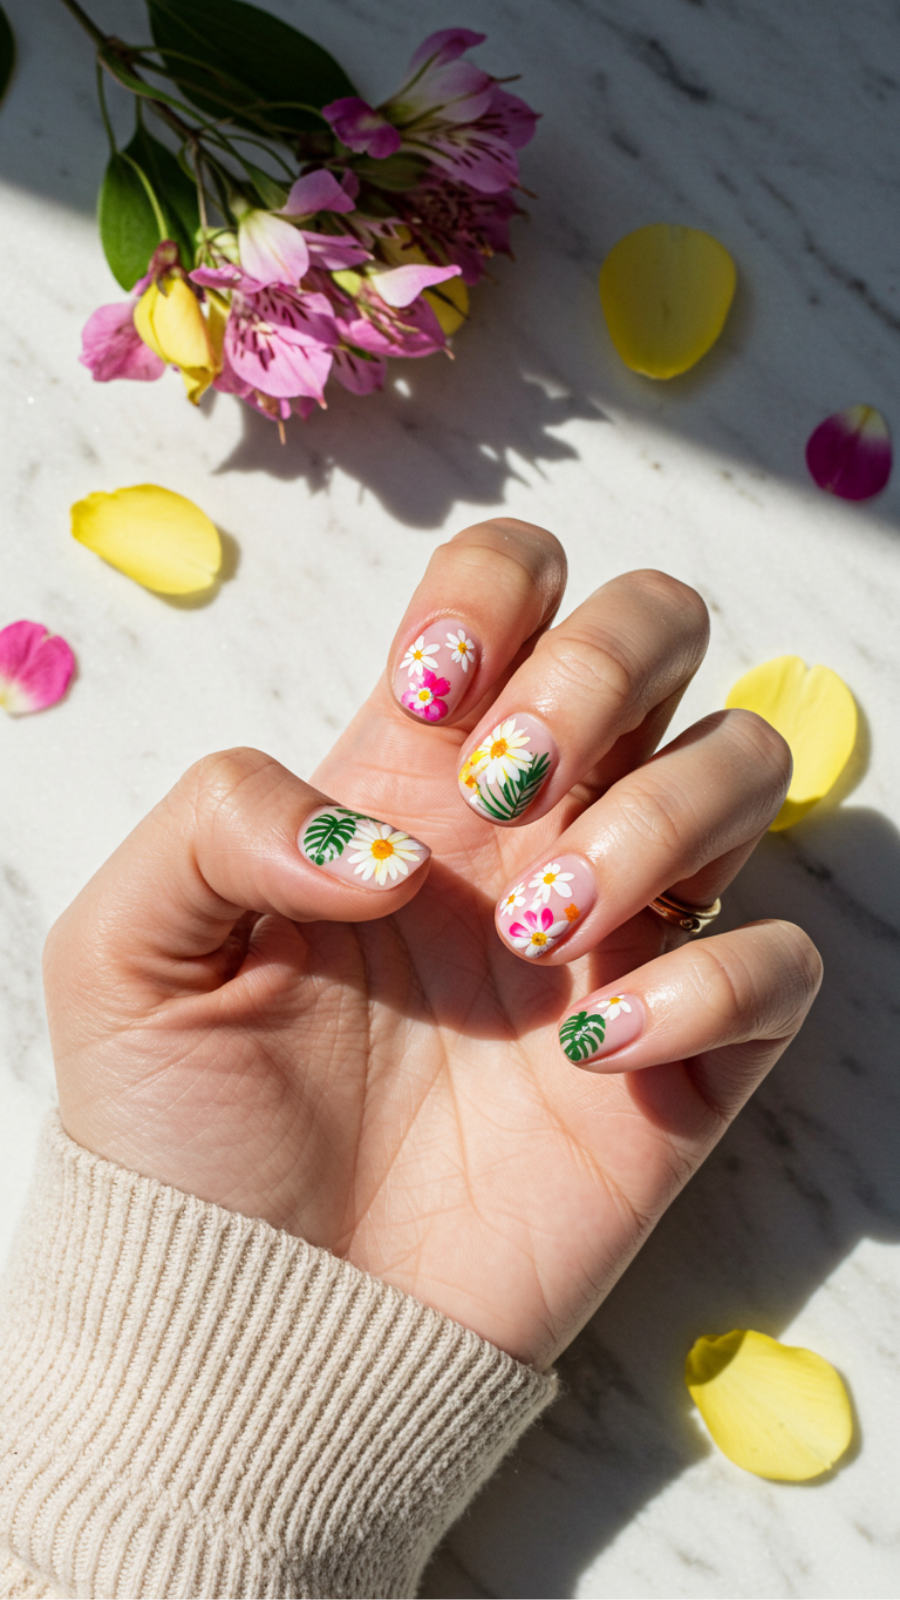
Floral Nail Art: Trending Botanical Patterns for Spring/Summer 2023
As we embrace the vibrant seasons of spring and summer 2023, floral nail art is taking center stage in the beauty world. This trend captures the essence of nature with stunning botanical patterns that breathe life into your manicure. Here’s everything you need to know about creating eye-catching floral designs.
Current Trends in Floral Nail Art
This spring, expect to see a variety of botanical patterns, from delicate daisies to bold roses. Key trends include:
- Pastel color palettes for a soft, romantic look.
- 3D floral embellishments for added texture.
- Negative space designs that juxtapose floral patterns with clear polish.
Step-by-Step Guide to Creating Floral Nail Art
- Prep Your Nails: Start with clean, shaped nails. Apply a base coat to protect your nails.
- Select Your Colors: Choose a palette that aligns with the season—think soft pinks, yellows, and greens.
- Design Your Flowers: Use a fine brush or dotting tool to create floral patterns. Start with the petals and then add details like centers and leaves.
- Seal the Design: Once your artwork is dry, finish with a top coat to ensure longevity and shine.
Expert Tips and Tricks
To achieve the best results, consider these expert tips:
- Practice your designs on a nail wheel before applying them to your nails.
- Use a quick-dry top coat to avoid smudging your artwork.
- Experiment with layering colors for depth and dimension.
Avoid Common Mistakes
While floral nail art can be fun, it’s essential to avoid common pitfalls:
- Don’t rush the drying process; smudging can ruin your design.
- Avoid overcrowding your nails with too many elements.
- Ensure your tools are clean to prevent unwanted blending of colors.
Incorporating floral nail art into your beauty routine is a fantastic way to celebrate the seasons. With these tips and step-by-step guidance, you’ll create stunning botanical patterns that are sure to turn heads this spring and summer!
4. Metallic Accents: How to Incorporate Shine into Everyday Nail Art
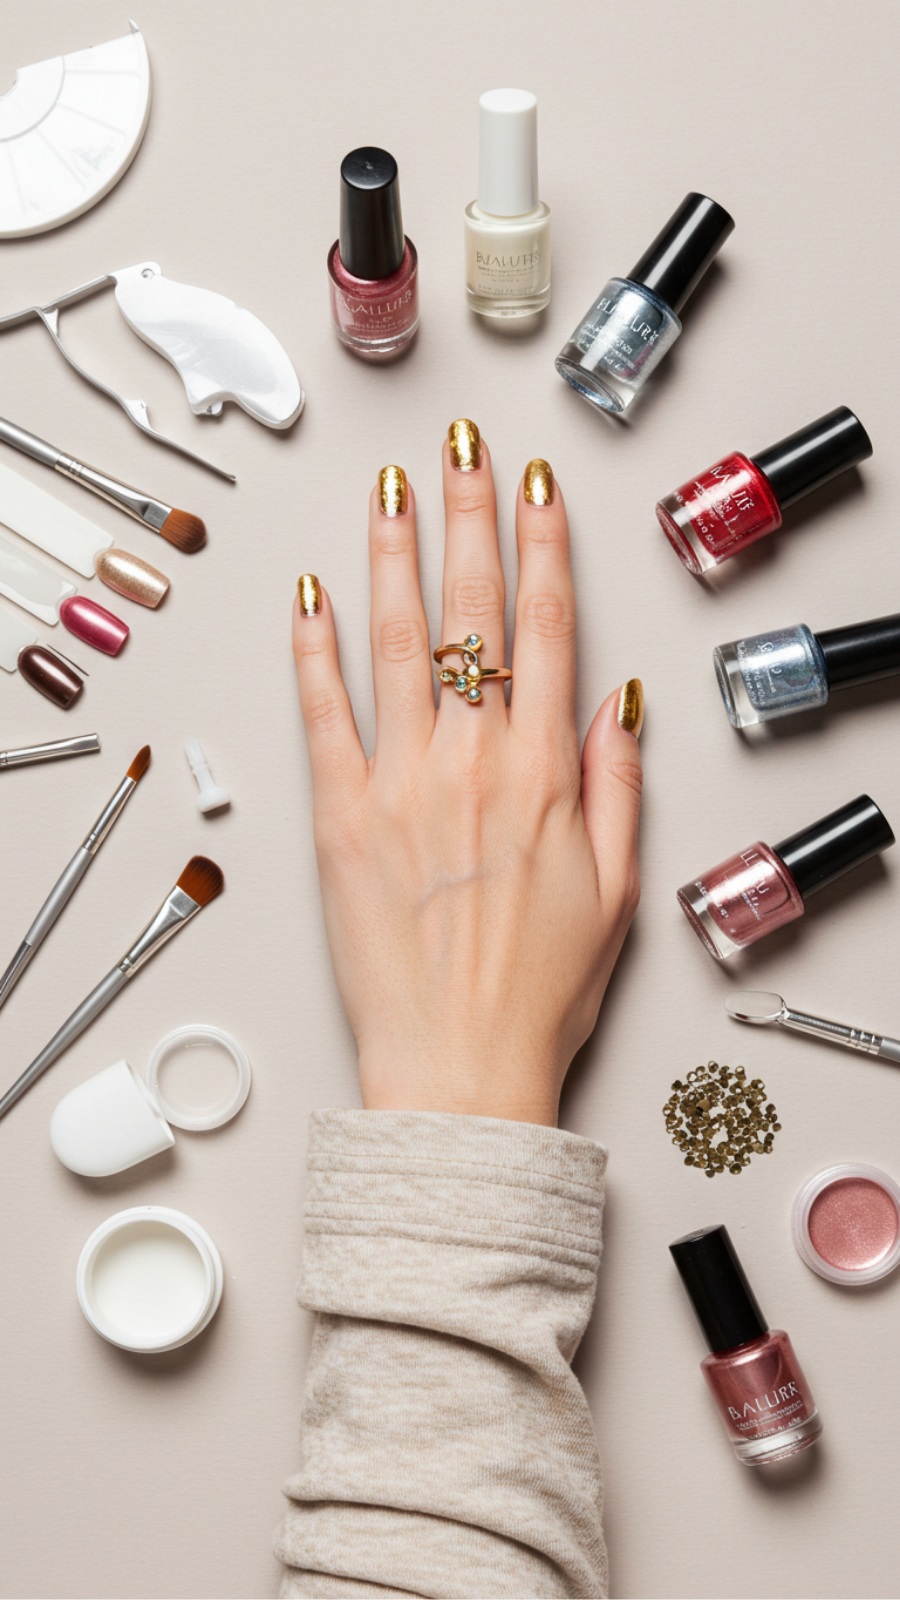
Metallic Accents: How to Incorporate Shine into Everyday Nail Art
Incorporating metallic accents into your everyday nail art can elevate your manicure from ordinary to extraordinary. This trend not only adds a touch of glamour but also allows for versatile expression, making it suitable for both casual outings and formal events.
Step-by-Step Guide to Metallic Nail Art
- Choose Your Base Color: Start with a solid base color that complements metallic shades. Popular choices include deep navy, classic black, or soft pastels.
- Apply a Metallic Top Coat: Use a metallic top coat or polish to create a shiny finish. Gold, silver, or rose gold are trending options.
- Add Design Elements: Incorporate metallic accents through nail tape, foil, or stamping techniques. For instance, use nail tape to create geometric patterns and fill them with metallic polish.
Expert Tips and Tricks
- Layer Wisely: Ensure each layer dries completely before applying the next to prevent smudging.
- Mix Textures: Combine matte and metallic finishes for a modern look. For example, pair a matte base with metallic tips.
- Keep It Simple: If you’re new to nail art, start with minimalistic designs, like simple stripes or dots, to avoid overwhelming your look.
Avoid Common Mistakes
Many enthusiasts overlook the importance of nail prep. Always file and buff your nails for a smooth application. Additionally, avoid using too much product, which can lead to clumping and uneven finishes.
Best Practices for Lasting Results
To maintain your metallic nail art, apply a quality top coat every few days. This will not only enhance shine but also prolong the life of your manicure. Remember to use a non-acetone remover when it’s time to take it off, as this is gentler on your nails.
Incorporating shine into everyday nail art is all about creativity and confidence. With these tips, you can master the art of metallic accents and showcase your unique style effortlessly.
5. Abstract Geometric Designs: Modern Nail Art Inspired by Fashion Runways
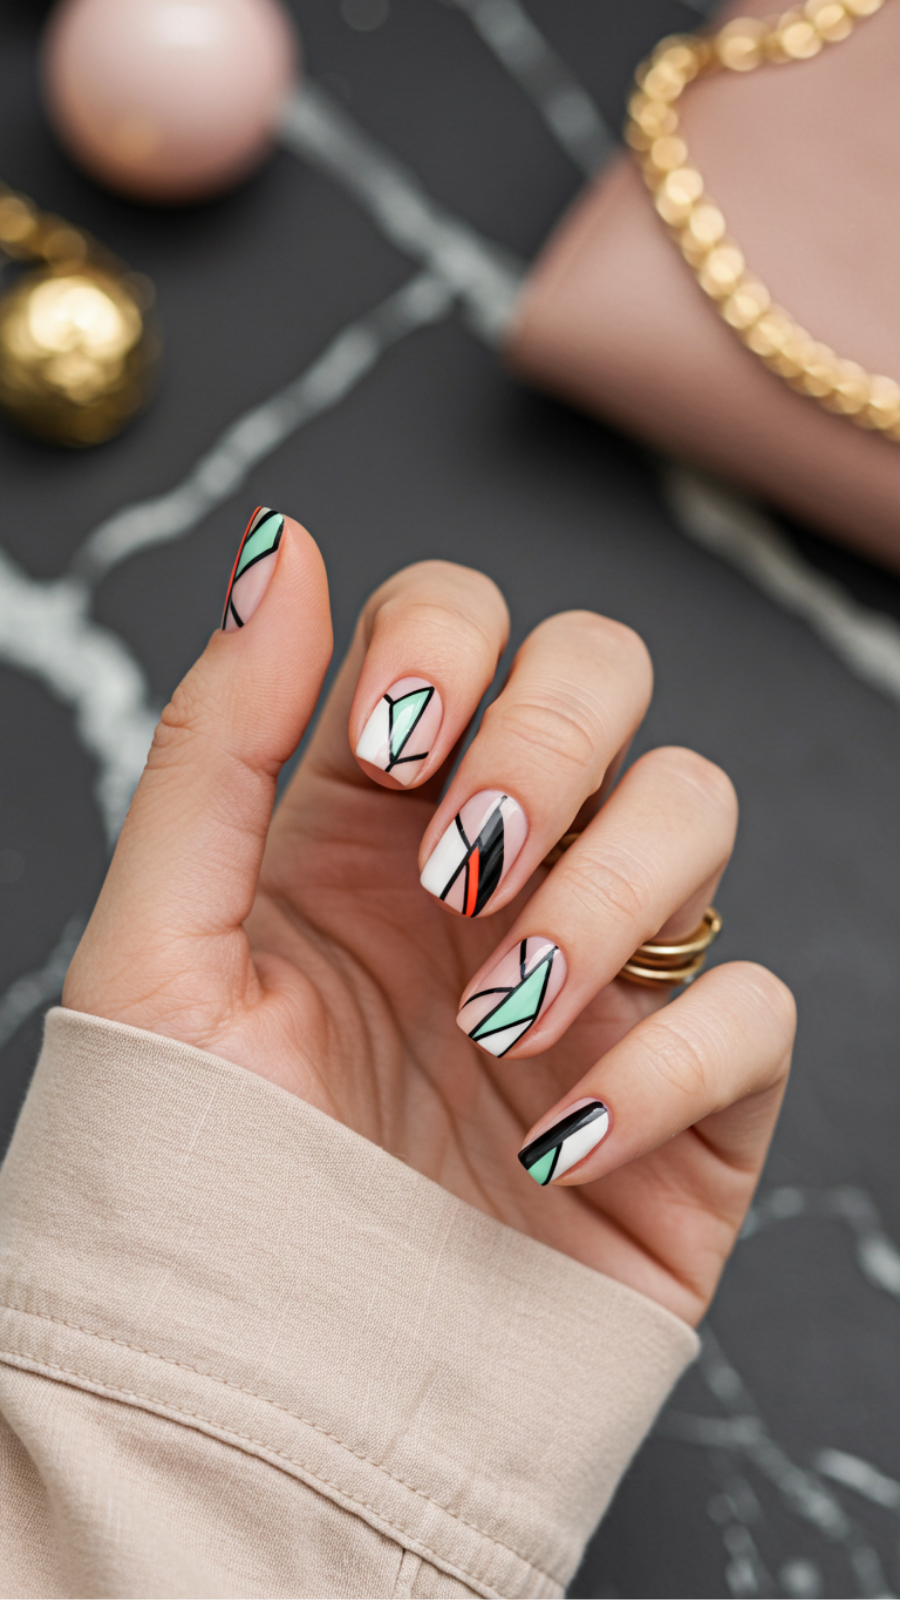
Abstract Geometric Designs: Modern Nail Art Inspired by Fashion Runways
Abstract geometric designs are taking the nail art world by storm, drawing inspiration from the latest fashion runways. This modern aesthetic combines shapes, lines, and colors to create stunning nail art that makes a bold statement. Whether you’re preparing for a special occasion or simply want to elevate your everyday look, mastering this trend is essential.
Current Trends in Nail Art & Beauty
Fashion designers are showcasing geometric patterns in their collections, leading to a surge in popularity for abstract nail art. Expect to see a mix of sharp angles, bold colors, and negative space techniques. These designs not only reflect personal style but also align with the minimalist and maximalist trends currently dominating the beauty scene.
Step-by-Step Guidance for Creating Abstract Geometric Nails
- Preparation: Start with clean, trimmed nails. Apply a base coat to protect your natural nails.
- Base Color: Choose a neutral or pastel base color to make the geometric designs pop.
- Design Creation: Use nail striping tape to outline geometric shapes. Fill in the sections with contrasting colors using a fine nail brush or dotting tool.
- Top Coat: Seal your design with a top coat for shine and longevity.
Expert Tips and Tricks
- Use high-quality nail polishes for vibrant colors.
- Experiment with matte and glossy finishes for added dimension.
- Practice your designs on paper before applying them to your nails.
Common Mistakes to Avoid
To achieve a professional look, avoid the following:
- Skipping the base coat, which can lead to staining.
- Overloading the brush with polish, causing uneven application.
- Neglecting to clean up edges, which detracts from the overall design.
Best Practices for Stunning Geometric Nail Art
Consistency is key! Ensure your lines are clean and your colors are well-blended. With practice, you’ll be able to create intricate designs that reflect the latest trends in nail art and fashion. Embrace your creativity and let your nails be a canvas for your unique style!
6. Pastel Ombré Techniques: Soft Hues for the Perfect Spring Look
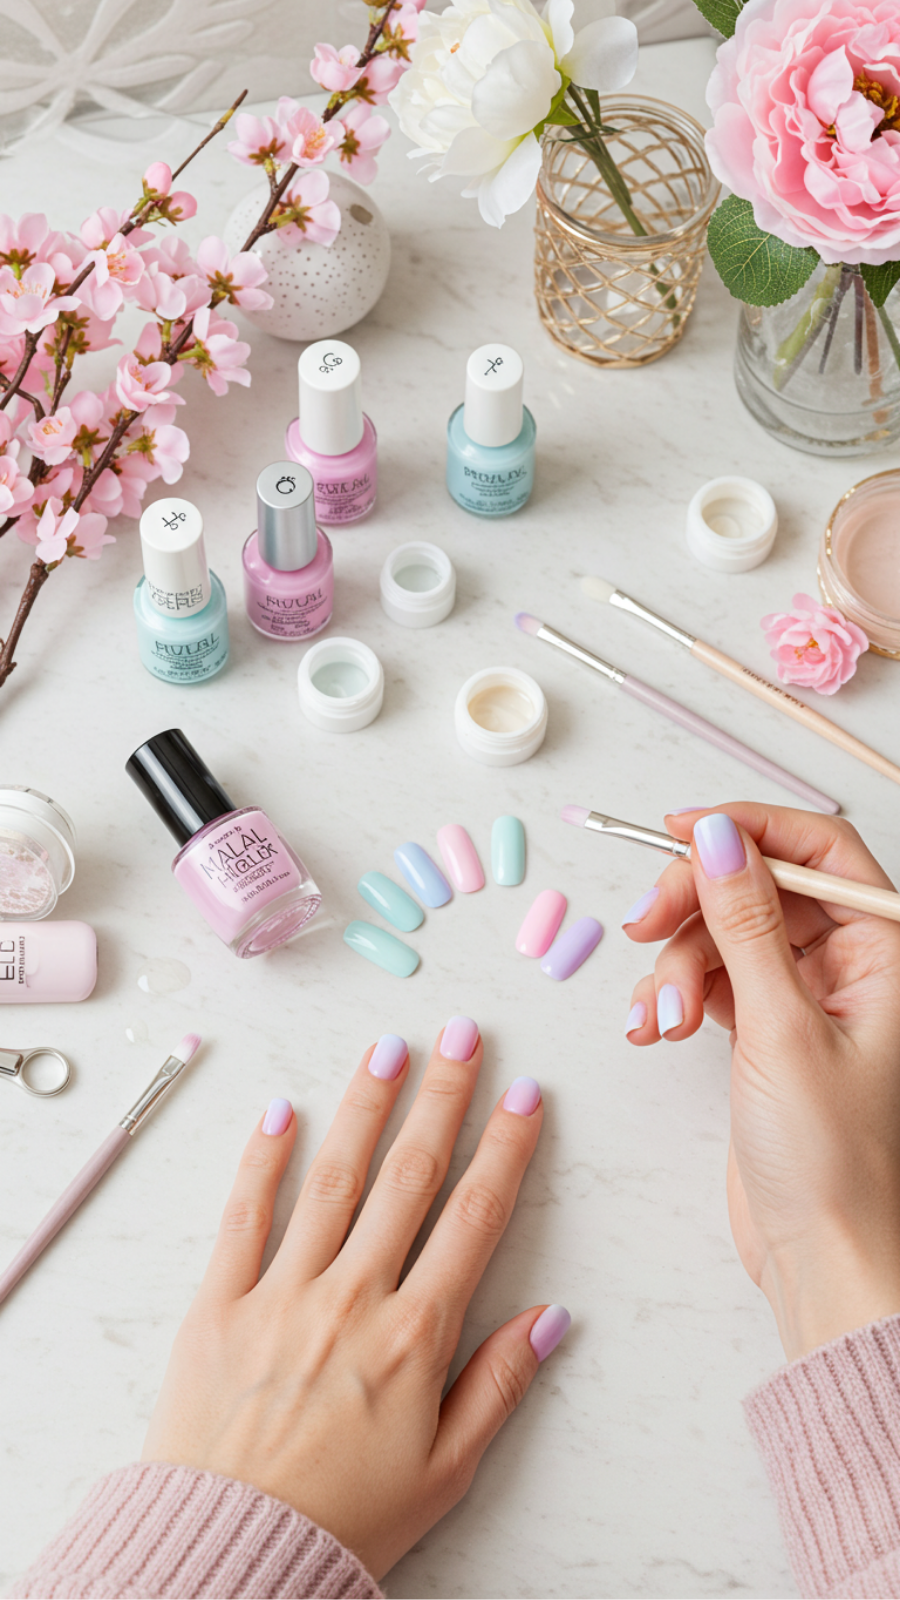
Pastel Ombré Techniques: Soft Hues for the Perfect Spring Look
As spring approaches, the desire for lighter, softer nail art intensifies. Pastel ombré techniques are the perfect way to embrace the season’s whimsy while showcasing your creativity. This guide will explore expert tips to achieve stunning pastel ombré nails, ensuring you stand out in any setting.
Step-by-Step Guide to Creating Pastel Ombré Nails
- Gather Your Supplies: You will need pastel nail polishes in complementary shades, a makeup sponge, a base coat, and a top coat.
- Prepare Your Nails: Start with clean, shaped nails. Apply a base coat to protect your nails from staining and to promote adhesion.
- Apply the Base Color: Choose a light pastel shade as your base color. Apply two coats for an even finish and let it dry completely.
- Create the Ombré Effect: On a makeup sponge, apply stripes of two or three pastel colors. Dab the sponge onto the nail, using a gentle motion to blend the colors. Repeat until you achieve your desired gradient.
- Seal the Look: Once dry, apply a top coat to smooth out the texture and enhance the glossy finish.
Expert Tips and Common Mistakes to Avoid
- Tip: Use a latex barrier around your cuticles to prevent polish from staining your skin.
- Common Mistake: Applying too much polish on the sponge can lead to uneven blending; less is more!
- Best Practice: Experiment with different color combinations to find your perfect pastel palette.
Pastel ombré nails are not just a trend; they are a soft, elegant way to celebrate spring. Incorporate these techniques into your nail art repertoire for a fresh and vibrant look that is both approachable and chic.
7. Animal Print Nail Art: Chic and Wild Designs for the Fashion-Forward
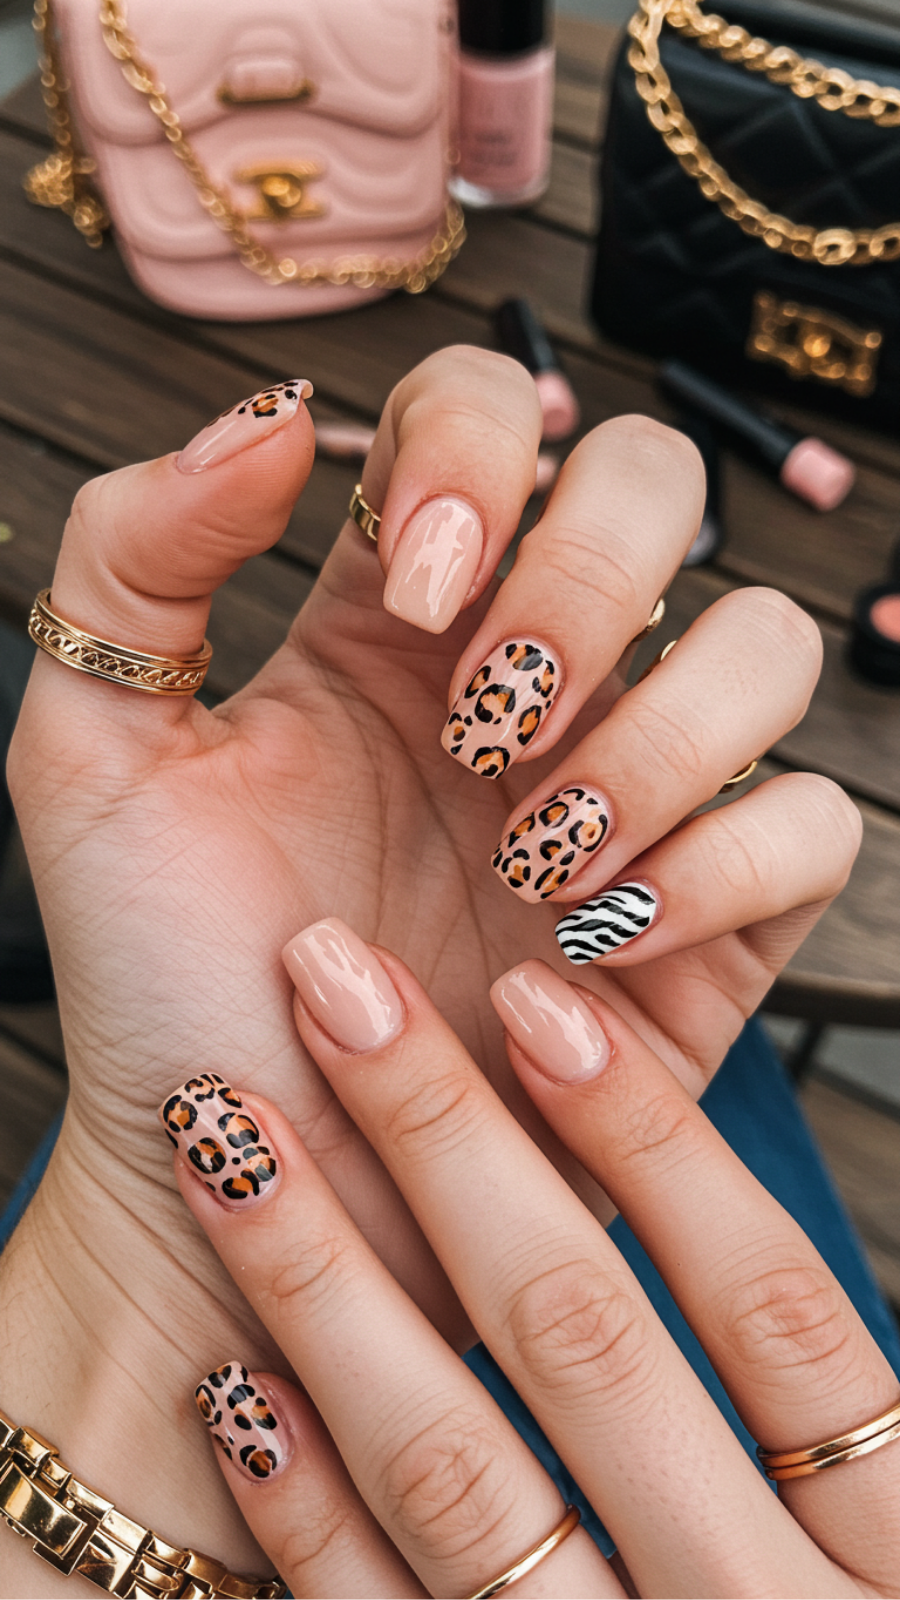
Animal Print Nail Art: Chic and Wild Designs for the Fashion-Forward
Animal print nail art has surged in popularity, making it a must-have trend for the fashion-forward individual. These bold designs can add a touch of wild sophistication to any look. Whether you’re a fan of leopard, zebra, or snake patterns, there’s a unique way to incorporate these chic designs into your nail art routine.
Current Trends in Animal Print Nail Art
The latest trends include a mix of classic prints with modern twists. Think pastel animal prints or metallic accents that elevate a traditional design. For a truly unique look, try combining different animal patterns on each nail or incorporating negative space to create an edgy effect.
Step-by-Step Guidance for Stunning Animal Prints
- Prep Your Nails: Start with clean, filed, and buffed nails. Apply a base coat to protect your natural nails.
- Choose Your Base Color: Select a neutral or bold base color; whites and nudes often work well for animal prints.
- Create the Print: Using a fine nail brush or dotting tool, carefully create your animal print. For leopard spots, use a dark brown or black, and for zebra stripes, a crisp black on white.
- Seal the Design: Finish with a top coat to add shine and longevity to your nail art.
Expert Tips and Tricks
- Practice your technique on a nail wheel before applying to your nails.
- Use thin brushes for detailed work to avoid smudging.
- Experiment with accent nails to keep your design chic without overwhelming your look.
Avoid Common Mistakes
One common mistake is not allowing each layer of polish to dry completely before proceeding. This can lead to smudging and a messy finish. Additionally, avoid overloading your brush with polish; a little goes a long way!
Best Practices for Long-Lasting Nail Art
To ensure your animal print nail art lasts, always use a high-quality top coat. Regularly moisturize your cuticles and nails to prevent breakage and maintain a polished appearance. With these tips and tricks, you can embrace your wild side while keeping your nails chic!
8. Textured Nails: Elevating Your Look with 3D Nail Art Techniques
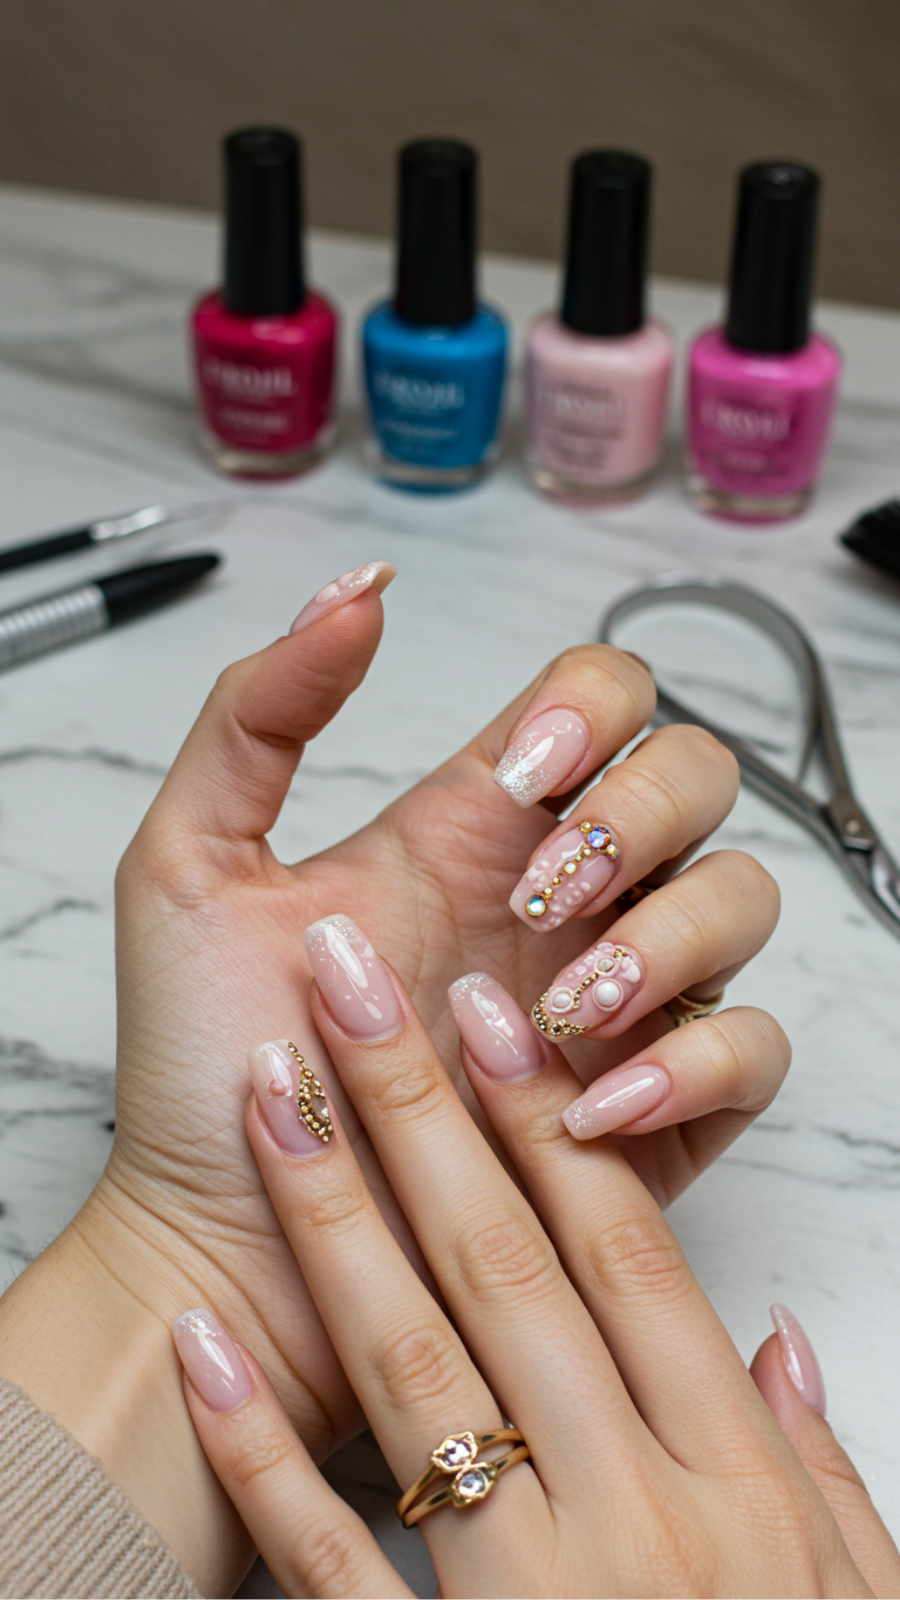
Textured Nails: Elevating Your Look with 3D Nail Art Techniques
Textured nails are taking the beauty world by storm, and for good reason. By incorporating 3D nail art techniques, you can transform a basic manicure into a stunning statement. This guide will walk you through the current trends, expert tips, and best practices to achieve eye-catching textured nails.
Current Trends in Textured Nails
From geometric shapes to floral designs, 3D nail art is all about creativity. Popular textures include:
- Foil accents for a metallic finish
- Matte and glossy contrasts
- Beaded or caviar effects
These elements not only add dimension but also elevate your overall look.
Step-by-Step Guidance for Textured Nails
- Choose Your Base Color: Start with a solid color that complements your design.
- Apply a Base Coat: This protects your nails and extends the wear of your manicure.
- Add Texture: Use nail art supplies like beads, glitter, or gels to create desired effects. For example, apply a layer of gel polish and sprinkle beads while it’s still tacky.
- Seal with Top Coat: Finish with a top coat to lock in your design and add shine.
Expert Tips and Common Mistakes
To achieve perfect textured nails, avoid these common mistakes:
- Skipping the base coat, which can lead to chipping.
- Applying too much texture at once; instead, build it gradually.
- Neglecting to seal your design properly, which can affect longevity.
Remember to experiment with different textures and patterns to find what works best for you!
By following these expert tips and embracing the latest trends, you can master the art of textured nails and make a bold statement with your manicure. Elevate your look today!
9. Seasonal Glitter: Sparkle Trends to Brighten Up Your Fall/Winter Nails
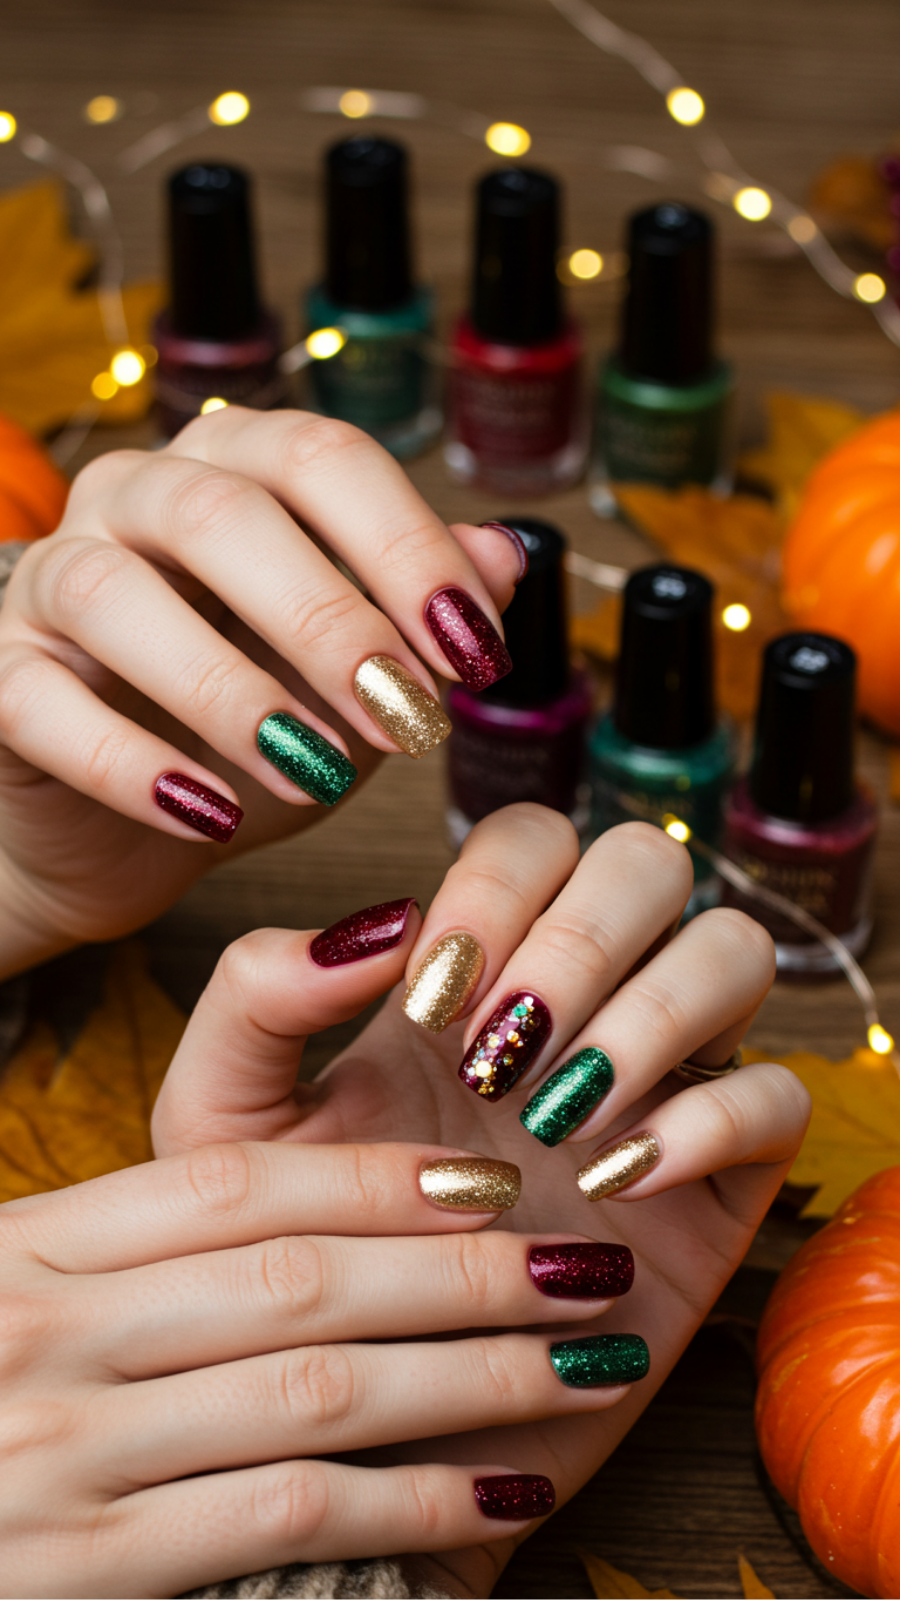
Seasonal Glitter: Sparkle Trends to Brighten Up Your Fall/Winter Nails
As the leaves change and the air turns crisp, it’s time to embrace seasonal glitter for your fall and winter nails. This year’s trends highlight a fusion of bold colors and delicate sparkles, perfect for adding a touch of glamour to the cooler months.
Current Trends in Glitter Nail Art
Popular choices this season include:
- Metallic Foils: Opt for gold or silver foils layered over deep jewel tones.
- Ombre Glitter: Blend dark shades with a gradient of shimmer for a sophisticated look.
- Glitter Accents: Use glitter strategically on one or two nails to create a balanced design.
Step-by-Step Guidance
To achieve the perfect glitter nails, follow these expert tips:
- Prepare Your Nails: Start with clean, shaped nails. Apply a base coat to prevent staining.
- Apply Color: Choose a rich fall color, like burgundy or forest green, and apply two coats for full coverage.
- Add Glitter: While the polish is still wet, sprinkle glitter or apply a glitter polish. Seal with a top coat.
Common Mistakes to Avoid
When experimenting with glitter, avoid these pitfalls:
- Skipping the base coat, which can lead to staining.
- Using too much glitter, making nails appear clumpy.
- Neglecting to seal with a top coat, which can cause chipping.
Best Practices for Lasting Results
For nails that shine all season long, consider these best practices:
- Choose high-quality glitter polishes that adhere well.
- Use a quick-dry top coat to enhance durability.
- Regularly moisturize your cuticles to keep your nails healthy.
By incorporating these sparkle trends into your nail art routine, you can easily elevate your fall and winter style. Embrace the season’s spirit and let your nails dazzle!
10. Mood Ring Nails: Color-Changing Designs Inspired by 2023 Fashion Trends
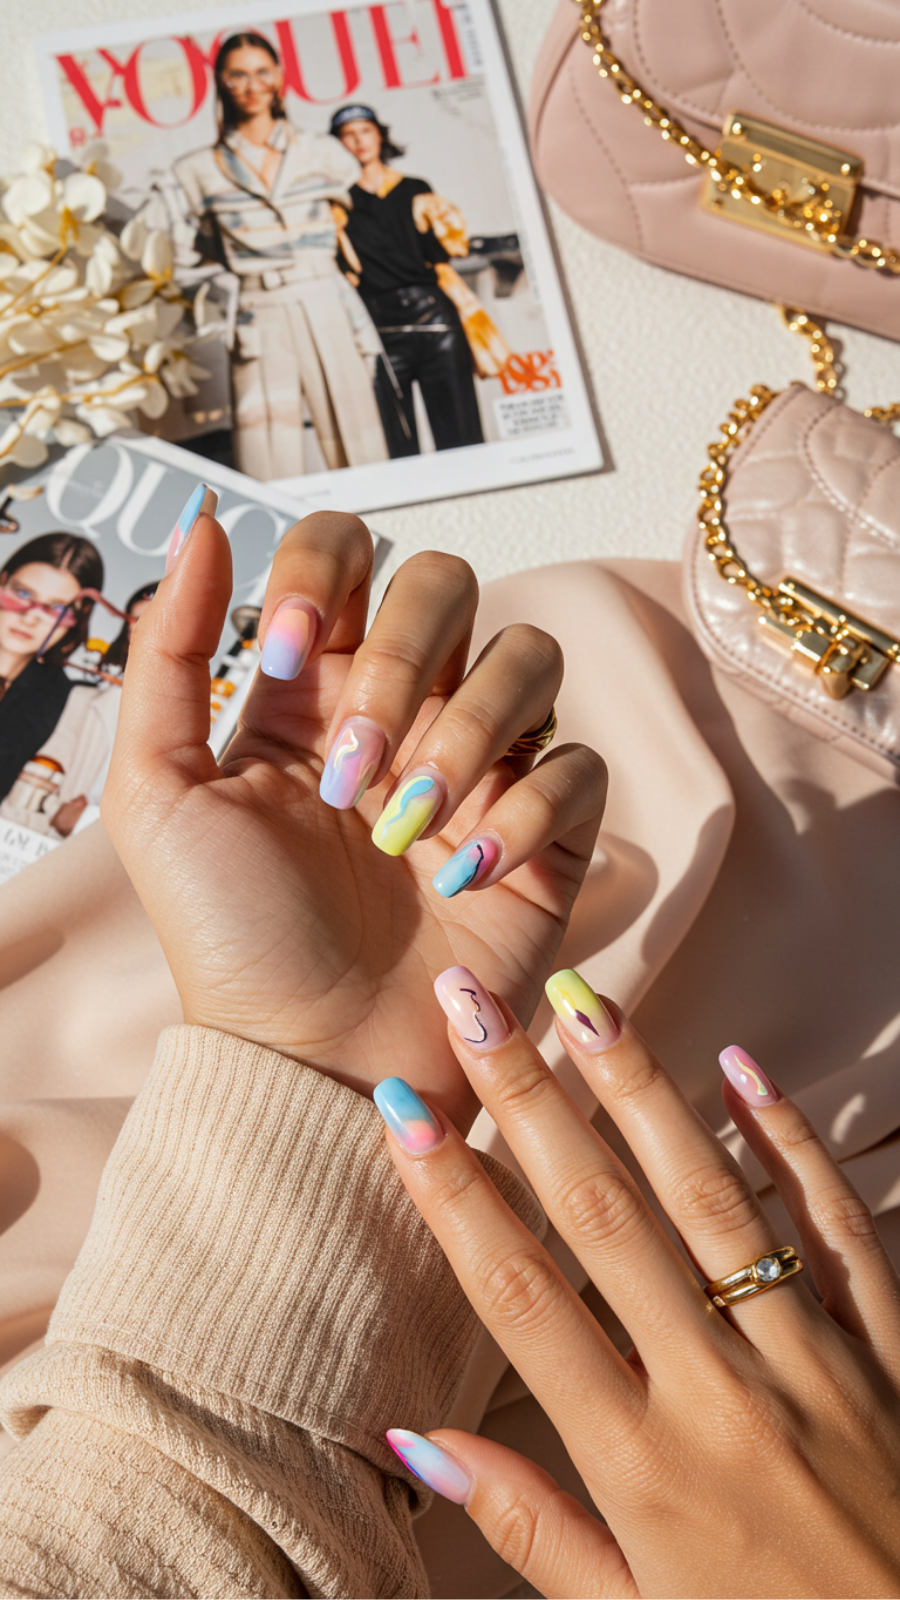
Mood Ring Nails: Color-Changing Designs Inspired by 2023 Fashion Trends
Mood ring nails are the perfect way to express your personality while staying on-trend this 2023. These captivating color-changing designs not only reflect your mood but also align with the latest fashion trends that emphasize individuality and creativity. With their vibrant colors and unique finishes, mood ring nails are a must-try for any nail art enthusiast.
Current Trends in Nail Art
This year, we’re seeing a resurgence of bold colors and playful patterns. Mood ring nails fit seamlessly into this trend, offering a dynamic twist to traditional nail art. Incorporating color-shifting polishes allows for an interactive experience, as your nails change hues based on your body temperature and environment.
Step-by-Step Guide to Achieve Mood Ring Nails
- Choose Your Base: Start with a clear base coat to enhance color vibrancy.
- Select Mood-Enhancing Polishes: Opt for mood polishes that change color; look for brands like Color Changing or Thermochromic.
- Layer It Up: Apply two coats of your chosen color-changing polish, allowing each layer to dry.
- Add Details: Use nail art brushes to create intricate designs (think swirls or geometric shapes) in contrasting colors.
- Seal It In: Finish with a glossy top coat for durability and shine.
Expert Tips and Common Mistakes to Avoid
- Don’t Rush: Allow each layer to dry completely to prevent smudging.
- Test the Polishes: Different brands may react differently to temperature; experiment to find your favorites.
- Protect Your Skin: Use cuticle oil to prevent staining and keep your nails healthy.
Incorporating mood ring nails into your beauty routine not only enhances your style but also reflects the vibrant, ever-changing world of fashion. Embrace this trend and let your nails do the talking!
Frequently Asked Questions
How do I achieve the minimalist nail art look with negative space?
To create a minimalist nail art design using negative space, start with a clean base coat. Use striping tape to section off areas of your nail, then apply your chosen polish colors. Once dried, carefully remove the tape to reveal the negative space, and finish with a top coat for a sleek look.
Why are bold color blocks popular in nail designs this season?
Bold color blocks are trending due to their retro revival, reminiscent of the vibrant styles from past decades. This design allows for creativity and self-expression, making it a favorite for those wanting to make a statement with their nails. Pairing unexpected colors can enhance the fun and playful nature of this trend.
What are some easy floral nail art techniques for spring/summer 2023?
For easy floral nail art, consider using a dotting tool or a fine brush to create simple flower shapes. You can also use nail stickers or decals for a quicker option. Incorporating soft pastels or vibrant colors can make your floral designs pop, aligning perfectly with the current seasonal trends.
How can I incorporate metallic accents into my everyday nail art?
To incorporate metallic accents, try using metallic nail polish or foils on just a few nails for a chic contrast. You can also add metallic striping tape or use a metallic top coat over your favorite color. This approach allows for a touch of shine without overwhelming your overall look.
What should I do if my abstract geometric nail art isn’t turning out as planned?
If your abstract geometric nail art isn’t perfect, don’t worry! You can use a small brush to tidy up any uneven lines or shapes. If you’re struggling, consider practicing on a nail wheel or using nail tape for cleaner edges. Remember, the beauty of abstract art lies in its uniqueness!

