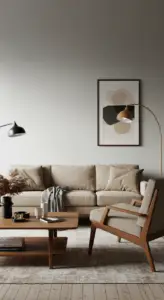
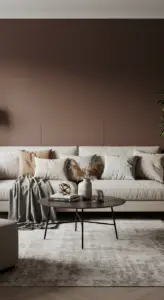
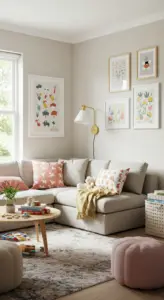
1. Revamp Your Cabinets with Chic Peel-and-Stick Wallpaper

Revamp Your Cabinets with Chic Peel-and-Stick Wallpaper
Transforming your kitchen or bathroom cabinets doesn’t have to be a daunting task. With chic peel-and-stick wallpaper, you can effortlessly elevate your space, adding a touch of personality and style. This innovative solution is trending in home decor, offering versatility and ease of use for DIY enthusiasts and design novices alike.
Step-by-Step Guidance
Here’s how to revamp your cabinets using peel-and-stick wallpaper:
- Choose the Right Wallpaper: Opt for a design that complements your existing decor. Floral patterns, geometric shapes, or even classic wood textures are popular choices.
- Prepare Your Surface: Clean your cabinet surfaces thoroughly to ensure proper adhesion. Remove any dust, grease, or old finishes.
- Measure and Cut: Measure each cabinet door and cut the wallpaper to size, allowing for a bit of overlap for adjustments.
- Apply Carefully: Start from one edge and peel back the backing as you apply, smoothing out any air bubbles with a credit card for a flawless finish.
- Seal the Edges: For long-lasting results, seal the edges with clear adhesive or a sealant to prevent peeling over time.
Expert Tips and Tricks
- Consider using removable wallpapers for easy updates and flexibility.
- Don’t rush the application process; take your time to ensure a smooth finish.
- Incorporate contrasting colors or patterns to create a bold statement.
Avoid Common Mistakes
While revamping your cabinets, be mindful of these pitfalls:
- Neglecting surface preparation can lead to poor adhesion.
- Using wallpaper that is too busy or clashing can overwhelm the space.
- Skipping the sealing step can result in premature peeling.
Best Practices
For optimal results, always test a small section before fully committing to a design. This allows you to see how it interacts with your existing colors and finishes. With these expert insights, you can successfully transform your cabinets and infuse your home with fresh decor.
2. Transform Your Backsplash with Budget-Friendly Stick-On Tiles
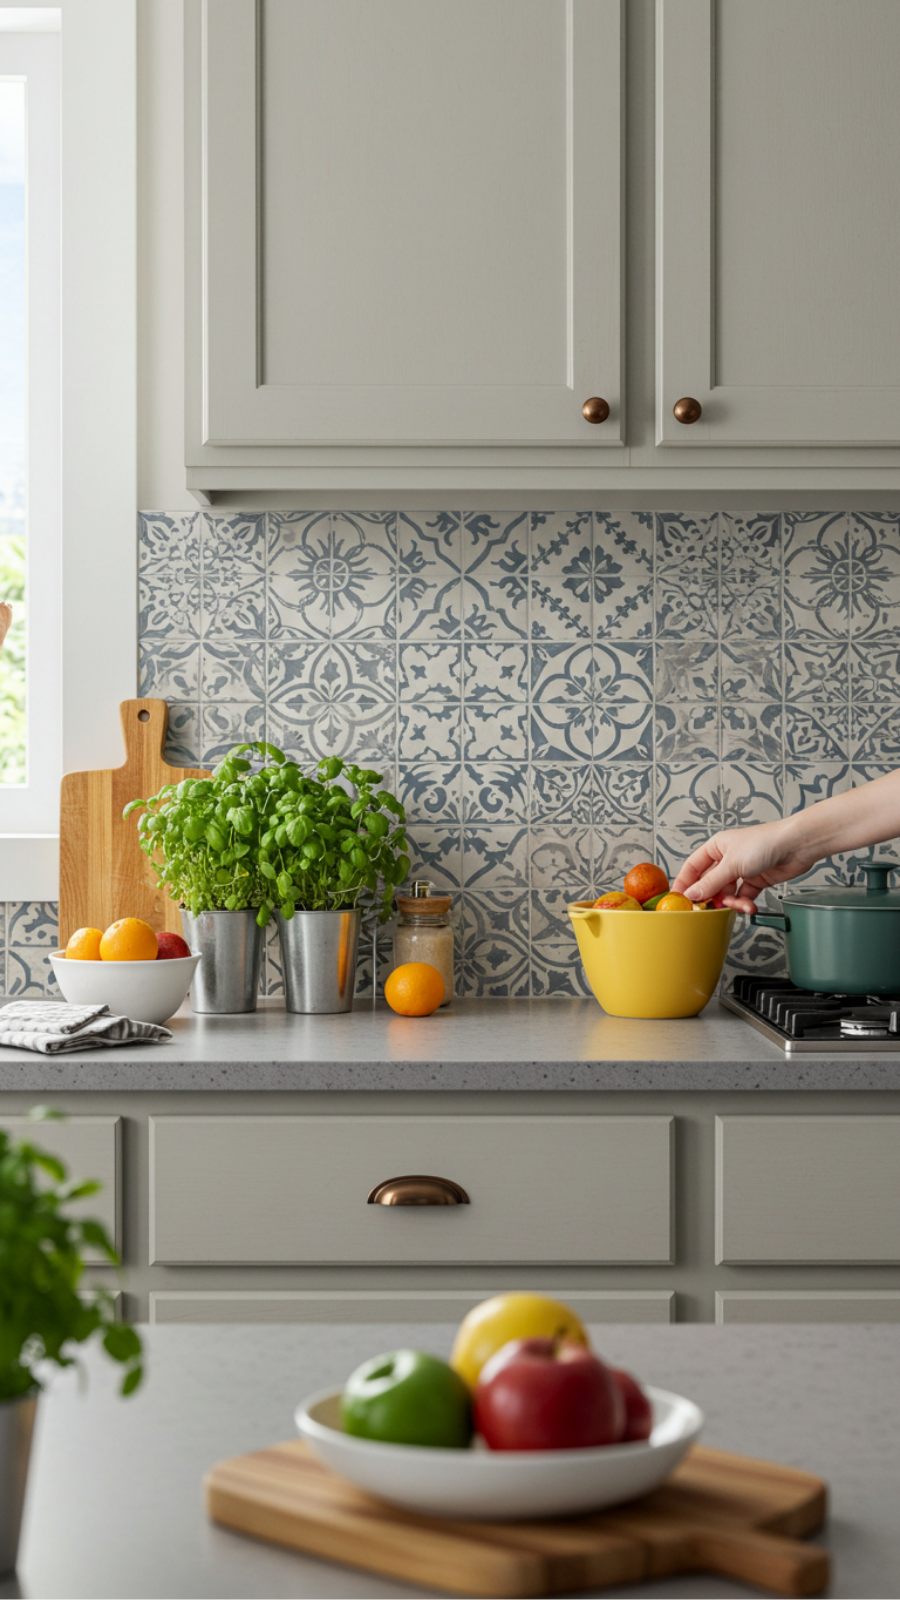
Transform Your Backsplash with Budget-Friendly Stick-On Tiles
Revamping your kitchen or bathroom backsplash doesn’t have to break the bank. With budget-friendly stick-on tiles, you can achieve a stunning transformation without the hassle of traditional tile installation. These adhesive tiles come in a variety of designs, colors, and textures, making them a versatile choice for any home decor style.
Current Trends in Home Decor Inspirations
Stick-on tiles are trending as a quick and cost-effective solution for homeowners looking to elevate their space. Whether you prefer classic subway tiles, bold geometric patterns, or natural stone looks, there’s a stick-on tile to suit your taste.
Step-by-Step Guidance
- Select Your Tiles: Choose designs that complement your existing decor.
- Prepare the Surface: Clean the area thoroughly to ensure a strong adhesion.
- Measure and Cut: Measure your backsplash area and cut the tiles if necessary.
- Apply the Tiles: Start from one end and press each tile firmly against the wall.
- Seal the Edges: Use caulk to seal any gaps for a polished finish.
Expert Tips and Tricks
- Use a level to ensure your tiles are straight.
- Consider using a tile layout that adds visual interest, such as herringbone or staggered patterns.
- For a cohesive look, pair your backsplash with matching decor elements, like dishware or textiles.
Common Mistakes to Avoid
Many homeowners rush the application process, leading to misaligned tiles. Take your time to plan and execute your design. Additionally, neglecting to clean the surface properly can result in poor adhesion.
Best Practices
Always follow the manufacturer’s instructions for installation. For added durability, consider applying a clear sealant over the tiles once installed. This not only protects your investment but also enhances the overall appearance.
By following these guidelines, you can effortlessly transform your space with budget-friendly stick-on tiles. Enjoy the satisfaction of a stunning backsplash that reflects your personal style without the hefty price tag!
3. Incorporate Open Shelving for a Modern, Airy Kitchen Feel
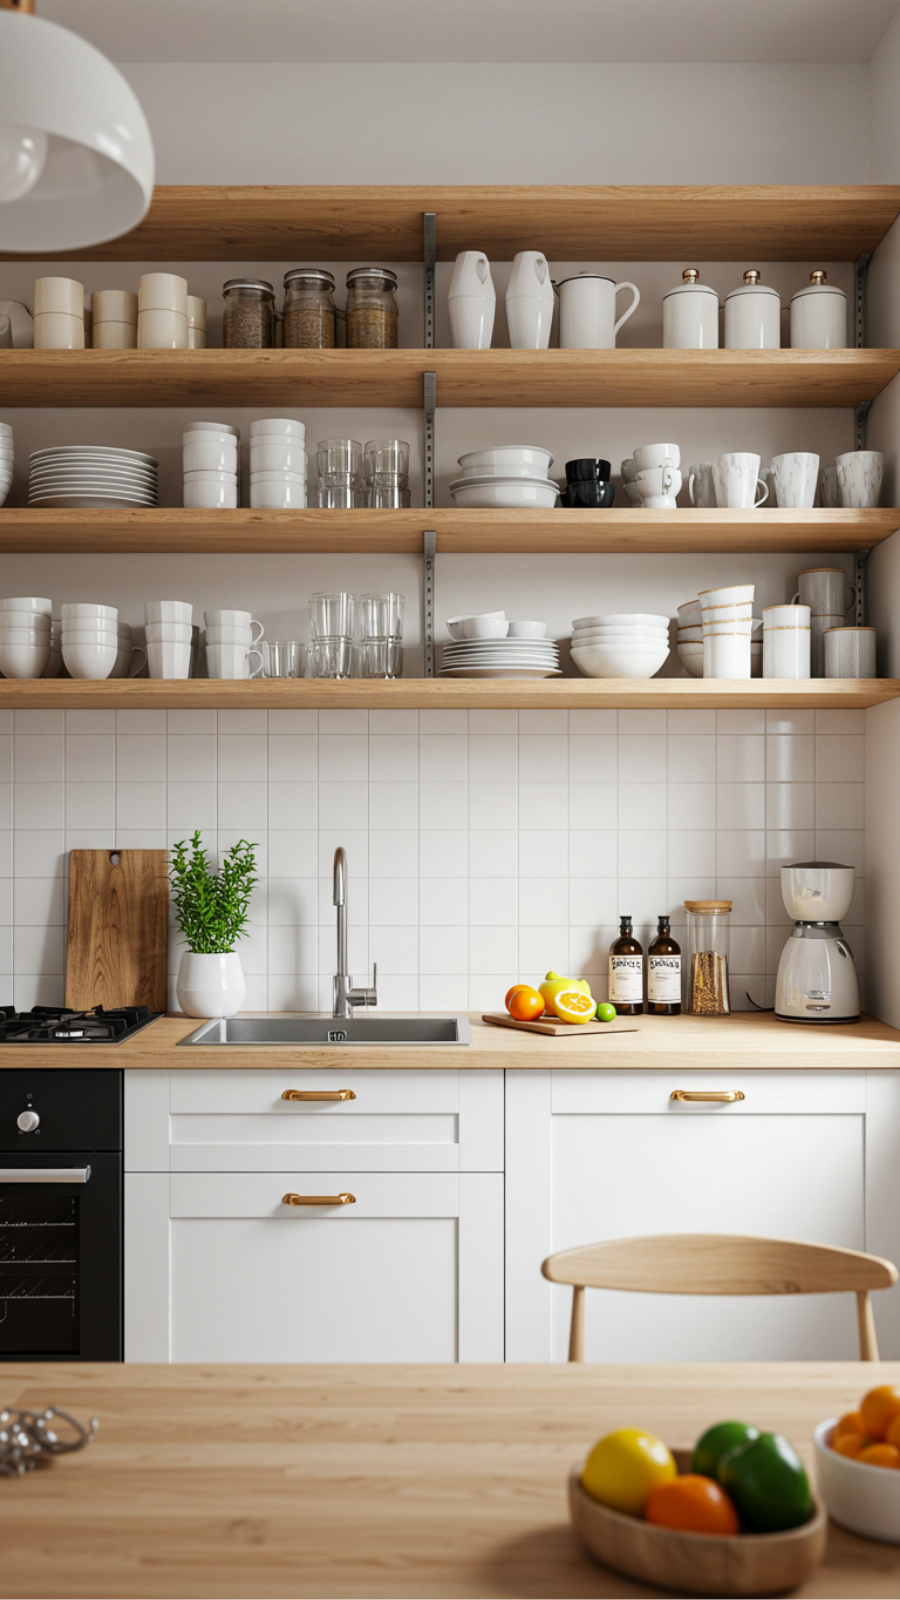
Incorporate Open Shelving for a Modern, Airy Kitchen Feel
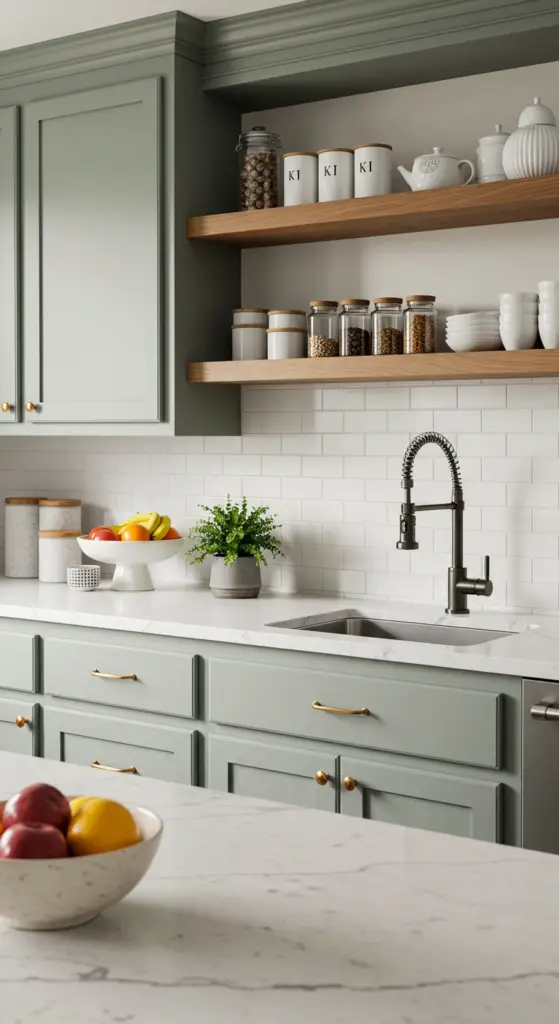
Transforming your kitchen into a modern, airy space can be effortlessly achieved by incorporating open shelving. This design trend not only enhances aesthetics but also promotes functionality, making it a popular choice among homeowners looking to elevate their home decor.
Why Choose Open Shelving?
Open shelving creates a sense of openness and can make smaller kitchens feel larger. By displaying your dishware, cookbooks, and decorative items, you can add character and personalization. However, it’s essential to do this thoughtfully to avoid a cluttered appearance.
Step-by-Step Guidance for Incorporating Open Shelving
- Assess Your Space: Determine where open shelves can fit without obstructing other kitchen elements.
- Select the Right Materials: Opt for materials that complement your kitchen’s style—wood for a rustic feel or metal for a modern touch.
- Install at Eye Level: Position shelves at a comfortable height, making items easily accessible while still maintaining an aesthetic balance.
- Curate Your Display: Choose a cohesive color palette and arrange items by size or color for a visually pleasing look.
Common Mistakes to Avoid
- Overcrowding shelves with too many items, creating visual clutter.
- Neglecting to leave space for kitchen essentials, which can hinder functionality.
- Failing to secure shelves properly, risking safety and stability.
Best Practices for Open Shelving
To maintain a tidy appearance, consider rotating displayed items seasonally. Regularly declutter and only display items you use or love. Additionally, integrate lighting to enhance the ambiance and highlight your favorite pieces.
By incorporating open shelving, you can achieve a modern, airy kitchen that showcases your personal style while maximizing functionality. Embrace this trend and enjoy a more inviting and organized cooking space.
4. Upgrade Hardware: Stylish Knobs and Pulls for a Fresh Look
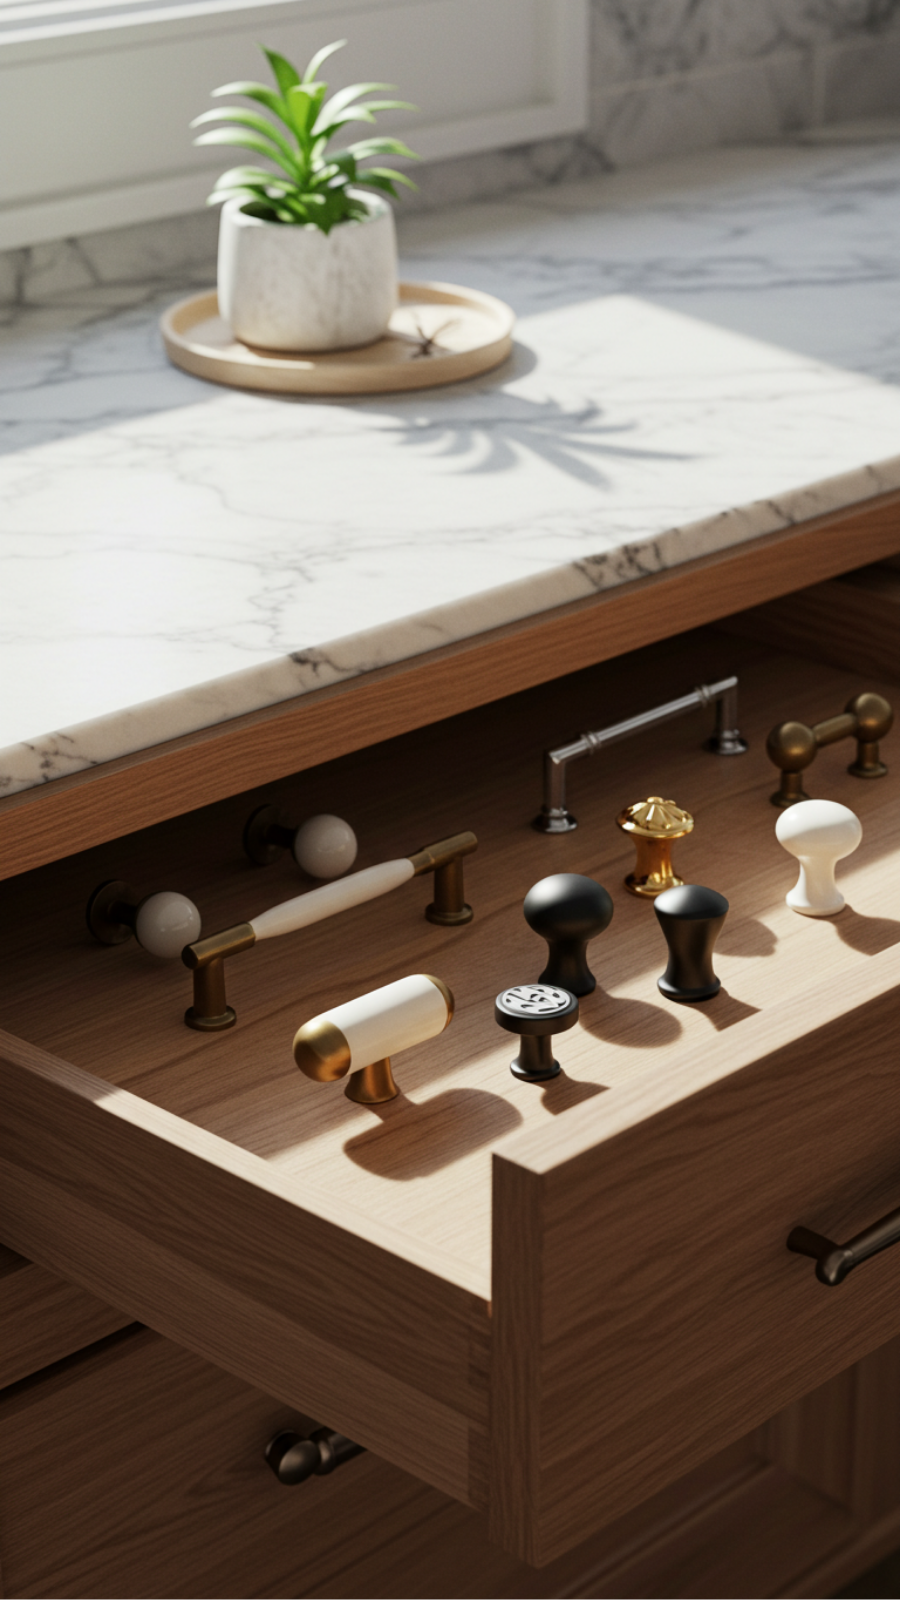
Upgrade Hardware: Stylish Knobs and Pulls for a Fresh Look
Upgrading your hardware is one of the simplest yet most impactful ways to refresh your home decor. Stylish knobs and pulls can transform ordinary cabinets and drawers, providing a chic focal point that enhances your interior design.
Current Trends in Home Decor
In 2023, the trend leans towards bold, statement pieces. Think oversized knobs in rich materials like brass or matte black, which add a touch of elegance. Additionally, vintage-inspired hardware is making a comeback, with intricate detailing and unique shapes that evoke a sense of nostalgia.
Expert Tips for Choosing the Right Hardware
- Consider the Style: Match your knobs and pulls to your overall decor theme—rustic, modern, or industrial.
- Material Matters: Opt for high-quality materials that not only look good but are durable.
- Size and Scale: Ensure your hardware complements the size of your furniture. Larger pulls can make a bold statement, while smaller ones offer subtle elegance.
Step-by-Step Guidance for Installation
- Remove Old Hardware: Use a screwdriver to carefully detach the existing knobs and pulls.
- Measure Accurately: Ensure new hardware fits by measuring the distance between holes.
- Install New Hardware: Align your new knobs or pulls, and secure them with screws provided.
- Final Touch: Step back and evaluate the aesthetic—make adjustments if necessary.
Common Mistakes to Avoid
Many homeowners overlook the importance of proportions; mismatched sizes can disrupt visual harmony. Additionally, failing to consider the functionality of the hardware can lead to impractical choices. Always test your selections for comfort and ease of use.
Best Practices for a Cohesive Look
To achieve a cohesive look, coordinate your knobs and pulls with other metal finishes in the room, such as lighting fixtures or faucets. This creates a unified design theme that elevates your home decor effortlessly.
By thoughtfully upgrading your hardware, you can make a significant impact on your home’s aesthetic—creating a stylish and inviting atmosphere. Remember, even small changes can lead to a fresh look!
5. Create a Cozy Dining Nook with Affordable Textiles and Decor
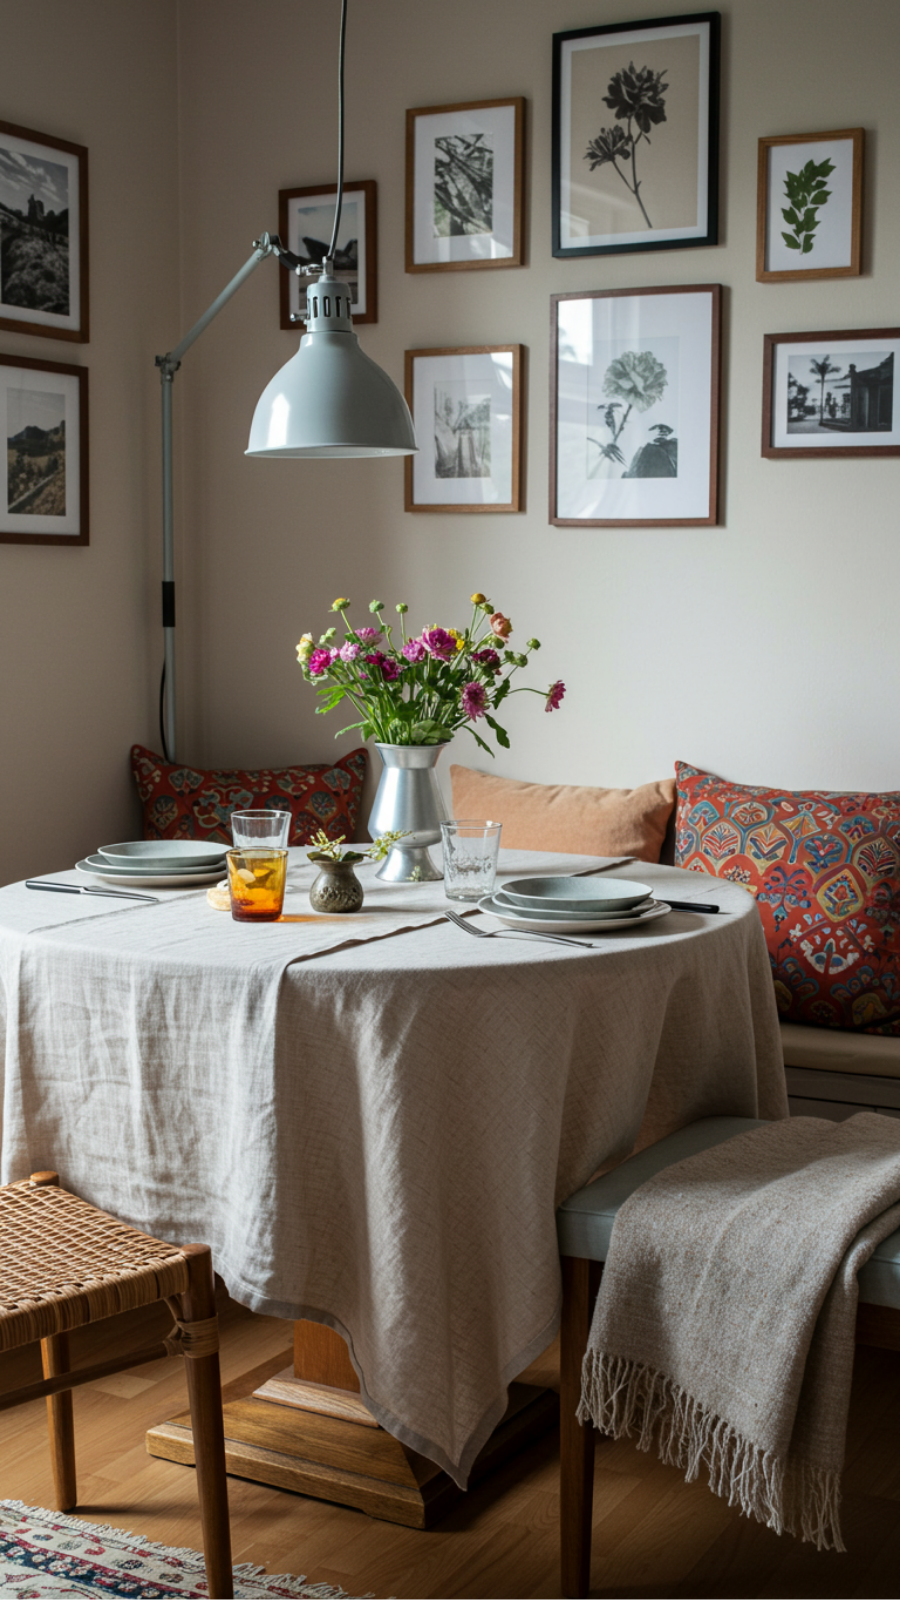
Create a Cozy Dining Nook with Affordable Textiles and Decor
Transforming your dining area into a cozy nook doesn’t have to break the bank. With thoughtful use of affordable textiles and decor, you can create an inviting space that encourages family meals and intimate gatherings. Here’s how to achieve that warm, inviting atmosphere.
Step-by-Step Guidance
- Choose a Color Palette: Start with warm, earthy tones like terracotta, soft greens, or muted yellows. These colors promote a cozy vibe and can be easily incorporated through textiles.
- Invest in Textiles: Use tablecloths, placemats, and cushions in rich fabrics such as linen or cotton. Look for patterned or textured options to add depth and interest.
- Add Layered Lighting: Incorporate string lights or pendant lamps to create a warm glow. Adjustable lighting helps set the mood for different occasions.
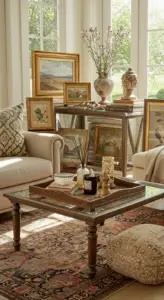
- Accessorize Thoughtfully: Use affordable decor items like framed artwork or decorative trays that reflect your personality and style.
Expert Tips and Tricks
Consider the layout of your nook. Avoid overcrowding by ensuring you have enough space for movement. Common mistakes include neglecting comfort; always choose plush seating options. Additionally, avoid using only one type of textile; mixing different textures can enhance the cozy feel.
Best Practices
Maintain a balance between aesthetics and functionality. Choose textiles that are easy to clean and maintain, especially in a dining area. Remember, the goal is to create a welcoming environment that invites people to linger over meals.
By following these tips, you can create a cozy dining nook that reflects your style while remaining budget-friendly. Embrace the current trends in home decor by focusing on warmth, comfort, and personalized touches.
6. Add a Touch of Greenery with Budget Indoor Herb Planters
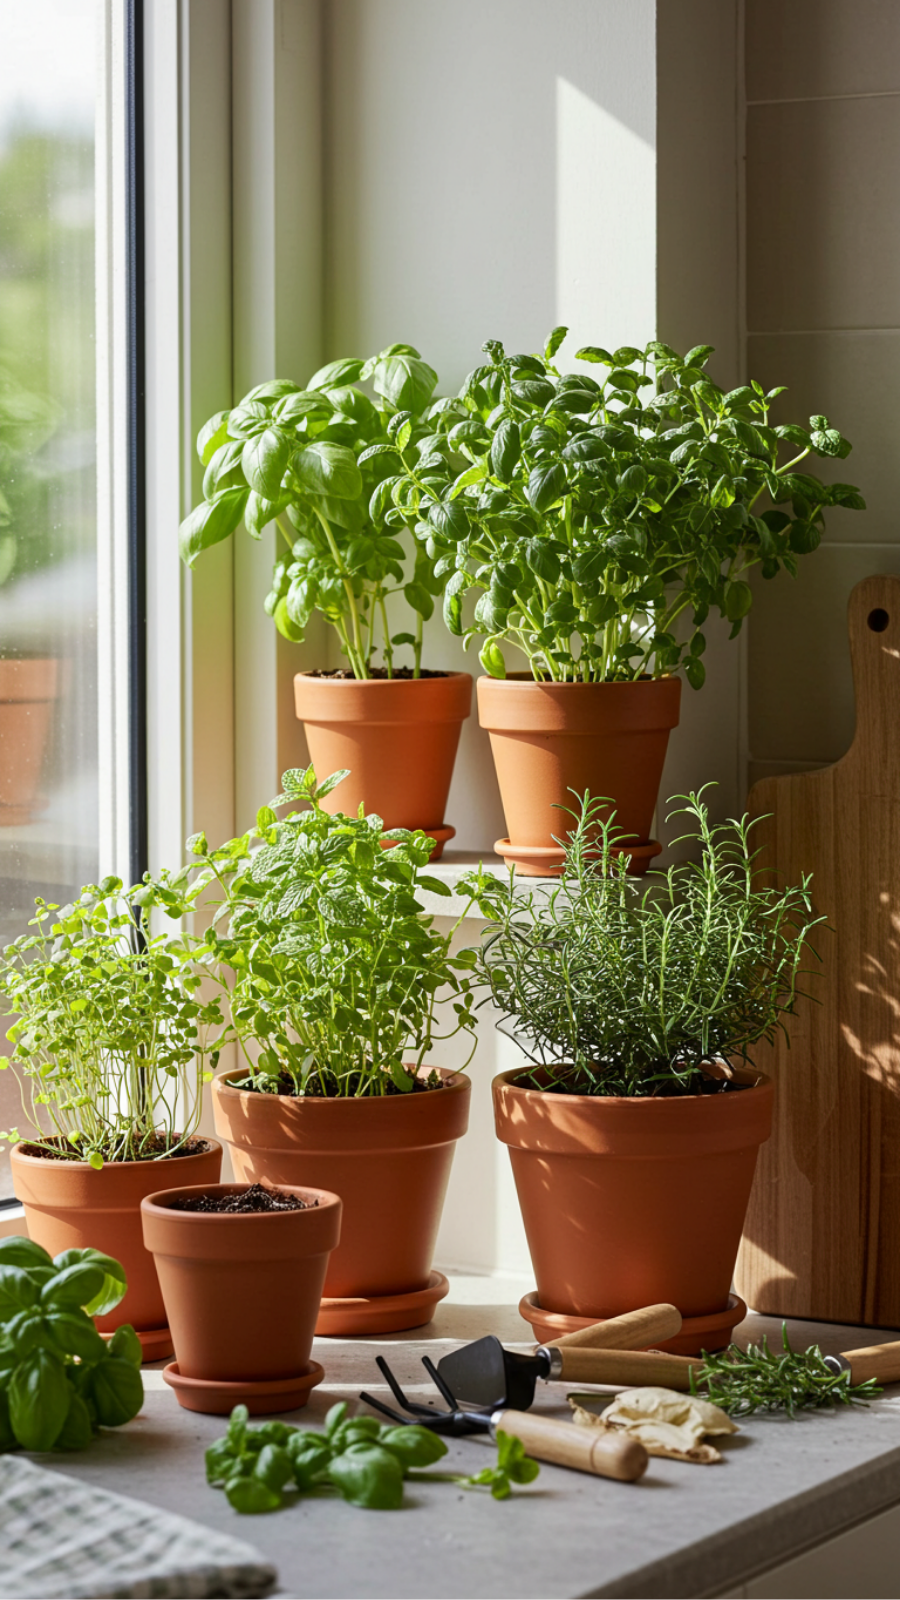
Add a Touch of Greenery with Budget Indoor Herb Planters
Incorporating indoor herb planters into your home decor is not only a stylish choice but also a practical one. These budget-friendly additions not only enhance the aesthetic of your space but also provide fresh herbs for your culinary adventures. Let’s explore how to effectively add greenery to your home with indoor herb planters.
Current Trends in Indoor Herb Planters
As sustainability becomes a focal point in home decor, indoor herb gardening has gained popularity. Trendy options include:
- Vertical gardens: Perfect for small spaces, these planters maximize wall space.
- Hanging planters: Create an eye-catching display while saving counter space.
- DIY planters: Personalize your herb garden with upcycled containers.
Step-by-Step Guidance
- Choose Your Herbs: Opt for easy-to-grow varieties like basil, parsley, or mint.
- Select Containers: Look for budget-friendly pots with drainage holes.
- Soil and Planting: Use high-quality potting mix and plant your herbs according to their needs.
- Placement: Position your planters in a spot with adequate sunlight, like a kitchen windowsill.
Expert Tips and Common Mistakes
To ensure your indoor herb garden thrives, consider these best practices:
- Watering: Avoid overwatering; herbs prefer slightly dry soil.
- Pruning: Regularly trim your herbs to promote bushier growth.
- Fertilizing: Use a mild organic fertilizer every few weeks.
Common mistakes include neglecting light requirements and overcrowding plants. Remember to give each herb enough space to flourish!
With these expert tips, you can create a beautiful and functional indoor herb garden that not only elevates your home decor but also enriches your cooking. Embrace the trend of greenery and enjoy the benefits of fresh herbs at arm’s reach!
7. Refresh Your Lighting: Affordable Pendant Lights for Impact
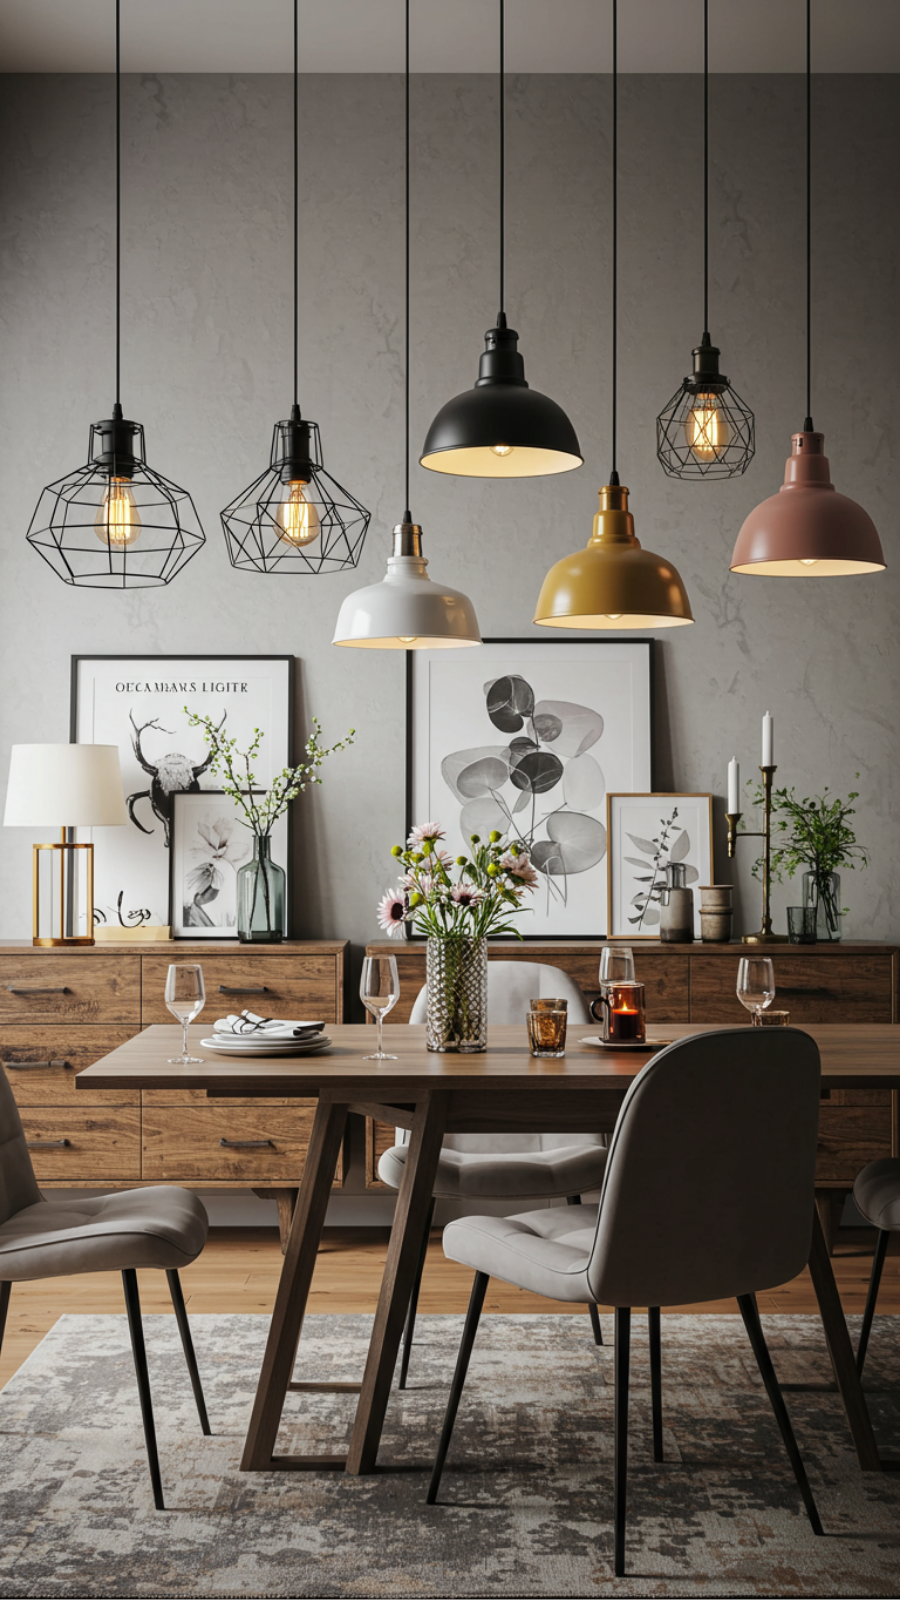
Refresh Your Lighting: Affordable Pendant Lights for Impact
Transforming your home decor doesn’t have to break the bank. One of the most effective ways to refresh your space is by upgrading your lighting, particularly with affordable pendant lights. These striking fixtures not only illuminate your space but also serve as statement pieces that enhance your overall aesthetic.
Why Choose Pendant Lights?
Pendant lights are versatile and come in various styles, from industrial to modern farmhouse. They can be used in kitchens, dining areas, and even living rooms to create focal points. Here are a few current trends:
- Mixed Metals: Combining different metal finishes like brass and matte black adds depth.
- Natural Materials: Rattan and wood finishes create a warm, inviting atmosphere.
- Oversized Fixtures: Large pendant lights can serve as a dramatic centerpiece.
Step-by-Step Guidance
To effectively incorporate pendant lighting:
- Determine the Purpose: Assess where you need more light—over a kitchen island or dining table.
- Select the Right Size: The diameter of the pendant should be about one-third the width of the surface beneath it.
- Height Matters: Hang pendants 30-36 inches above dining tables for optimal lighting.
Common Mistakes to Avoid
- Avoid overcrowding: Too many fixtures can create visual chaos.
- Neglecting scale: Ensure your pendant complements the room’s proportions.
Expert Tips and Tricks
For a cohesive look, coordinate your pendant lights with other decor elements. Incorporate dimmers to adjust the ambiance and make your space more functional.
By refreshing your lighting with affordable pendant lights, you can significantly impact your home’s decor without overspending. Embrace these trends and tips to create a stylish, inviting environment.
8. Paint Your Walls in Trendy Colors for a Quick Kitchen Update
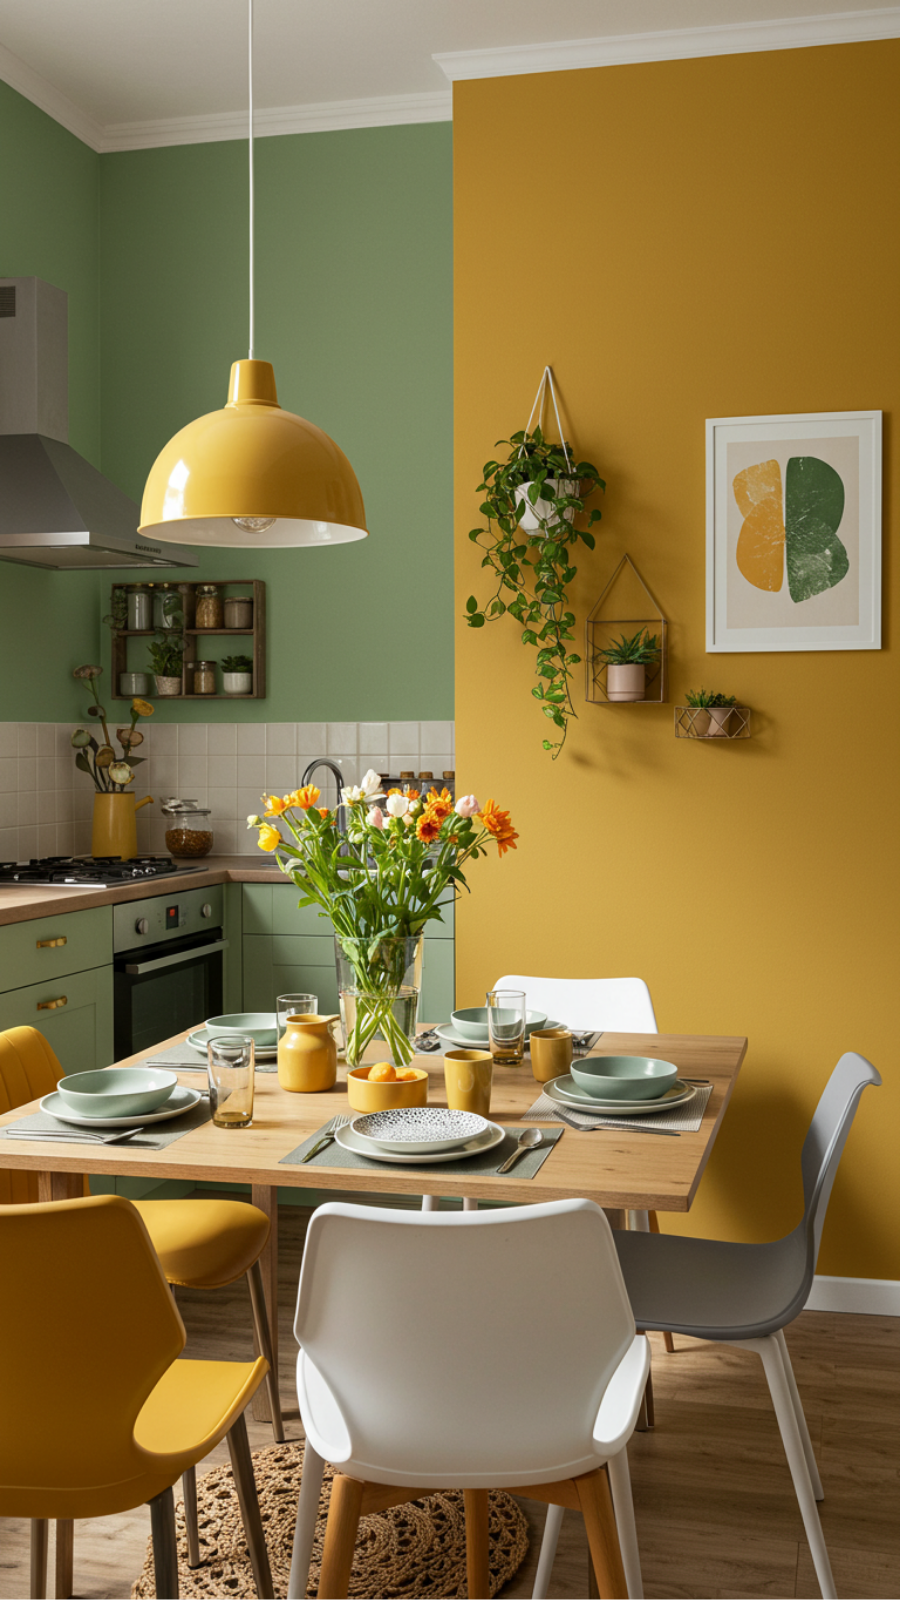
Paint Your Walls in Trendy Colors for a Quick Kitchen Update
Transforming your kitchen doesn’t always require a full renovation. One of the most effective and affordable ways to achieve a fresh look is by painting your walls in trendy colors. This simple update can dramatically change the ambiance of your space, making it feel more inviting and modern.
Current Trends in Kitchen Colors
As of 2023, popular color trends include muted earth tones, deep navy blues, and refreshing greens. These shades not only add style but also create a calming environment. For instance, a soft sage green can evoke a sense of tranquility, while a bold navy can add sophistication.
Step-by-Step Guidance for Painting Your Kitchen Walls
- Choose the Right Color: Select a trendy color that complements your cabinetry and appliances.
- Gather Supplies: You’ll need quality paint, primer, brushes, rollers, painter’s tape, and drop cloths.
- Prep the Space: Remove or cover furniture, and tape edges to ensure clean lines.
- Prime if Necessary: If switching from a dark to a light color, apply a primer to enhance coverage.
- Paint: Use a roller for large areas and a brush for corners and edges. Apply two coats for best results.
- Let it Dry: Allow adequate drying time between coats and after finishing.
Expert Tips and Common Mistakes to Avoid
- Avoid going too dark in small kitchens, as it can make the space feel cramped.
- Test paint samples on the walls to see how they look at different times of the day.
- Do not skip the primer, especially when changing colors significantly.
By painting your kitchen walls in trendy colors, you can create a fresh, modern space that reflects your personal style. Remember to choose a color that resonates with you and complements your existing decor. Happy painting!
9. Install a Faux Stone or Brick Accent Wall for Texture
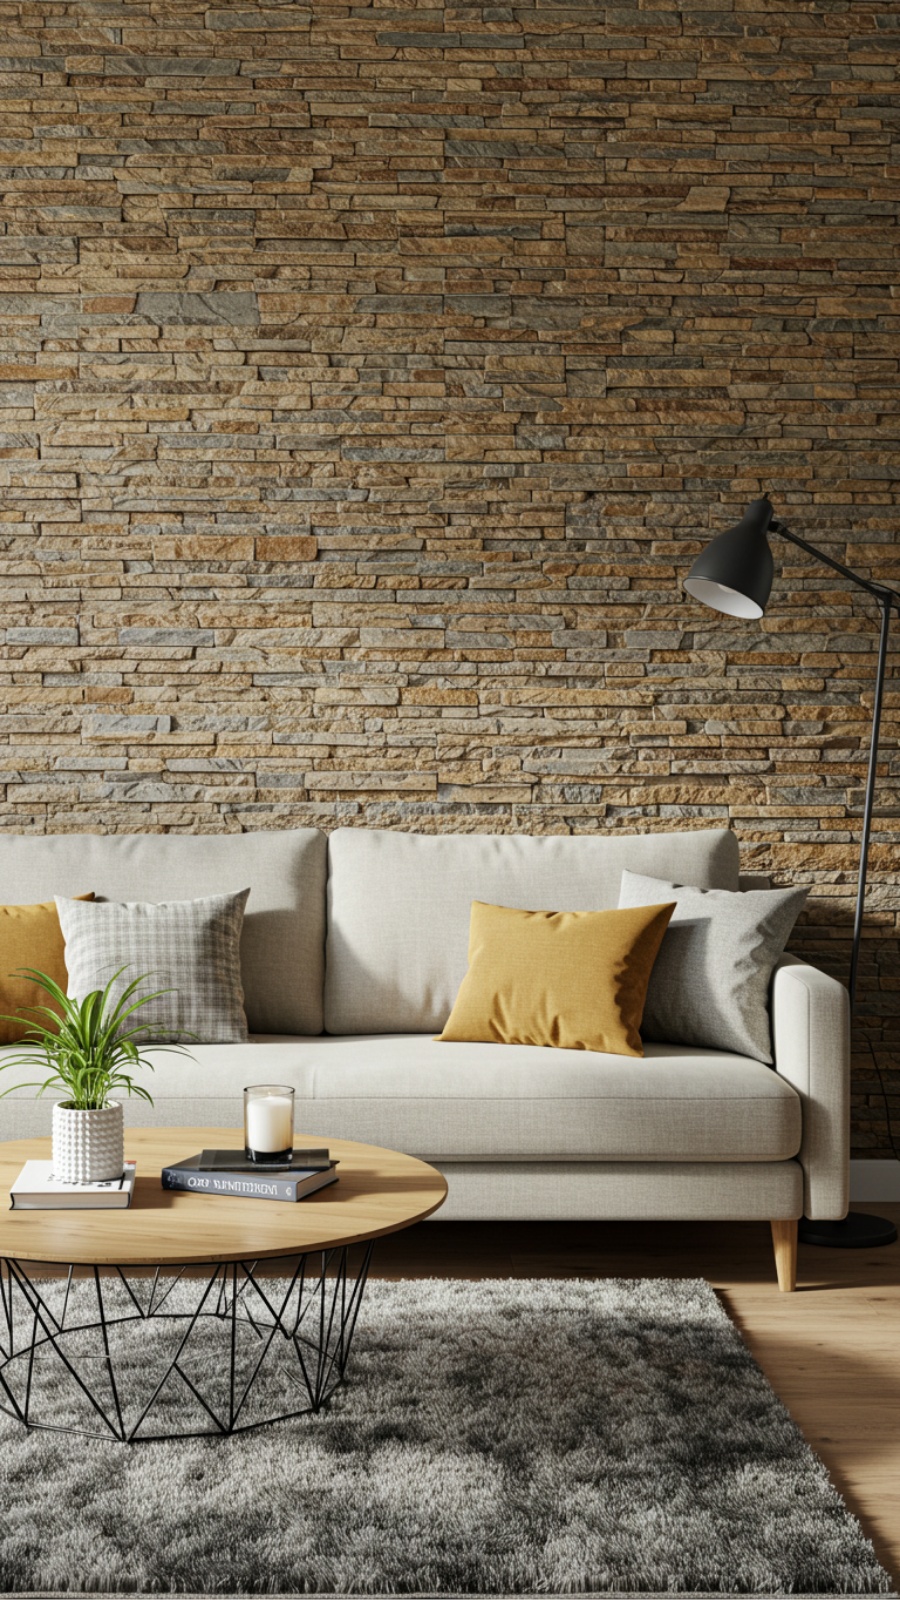
Install a Faux Stone or Brick Accent Wall for Texture
Transform your living space by installing a faux stone or brick accent wall, a trending home decor inspiration that adds both texture and visual interest. This DIY-friendly project is not only budget-conscious but also allows you to create a stunning focal point in any room.
Step-by-Step Guidance
- Select Your Material: Choose between faux stone panels or brick veneer. Both options offer a realistic appearance and are available in various colors and textures.
- Prepare the Wall: Ensure the wall surface is clean, smooth, and dry. Remove any existing wallpaper or loose paint.
- Measure and Cut: Measure your wall accurately and cut the panels to fit using a jigsaw or utility knife.
- Adhere Panels: Apply construction adhesive to the back of each panel and press firmly against the wall, starting from the bottom up.
- Finish with Grout: If using brick veneer, apply grout between the panels for a seamless finish. Wipe away excess grout with a damp sponge.
Expert Tips and Tricks
- Consider lighting: Accent walls shine with the right lighting; use sconces or spotlights to highlight your new texture.
- Balance the decor: Complement your accent wall with minimalist furniture to avoid a cluttered look.
Common Mistakes to Avoid
- Ignoring wall imperfections: Always prep your wall for a smooth application.
- Overcrowding the space: Make sure your accent wall is the star; keep surrounding decor minimal.
By following these best practices, you can create a stunning faux stone or brick accent wall that enhances your home’s aesthetic. This simple yet effective project not only adds texture but also elevates your interior design, making it a worthwhile investment in your living space.
10. Embrace Minimalism with Smart Storage Solutions and Baskets
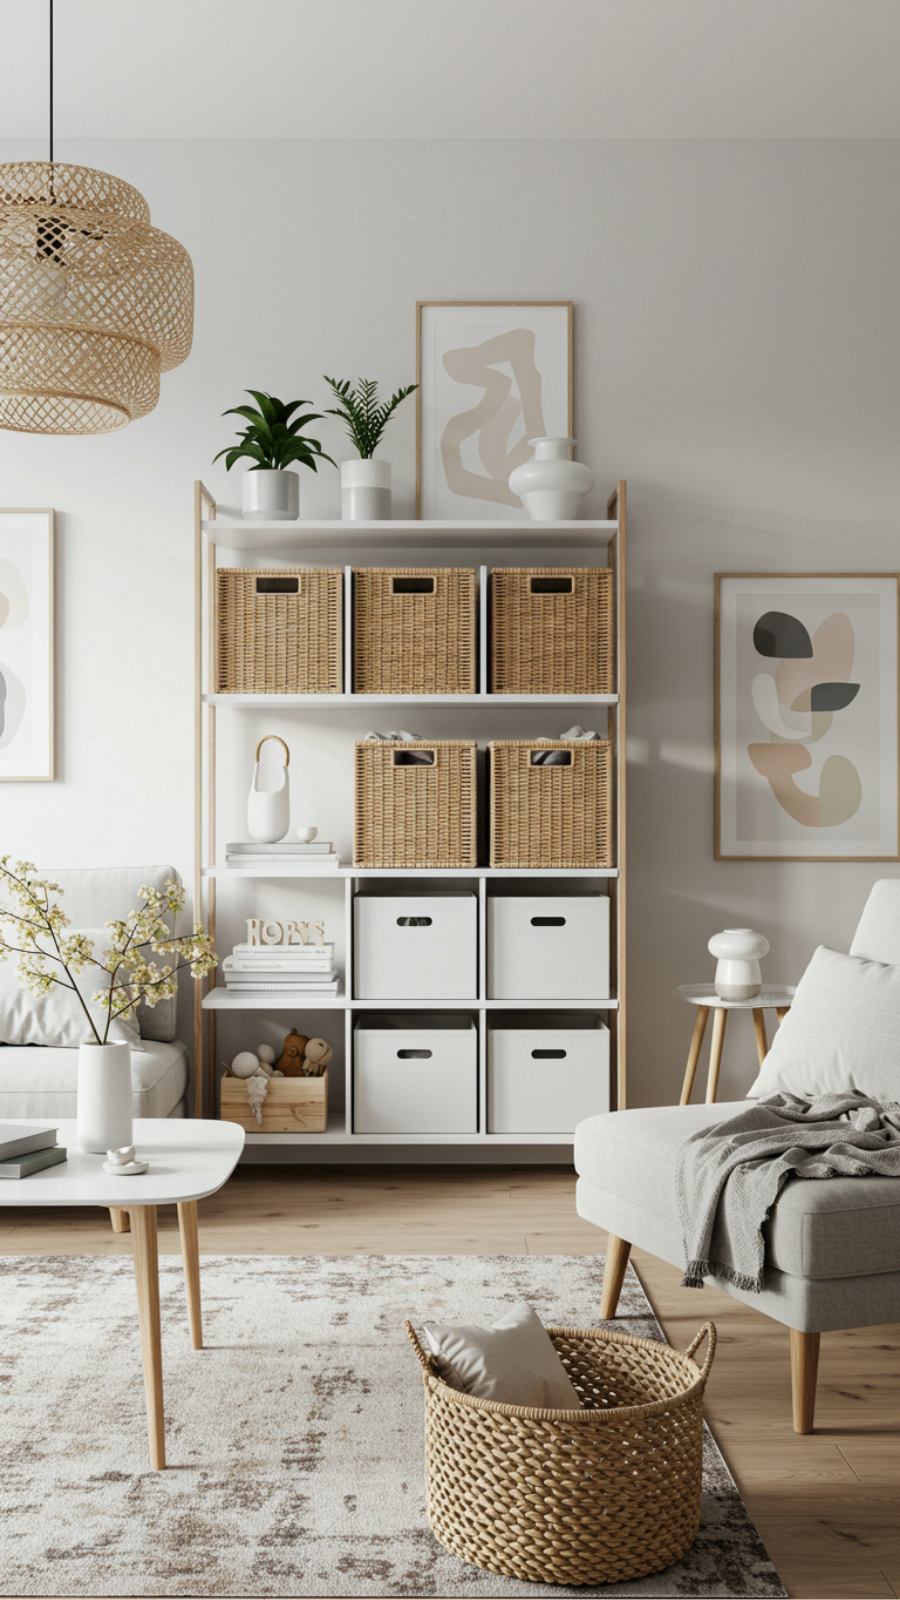
Embrace Minimalism with Smart Storage Solutions and Baskets
In today’s fast-paced world, embracing minimalism can transform your home into a serene sanctuary. One of the most effective ways to achieve a minimalist aesthetic is through smart storage solutions and the strategic use of baskets. These elements not only enhance your decor but also promote an organized lifestyle.
Current Trends in Smart Storage
Minimalist design emphasizes functionality without sacrificing style. Utilizing baskets as storage solutions is a current trend that blends form and function. From rattan to fabric, baskets can complement various interior styles while keeping your space clutter-free.
Expert Tips and Tricks
- Choose Versatile Baskets: Look for baskets that can serve multiple purposes, such as storing blankets, toys, or magazines.
- Incorporate Vertical Storage: Shelving units can be styled with decorative baskets, adding height while keeping items organized.
- Color Coordination: Select baskets that match your color palette to create a cohesive look.
Step-by-Step Guidance
- Assess Your Space: Identify clutter hotspots in your home.
- Choose Your Baskets: Select materials and sizes that fit your decor style and storage needs.
- Implement Smart Storage: Place baskets in strategic locations, such as entryways or living rooms, to maximize accessibility.
Avoiding Common Mistakes
When integrating storage solutions, avoid overfilling baskets, which can lead to visual clutter. Instead, regularly declutter and maintain only essential items within them. Furthermore, ensure baskets are not obstructing pathways, maintaining a clean and open feel throughout your home.
Best Practices for Minimalist Decor
To fully embrace minimalism, focus on a few key principles:
- Prioritize quality over quantity when selecting decor items.
- Utilize multifunctional furniture that incorporates hidden storage.
- Maintain a regular decluttering routine to keep your space fresh.
By incorporating smart storage solutions and stylish baskets into your home, you can effortlessly embrace minimalism while enhancing your overall decor. Start today and create a peaceful, organized space that reflects your personal style.
11. Introduce a Colorful Runner to Define Your Kitchen Space
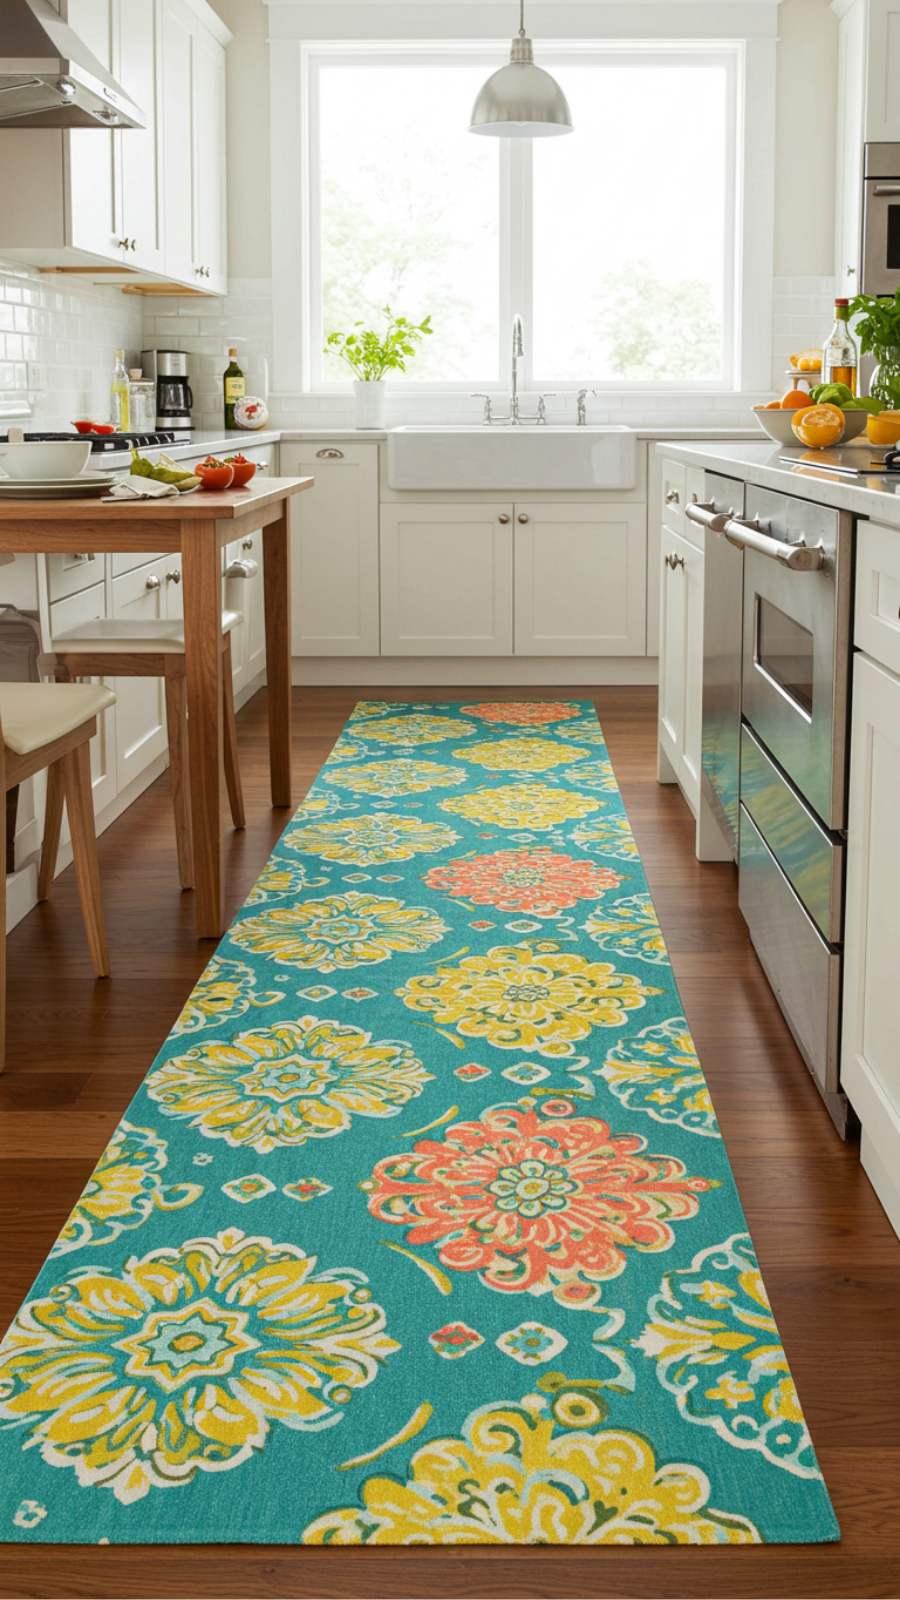
Introduce a Colorful Runner to Define Your Kitchen Space
Transforming your kitchen into a vibrant culinary haven is easier than you think. One of the most effective and stylish ways to achieve this is by introducing a colorful runner. Not only does it define your kitchen space, but it also adds a touch of personality and warmth.
Current Trends in Home Decor
As of 2023, the trend leans towards bold colors and patterns that evoke joy and creativity. Think bright geometric designs, floral patterns, or even abstract art that complements your kitchen decor. A colorful runner can serve as a focal point, bridging the gap between functionality and style.
Expert Tips and Tricks
- Choose the Right Size: Ensure your runner extends beyond the length of your kitchen island or dining table, ideally 24-30 inches on each side.
- Coordinate Colors: Select a color palette that complements your cabinetry and appliances. For example, if your kitchen features cool tones, a runner with warm accents can create a striking contrast.
- Texture Matters: Opt for materials that are durable and easy to clean, such as cotton or synthetic fibers that withstand spills and foot traffic.
Step-by-Step Guidance
- Assess your kitchen layout and identify the areas you want to define.
- Choose a runner that reflects your personal style while harmonizing with existing decor.
- Place the runner in a way that enhances the flow of the space, ensuring it doesn’t obstruct any pathways.
Common Mistakes to Avoid
Many homeowners overlook the importance of scale. A runner that is too small can appear lost in a large space, while an oversized one can overwhelm a compact kitchen. Additionally, neglecting to consider maintenance can lead to dissatisfaction over time.
Best Practices
Regularly clean your runner to keep it looking fresh and vibrant. Mix and match your runner with coordinating kitchen accessories like dish towels or tableware to create a cohesive look. Lastly, don’t shy away from experimenting with patterns to find what resonates with your aesthetic.
By introducing a colorful runner, you not only define your kitchen space but also breathe new life into it. Embrace the vibrant possibilities that await!
12. Personalize Your Space with Art Prints or DIY Wall Decor
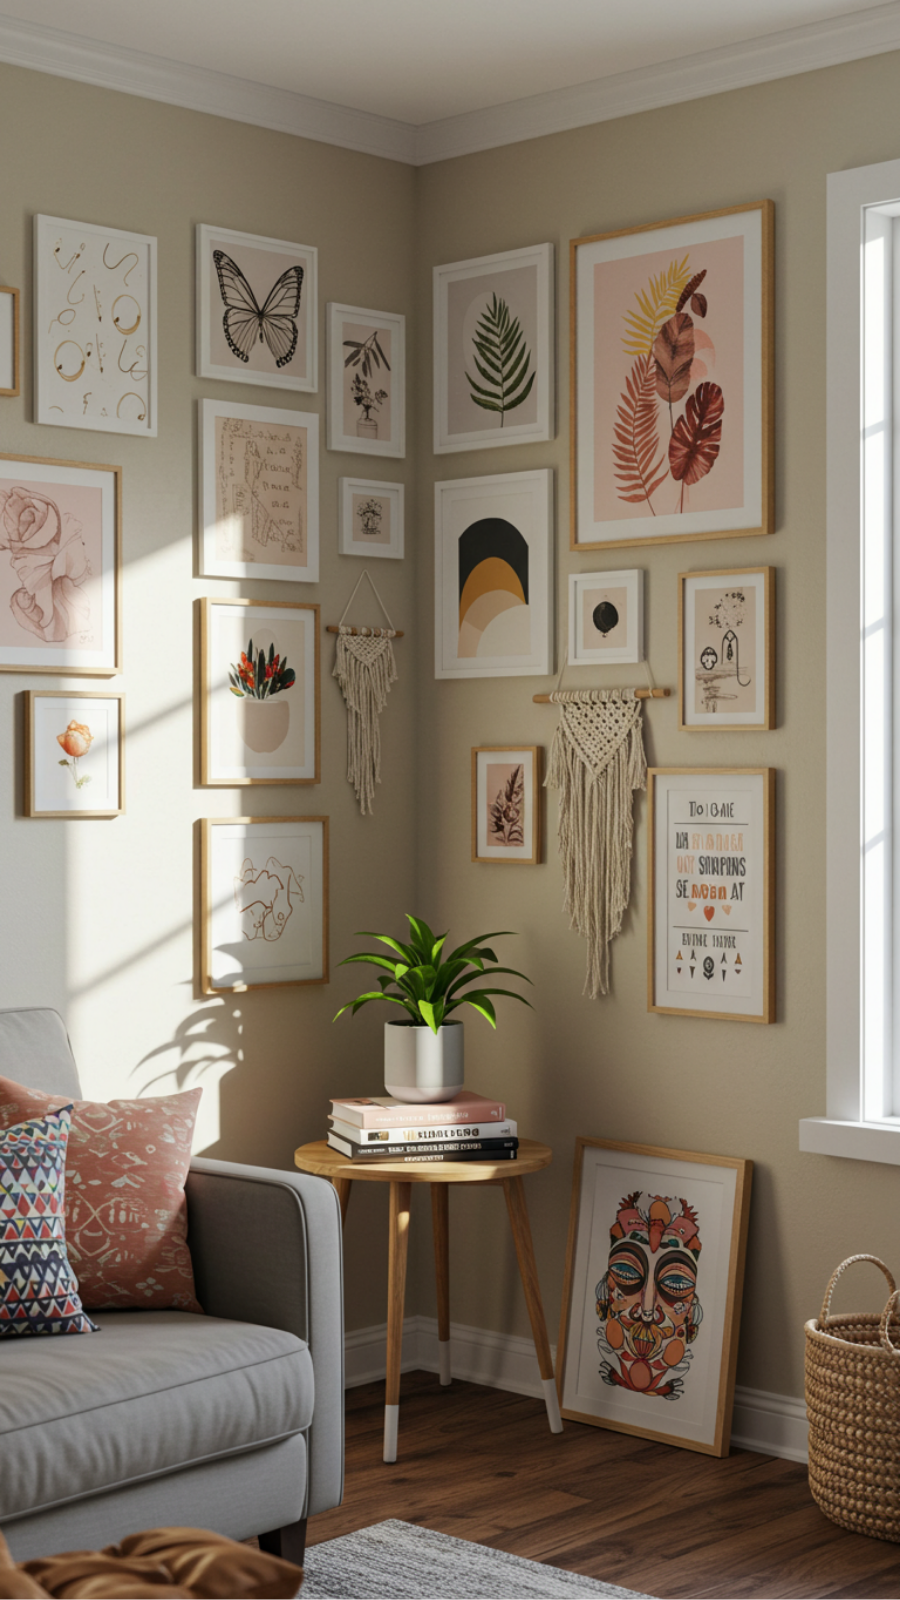
Personalize Your Space with Art Prints or DIY Wall Decor
Transforming your living space into a personalized sanctuary can be achieved effortlessly with art prints and DIY wall decor. This approach not only infuses your personality into your home but also aligns with current trends in home decor, where individuality reigns supreme.
Choosing Art Prints
When selecting art prints, consider the following tips:
- Color Palette: Choose prints that complement your existing color scheme.
- Theme: Select artwork that reflects your interests, such as nature, abstract, or cityscapes.
- Size Matters: Make sure to choose sizes that fit the scale of your walls; oversized pieces can make a bold statement while smaller prints can create a gallery wall effect.
DIY Wall Decor Ideas
If you’re crafty, DIY wall decor is a fantastic way to personalize your space. Consider these simple projects:
- Framed Fabric: Stretch beautiful fabric over a canvas for an easy-to-make piece.
- Photo Collages: Curate a collection of your favorite memories and arrange them in a stylish layout.
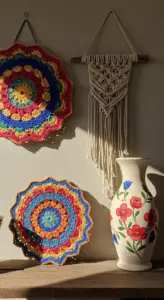
- Macramé Hangings: Add texture and warmth with handmade macramé pieces.
Expert Tips and Common Mistakes
To ensure your decor stands out, avoid common mistakes:
- Overcrowding: Leave enough space between pieces to allow each to breathe.
- Ignoring Lighting: Position your artwork where it can be illuminated naturally or with adjustable lighting.
By following these expert tips and embracing your creativity, you can effectively personalize your space with art prints or DIY wall decor. Remember, your home should tell your story, so make it uniquely yours!
Frequently Asked Questions
How can I use peel-and-stick wallpaper to update my kitchen cabinets?
Peel-and-stick wallpaper is an excellent way to revamp your kitchen cabinets without a full renovation. To apply it, clean the cabinet surfaces thoroughly and measure the wallpaper to fit each door. Once applied, it instantly adds color and texture, giving your kitchen a fresh, modern look.
Why should I consider stick-on tiles for my kitchen backsplash?
Stick-on tiles are a cost-effective alternative to traditional backsplash materials. They are easy to install, require no grout, and can be removed easily, making them perfect for renters or anyone looking to make a quick update. Plus, they come in various designs to match your kitchen theme!
What are the benefits of incorporating open shelving in my kitchen?
Open shelving adds a modern, airy feel to your kitchen while providing easy access to your dishes and decor. It allows you to showcase stylish dishware and create a personalized space. Additionally, it can make your kitchen appear larger and more inviting, especially in smaller areas.
How do I choose the right hardware for my kitchen cabinets?
When selecting hardware for your kitchen cabinets, consider the overall style of your space. Opt for knobs and pulls that complement your cabinetry and the existing decor. Mixing finishes can add interest, but be sure to maintain a cohesive look by sticking to a color palette that enhances your kitchen’s aesthetic.
What are some affordable ways to create a cozy dining nook in my kitchen?
To create a cozy dining nook, start by adding comfortable seating, such as a bench or cushions. Incorporate affordable textiles like table runners and throw pillows for added comfort. Lastly, consider decorative elements like wall art or plants to make the space inviting and personal without breaking the bank.

