1. Mindful Mandala Coloring: A Step-by-Step Guide for Relaxation
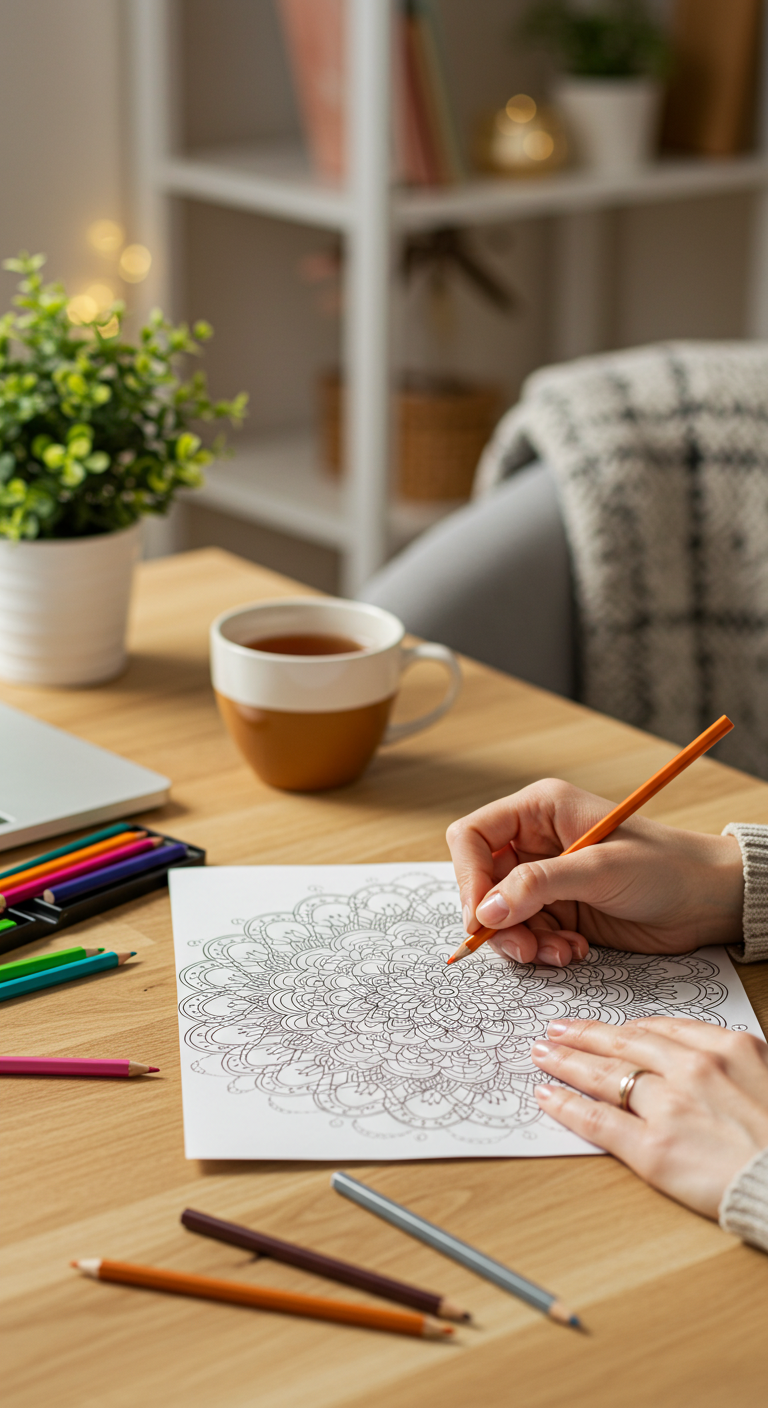
Mindful Mandala Coloring: A Step-by-Step Guide for Relaxation
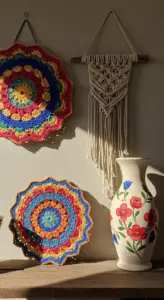
Mindful mandala coloring has gained immense popularity in the DIY & creative crafts community as a powerful tool for relaxation and mindfulness. Engaging in this therapeutic activity allows you to channel your creativity while promoting mental well-being. In this guide, we’ll walk you through the steps to make the most of your mindful coloring experience.
Step-by-Step Guide
- Gather Your Supplies: Start with high-quality coloring materials such as colored pencils, markers, or gel pens. Choose a mandala coloring book or print designs online that resonate with you.
- Create a Calm Space: Find a quiet area where you can focus. Dim the lights, play soft music, or use essential oils to enhance relaxation.
- Set Your Intentions: Before you begin, take a moment to breathe deeply and set an intention for your coloring session. This could be to relax, reflect, or simply enjoy the process.
- Start Coloring: Begin with one section of the mandala. Use colors that evoke positive feelings. Don’t rush; let your creativity flow.
- Practice Mindfulness: Concentrate on the colors, the strokes, and the patterns. If your mind wanders, gently bring your focus back to the coloring.
Expert Tips and Common Mistakes
To maximize your mindful mandala coloring experience, consider these expert tips:
- Experiment with color combinations for added creativity.
- Take breaks if you feel overwhelmed; mindfulness should feel rejuvenating, not stressful.
- Avoid overthinking your design; embrace imperfections as part of the process.
By following these best practices and avoiding common mistakes, you can turn your mandala coloring into a meaningful relaxation ritual. Embrace this creative outlet, and enjoy the journey towards mindfulness and tranquility!
2. Scented Soy Candle Making: Crafting Tranquility at Home
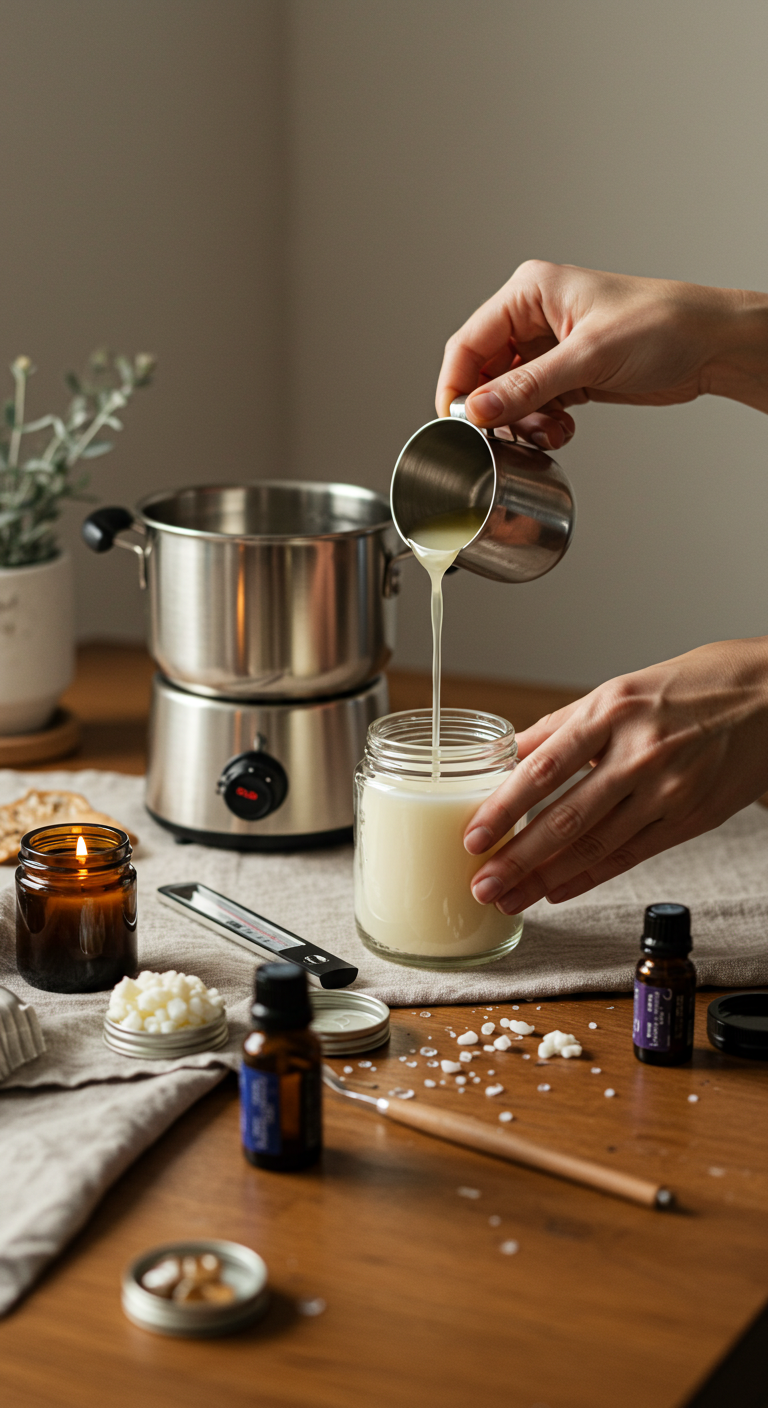
Scented Soy Candle Making: Crafting Tranquility at Home
Creating your own scented soy candles is not just a delightful DIY project; it’s a way to infuse tranquility and warmth into your home. As a popular trend in the world of DIY and creative crafts, soy candles offer a cleaner burn and are eco-friendly compared to traditional paraffin candles.
Essential Materials
- Soy wax flakes
- Candle wicks (preferably cotton or wood)
- Fragrance oils
- Candle dye (optional)
- Heat-resistant containers (glass or metal)
- Double boiler or microwave-safe bowl
- Thermometer
Step-by-Step Process
- Melt the Wax: Using a double boiler, heat the soy wax flakes until fully melted, typically around 170°F.
- Add Fragrance: Once melted, remove from heat and stir in your chosen fragrance oil (use about 1 ounce per pound of wax).
- Prepare Containers: Secure the wick to the bottom of your containers using a bit of melted wax.
- Pour the Wax: Allow the wax to cool slightly (around 140°F) before pouring it into the containers.
- Set and Cure: Let the candles set for at least 24 hours before trimming the wick to ¼ inch.
Expert Tips and Common Mistakes
To ensure your soy candles are perfect:
- Always measure fragrance oils accurately to avoid overwhelming scents.
- Keep an eye on the temperature; pouring too hot can cause the wax to crack.
- Experiment with layering scents for a unique aromatic experience.
By following these best practices and embracing the current trends in scented candle making, you can create beautiful, fragrant candles that enhance your home’s ambiance. Enjoy the process, and let your creativity shine!
3. Natural Stone Painting: Channeling Calm Through Art
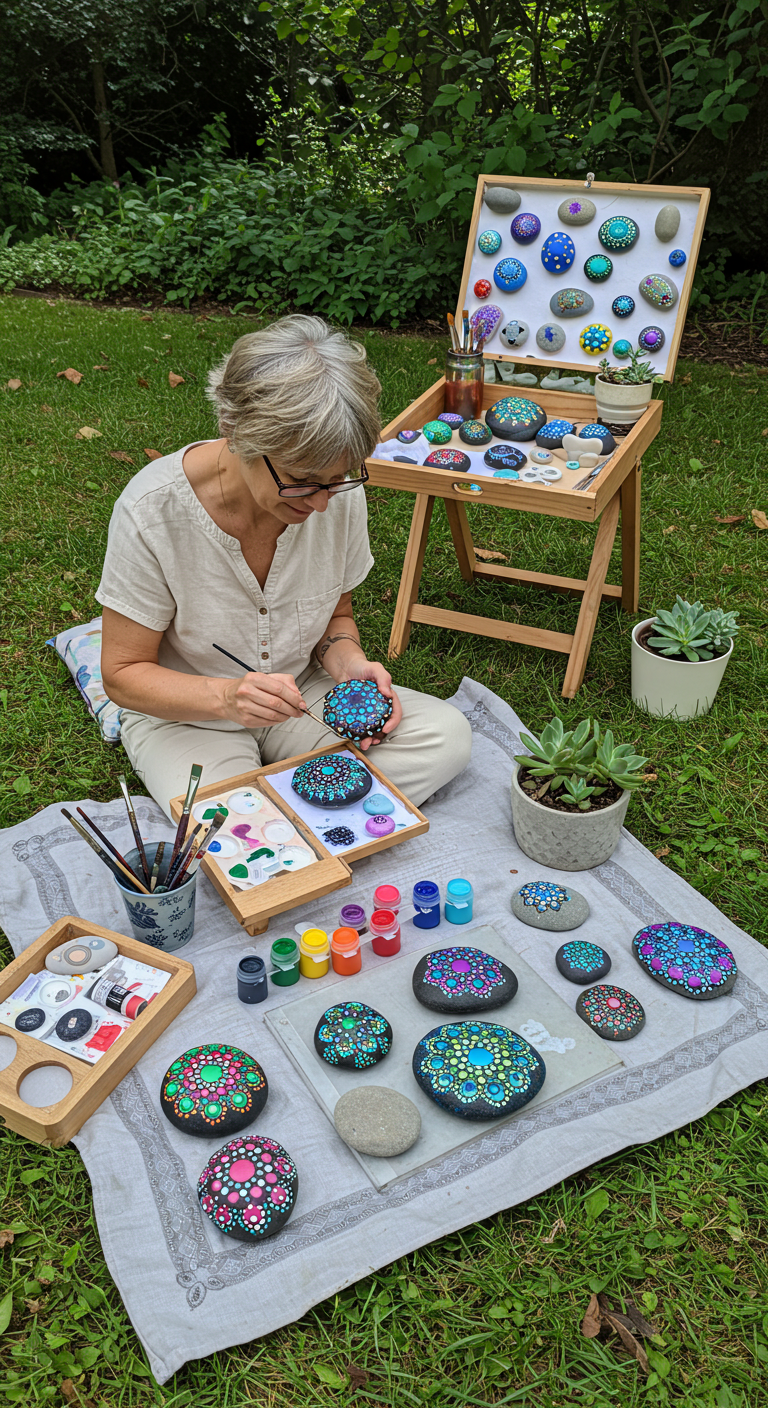
Natural Stone Painting: Channeling Calm Through Art
Natural stone painting is a delightful and therapeutic art form that allows you to connect with nature while expressing your creativity. This DIY craft not only beautifies your surroundings but also promotes mindfulness and relaxation. In this guide, we’ll explore expert-level tips and provide a step-by-step approach to help you get started on your artistic journey.
Step-by-Step Guidance
- Gather Your Materials: You’ll need smooth, clean stones, acrylic paints, paintbrushes, a palette, and a sealant. Opt for stones that inspire you.
- Prepare Your Workspace: Set up a well-lit area with newspaper or a drop cloth to catch any paint spills.
- Design Your Stones: Sketch out your designs on paper first. Popular trends include mandalas, nature scenes, or inspirational quotes.
- Paint with Purpose: Apply your base coat and allow it to dry completely before adding details. Use fine brushes for intricate designs.
- Seal Your Artwork: Once dry, apply a clear sealant to protect your art from the elements.
Expert Tips and Common Mistakes to Avoid
- Tip: Use high-quality acrylic paints for vibrant colors and longevity.
- Avoid: Skipping the drying time between coats; this can lead to smudging.
- Tip: Practice different techniques on scrap stones before committing to your final piece.
- Avoid: Choosing overly complicated designs for your skill level; simplicity often leads to stunning results.
Best Practices for Natural Stone Painting
Stay current with trends by exploring social media platforms like Pinterest and Instagram for inspiration. Participate in local art groups to share your creations and gain feedback. Remember, natural stone painting is about the journey as much as the end product; embrace the process and let your creativity flow!
By channeling calm through art, you not only create beautiful pieces but also foster a sense of tranquility in your life. Happy crafting!
4. Knitted Cozies: Crafting Warmth and Comfort for Your Home
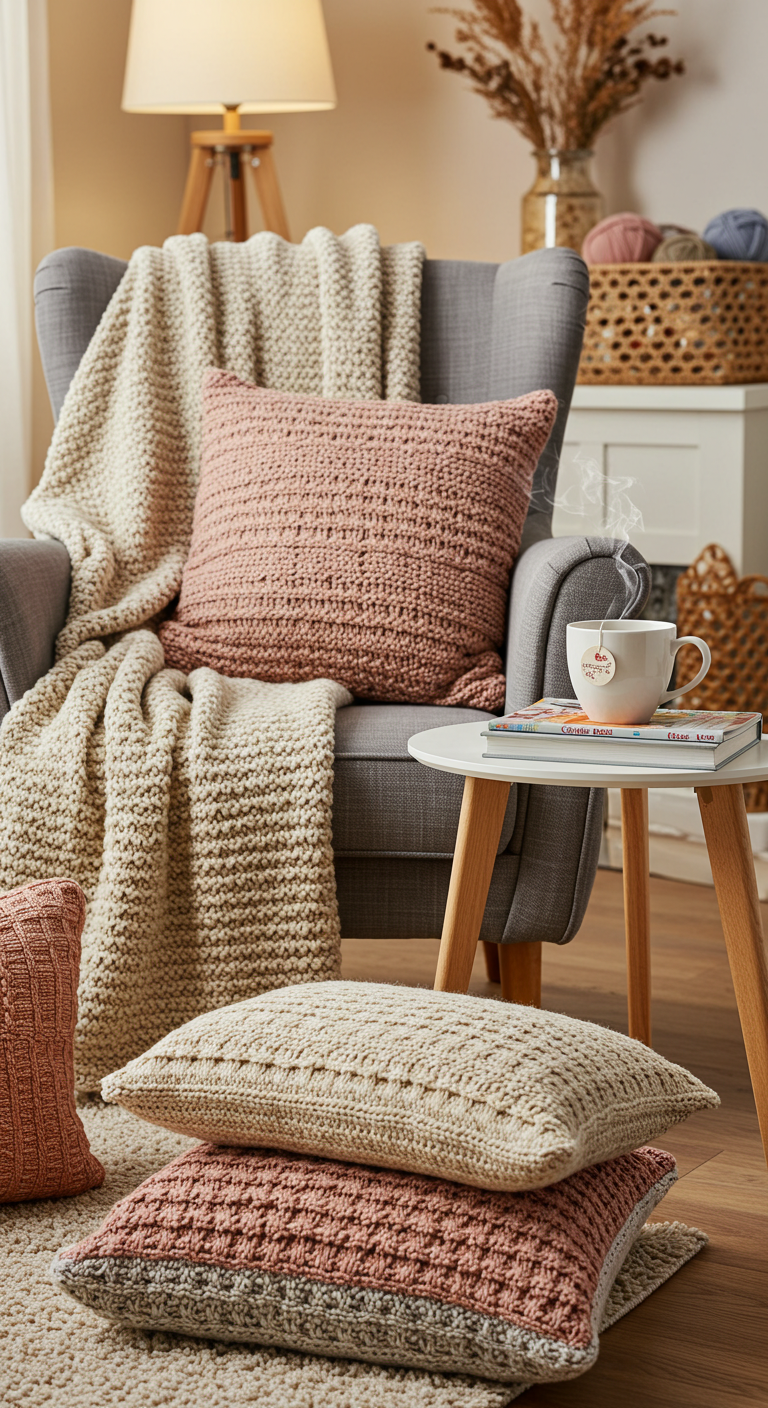
Knitted Cozies: Crafting Warmth and Comfort for Your Home
Knitted cozies are a delightful way to infuse warmth and comfort into your home decor. These charming accessories not only add a personal touch but also serve practical purposes, from keeping your beverages warm to protecting surfaces. As DIY enthusiasts embrace the current trend of sustainable crafting, knitted cozies offer an eco-friendly way to utilize leftover yarns while enhancing your living space.
Getting Started: Materials and Techniques
To create your own knitted cozies, you will need:
- Soft, medium-weight yarn (acrylic or wool works best)
- Knitting needles (size appropriate for your yarn)
- Measuring tape
- Scissors
- Tapestry needle for weaving in ends
Begin by measuring the item you wish to cozy up, such as a mug or plant pot. Cast on stitches based on your measurement, and utilize basic knitting techniques like the garter stitch or ribbing for elasticity.
Expert Tips and Common Mistakes to Avoid
To ensure your knitted cozies are both functional and stylish, consider the following tips:
- Choose a color palette that complements your home decor.
- Experiment with various textures for a unique look.
- Avoid overly tight stitches, which can restrict flexibility.
Remember to block your finished cozies to achieve a polished finish, allowing them to maintain their shape and enhance their durability.
Best Practices for Knitting Cozies
Incorporate current trends by adding embellishments like pom-poms or buttons. These details can elevate your cozies from simple to stunning. Share your creations on social media platforms to inspire others and connect with the DIY community.
Embrace the art of knitted cozies to transform your home into a haven of warmth and comfort. With practice and creativity, you’ll find endless possibilities for this versatile craft!
5. Zen Garden Creations: DIY Projects for Inner Peace
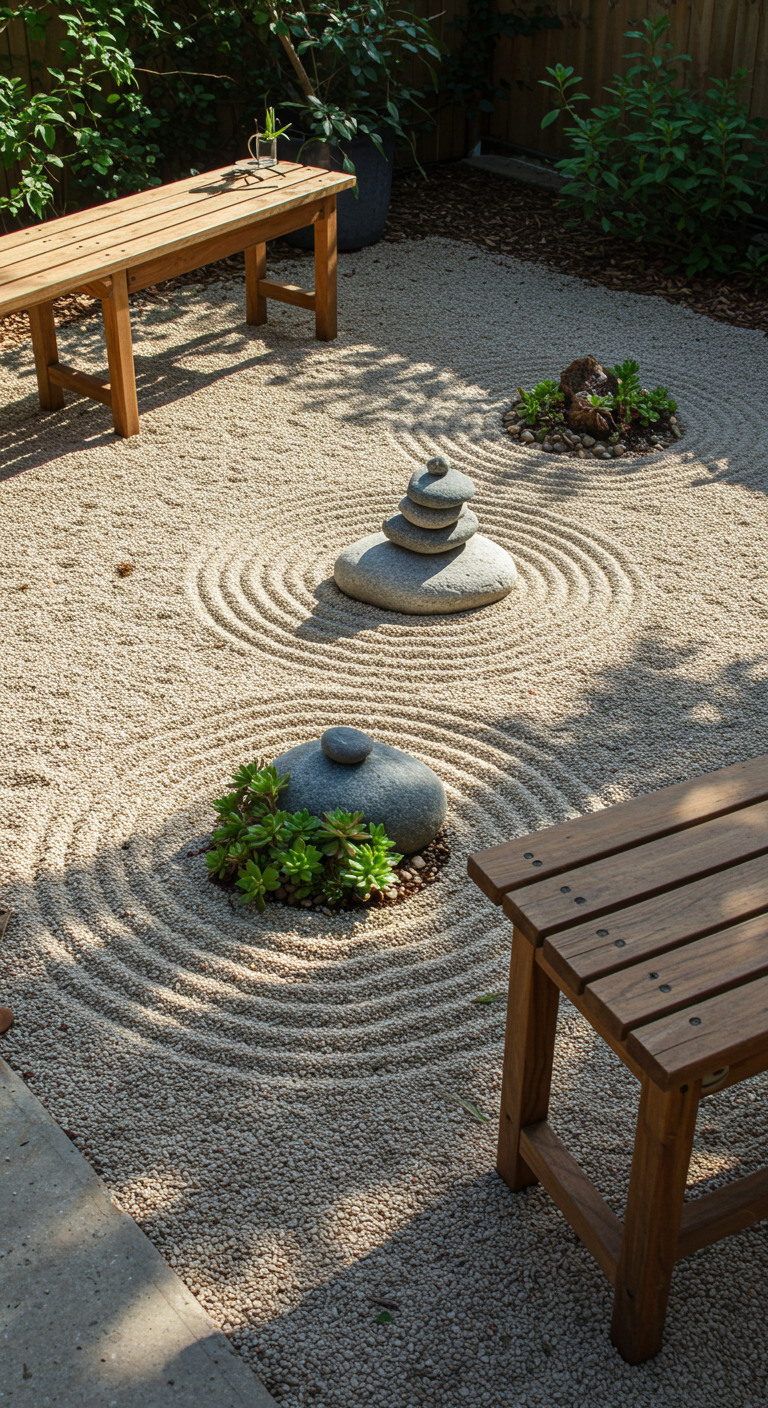
Zen Garden Creations: DIY Projects for Inner Peace
Creating a Zen garden at home is an excellent way to cultivate inner peace and mindfulness. These tranquil spaces not only beautify your surroundings but also provide a serene environment for meditation and relaxation. Here are some expert-level DIY projects to help you design your own Zen garden.
1. Choosing the Right Location
Before you start your Zen garden creation, select a quiet area in your yard or indoors where you can retreat. Ensure it receives adequate sunlight, as natural light enhances the calming effect of the garden.
2. Essential Materials
- Sand or gravel (for raked patterns)
- Rocks (symbolizing mountains)
- Plants (like succulents or moss for greenery)
- Wooden borders or stones (to define your garden space)
3. Step-by-Step Guidance
- Prepare the Space: Clear the area of debris and weeds.
- Set Borders: Use wooden planks or stones to outline your garden.
- Add Sand or Gravel: Pour a layer of sand or gravel, smoothing it out for an even surface.
- Incorporate Rocks: Strategically place rocks to create focal points.
- Add Plants: Incorporate low-maintenance plants to enhance the natural feel.
- Rake Patterns: Use a rake to create soothing patterns in the sand, promoting mindfulness.
Expert Tips and Tricks
To elevate your Zen garden, consider adding a small water feature or a bamboo fountain. Ensure you avoid overcrowding your garden with too many plants or decorations, as simplicity is key to achieving tranquility.
Common Mistakes to Avoid
- Neglecting maintenance – Regularly rake the sand to maintain patterns.
- Overlooking drainage – Ensure water can escape to prevent plant rot.
- Choosing invasive plants – Opt for non-invasive varieties to keep your garden balanced.
Best Practices
Stay updated on current trends in DIY and creative crafts by following blogs and social media channels focused on home improvement. Remember, the ultimate goal of your Zen garden is to create a peaceful retreat—let your creativity flow while maintaining harmony.
By following these steps, you can create a beautiful Zen garden that fosters inner peace and mindfulness, making it a perfect addition to your lifestyle.
6. Watercolor Painting Techniques: Expressive Calm for Beginners
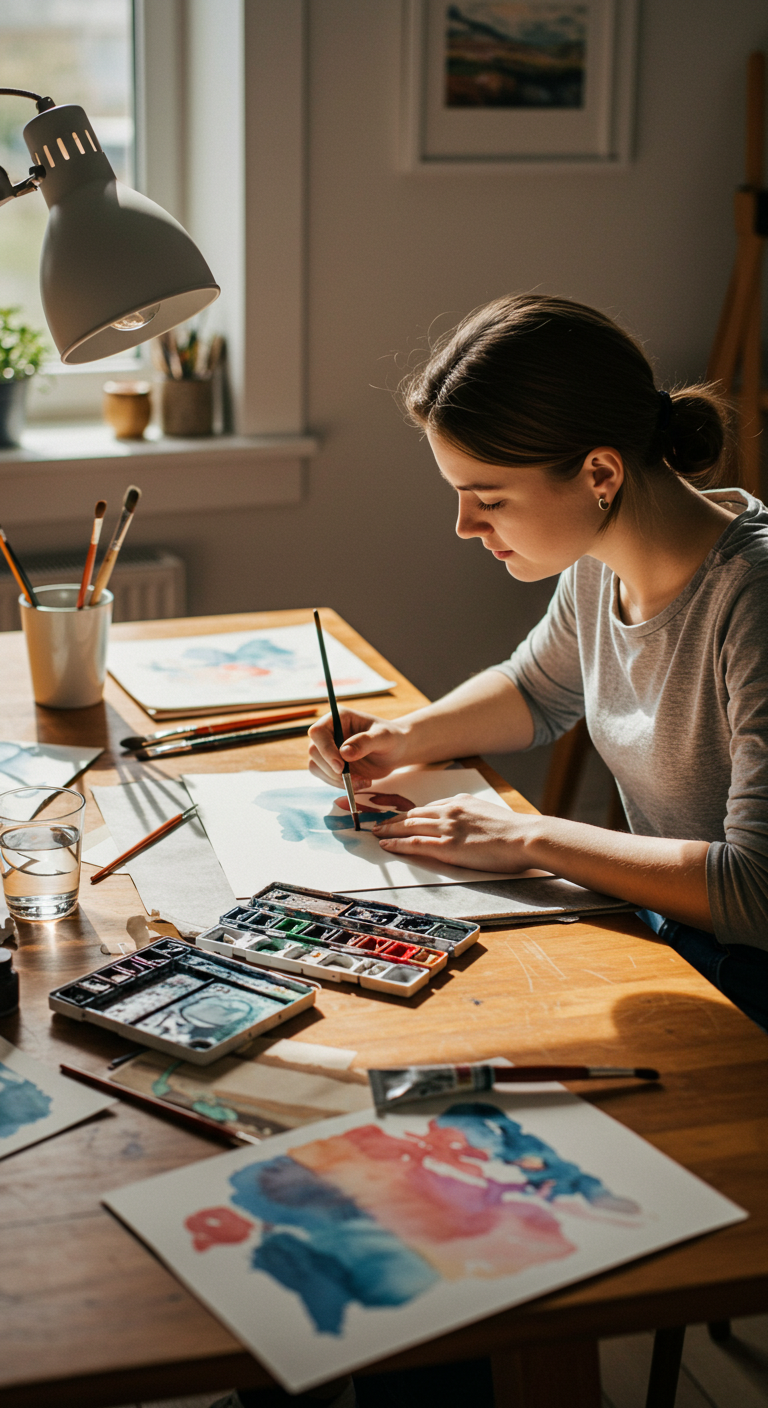
Watercolor Painting Techniques: Expressive Calm for Beginners
Watercolor painting is a beautiful and therapeutic way to express creativity. For beginners, exploring various watercolor techniques can unlock a world of calm and expressive art. Here are essential techniques to get you started.
Basic Techniques to Try
- Wet-on-Wet: Apply water to the paper before adding paint. This technique creates soft edges and blends colors seamlessly, ideal for landscapes and dreamy skies.
- Wet-on-Dry: Paint onto dry paper for sharper lines and more defined shapes. This is perfect for detailed illustrations and floral designs.
- Glazing: Layer transparent washes over dried paint to create depth. This is a great way to build up color without losing luminosity.
Step-by-Step Guide to a Simple Landscape
- Start with a clean sheet of watercolor paper.
- Using the wet-on-wet technique, wet the top half of the paper.
- Drop in blues and purples to create a sky, letting colors blend naturally.
- Once dry, use the wet-on-dry technique to add a distant mountain range.
- Finish with a foreground of green fields using glazing for added depth.
Expert Tips and Tricks
Keep these best practices in mind:
- Invest in quality watercolor paints and brushes for better results.
- Practice patience; allow layers to dry completely before adding more.
Common Mistakes to Avoid
Avoid overworking your paint. This can lead to muddy colors and loss of vibrancy. Remember, the beauty of watercolor lies in its spontaneity!
With these watercolor painting techniques, you can find your expressive calm while creating beautiful art. Dive into the world of DIY and let your creativity flow!
7. Handmade Herbal Bath Salts: Soothing Spa Experience at Home
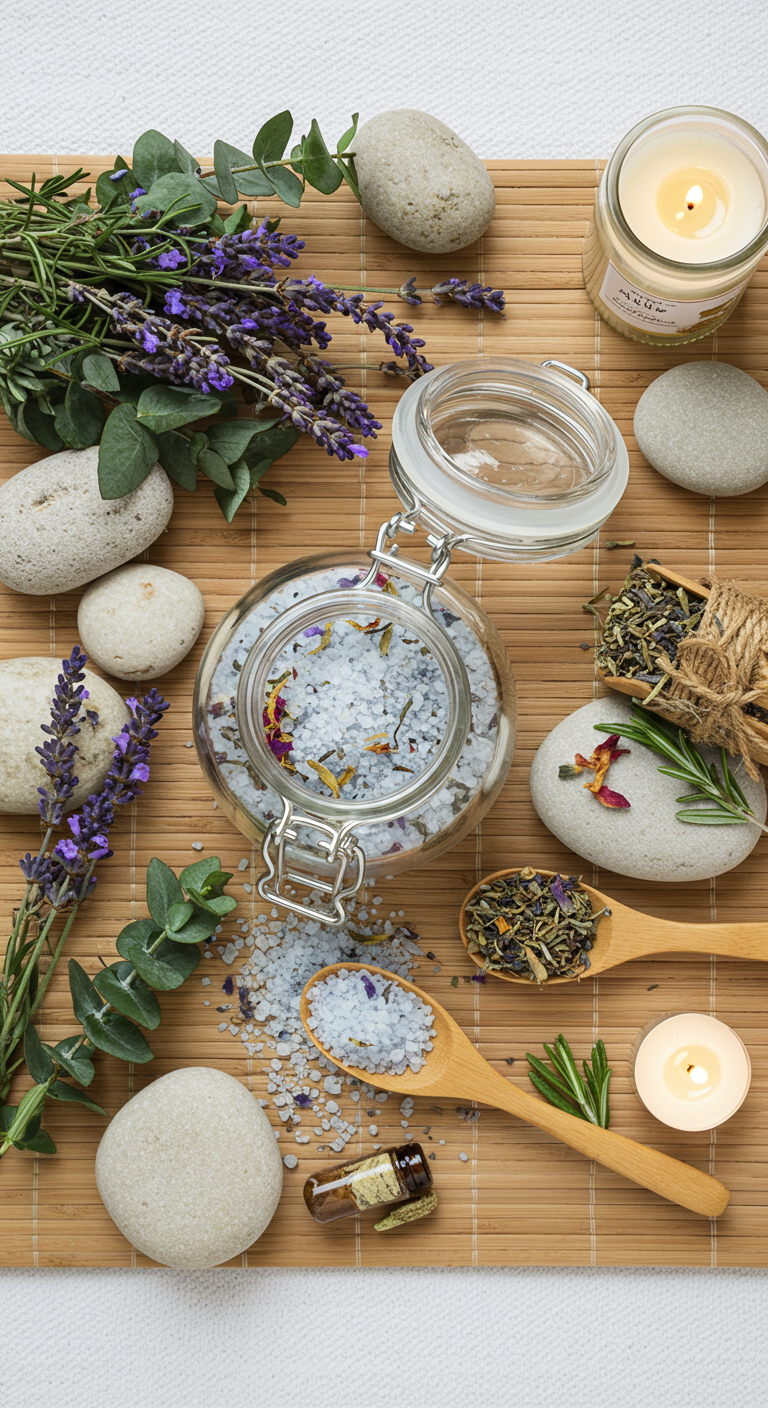
Handmade Herbal Bath Salts: Soothing Spa Experience at Home
Create your own handmade herbal bath salts for a soothing spa experience right in the comfort of your home. This trending DIY craft not only elevates your bathing routine but also provides numerous therapeutic benefits, transforming your bathroom into a tranquil oasis.
Ingredients You’ll Need
- 1 cup Epsom salt
- 1 cup sea salt or Himalayan pink salt
- 1/2 cup baking soda
- Essential oils (lavender, eucalyptus, or chamomile)
- Dried herbs (rose petals, calendula, or rosemary)
- Food coloring (optional)
Step-by-Step Guide
- Mix the Base: In a large bowl, combine Epsom salt, sea salt, and baking soda. Stir well to ensure an even mixture.
- Add Fragrance: Incorporate 10-15 drops of your chosen essential oils. Lavender promotes relaxation, while eucalyptus is invigorating.
- Incorporate Herbs: Gently fold in your dried herbs for added visual appeal and aroma.
- Color It Up: If desired, add a few drops of food coloring for a personalized touch. Mix thoroughly.
- Store: Transfer your bath salts into an airtight jar to preserve freshness.
Expert Tips and Tricks
To enhance your herbal bath experience, consider these best practices:
- Use organic ingredients to avoid chemicals.
- Test essential oil blends on a small skin patch to prevent irritation.
- Experiment with different herbs for unique benefits.
Common Mistakes to Avoid
Many DIY enthusiasts overlook a few key aspects:
- Overusing essential oils, which can lead to skin sensitivity.
- Not sealing the jar properly, allowing moisture to degrade the salts.
- Choosing low-quality salts, which can impact the overall experience.
By creating your own handmade herbal bath salts, you can indulge in a luxurious, spa-like experience without leaving home. This DIY project not only uplifts your bathing ritual but also allows for personalization, making it a thoughtful gift for loved ones.
8. Fabric Collage Art: Create a Calming Visual Story
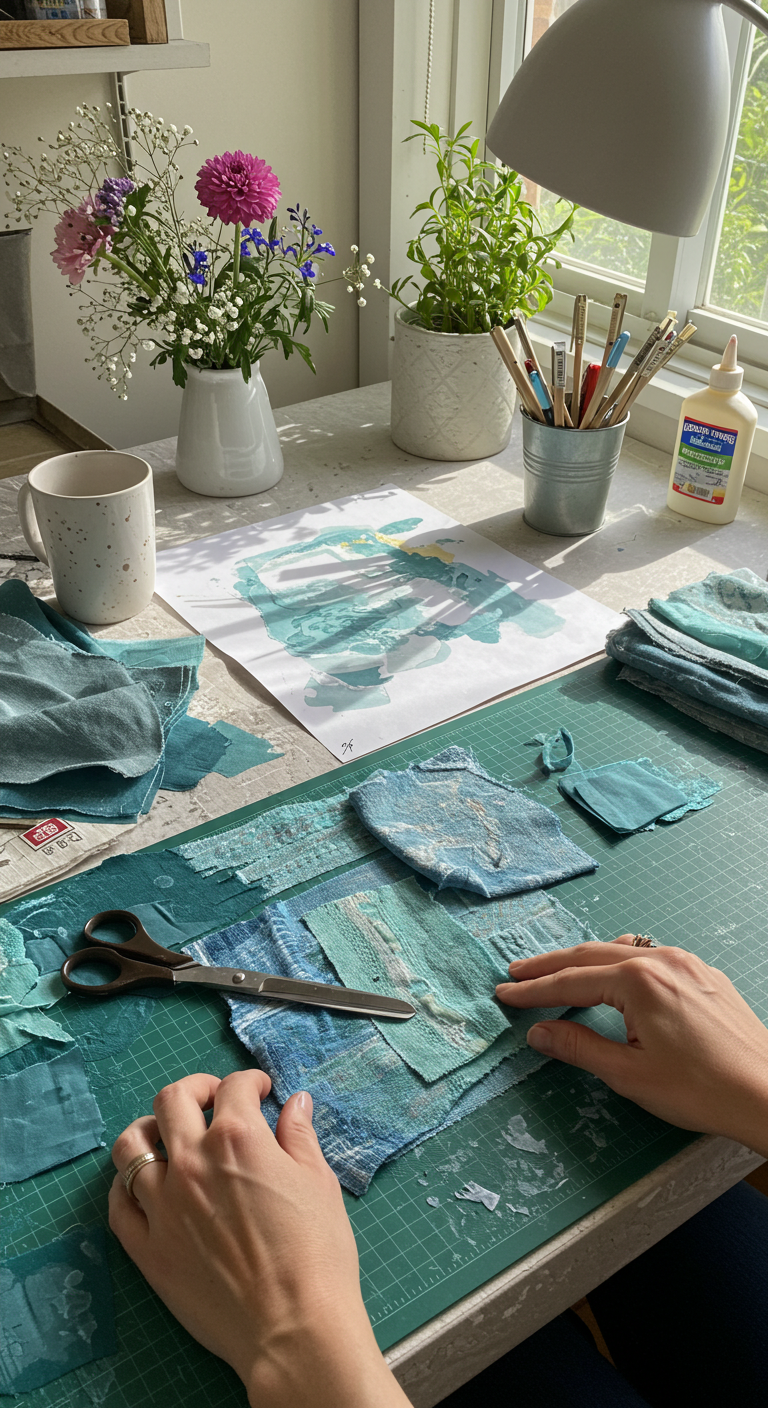
Fabric Collage Art: Create a Calming Visual Story
Fabric collage art is a captivating way to express creativity while promoting mindfulness. This artistic practice involves layering various fabric pieces to create a soothing visual narrative. Not only does it serve as a creative outlet, but it also allows for therapeutic benefits, making it a popular trend in the DIY and creative crafts community.
Materials You’ll Need
- Assorted fabrics (cotton, silk, linen)
- Scissors
- Fabric glue or a sewing machine
- Canvas or sturdy backing
- Optional: embellishments like buttons, beads, or threads
Step-by-Step Guidance
- Select a Theme: Choose a calming theme such as nature, dreams, or emotions to guide your color and fabric choices.
- Prepare Your Fabrics: Cut your fabrics into various shapes and sizes. Think about textures and patterns that evoke tranquility.
- Layering Technique: Start layering the fabric pieces on your backing. Play with placement until you find a composition that feels visually appealing.
- Adhere the Pieces: Use fabric glue or sew the pieces down carefully. Ensure everything is secure to prevent peeling.
- Finish and Display: Add any embellishments for extra texture, then let your artwork dry completely before displaying it.
Expert Tips & Common Mistakes to Avoid
To achieve a professional look, consider the following:
- Choose a cohesive color palette to maintain harmony.
- Avoid overcrowding your composition; less is often more.
- Experiment with different textures to create depth.
Fabric collage art is not only about aesthetics; it’s about storytelling through texture and color. By following these expert tips and embracing your creativity, you can create a calming visual story that resonates with your personal experiences. Dive into this trending craft and enjoy the therapeutic benefits it brings!
9. Macramé Wall Hangings: Knots for Serenity and Style
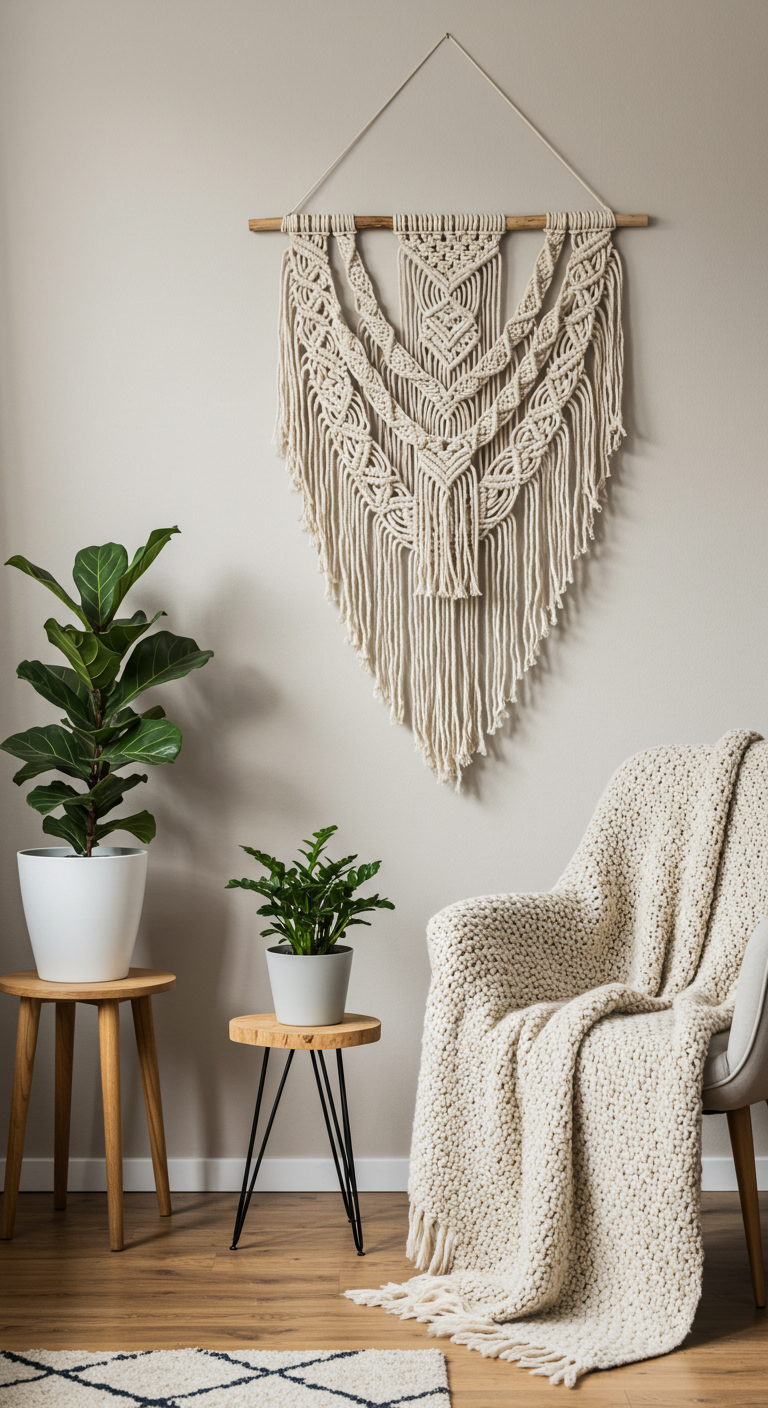
Macramé Wall Hangings: Knots for Serenity and Style
Macramé wall hangings are not just a trend; they embody a blend of artistry and tranquility, making them a perfect addition to any lifestyle space. Combining intricate knots with natural materials, these pieces serve as a striking focal point while promoting a sense of serenity. Here’s how to create your own macramé masterpiece.
Getting Started with Macramé
To begin, gather the essential materials: thick cotton cord, a wooden dowel, scissors, and a measuring tape. Choose a color palette that complements your home decor, as neutral tones are trending this season.
Step-by-Step Guidance
- Measure and Cut: Cut your cotton cord into lengths of about 4-6 times the desired finished length of your wall hanging.
- Attach Cords: Fold the cords in half and attach them to the dowel using a lark’s head knot.
- Create Patterns: Use various knots like square knots and spiral knots to form unique patterns. Remember, practice makes perfect!
- Finish Off: Once you’re satisfied with your design, trim the ends to your desired length and hang your creation.
Expert Tips and Common Mistakes to Avoid
- Tip: Keep your tension consistent while knotting to ensure a uniform look.
- Mistake: Avoid using cords that are too thin; they can make your piece look flimsy.
- Best Practice: Experiment with different knots to create texture and depth.
Macramé wall hangings are more than just decor; they are a statement of style and serenity. By incorporating these expert tips and avoiding common pitfalls, you can elevate your space with a personal touch that reflects your unique aesthetic.
10. Dried Flower Arrangements: Nature-Inspired Tranquility
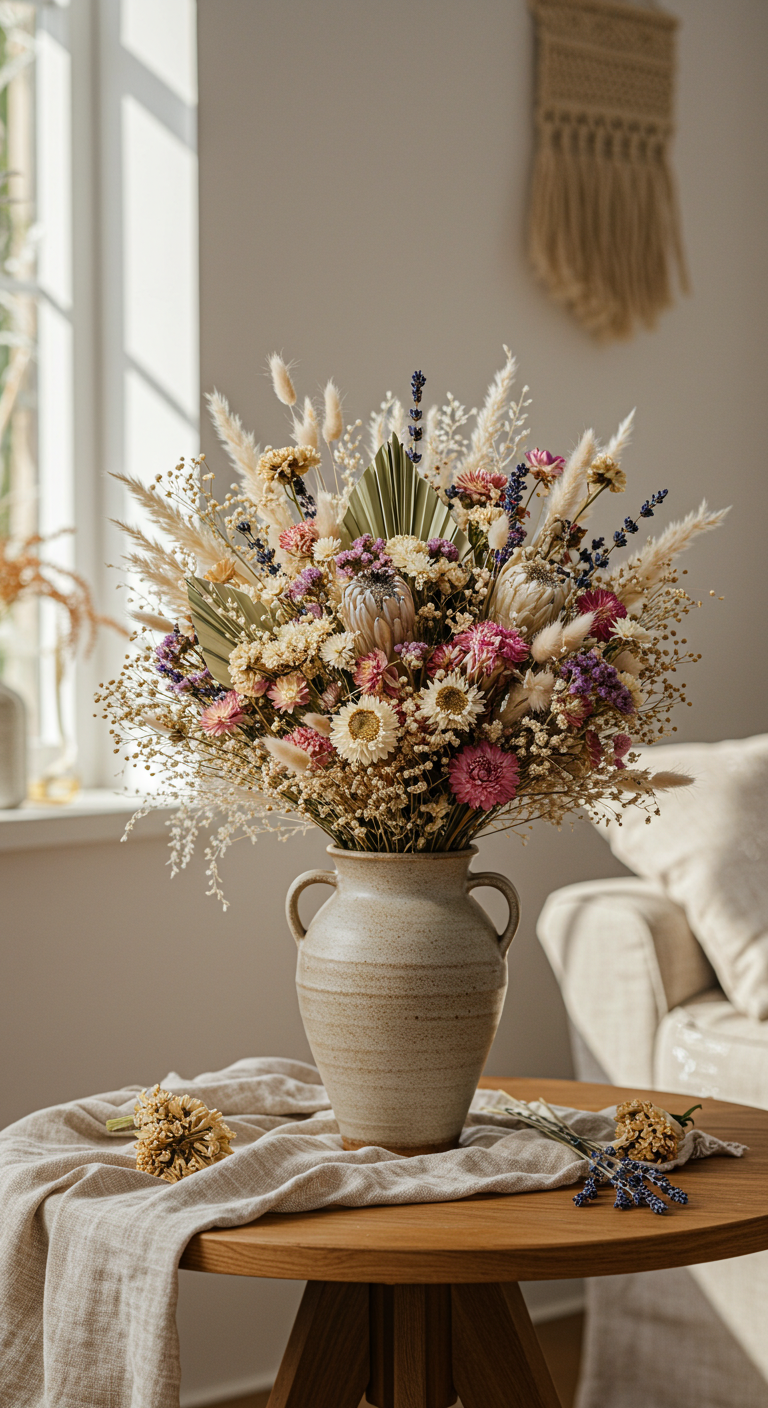
Dried Flower Arrangements: Nature-Inspired Tranquility
Dried flower arrangements are a stunning way to bring a touch of nature-inspired tranquility into your home. With their long-lasting beauty and unique textures, these arrangements serve as both decor and conversation starters. In this guide, we’ll explore current trends, expert tips, and step-by-step guidance to create your own dried flower masterpiece.
Current Trends in Dried Flower Arrangements
As sustainability becomes paramount in DIY crafts, dried flowers are increasingly popular due to their eco-friendly nature. Trends include:
- Minimalist designs featuring a single type of flower.
- Bohemian styles with mixed textures and colors.
- Seasonal arrangements that reflect the changing seasons.
Step-by-Step Guide to Creating Dried Flower Arrangements
- Select Your Flowers: Choose a variety of dried flowers like lavender, eucalyptus, and statice.
- Prepare Your Base: Use a decorative vase or a rustic jar for a charming look.
- Layer Your Flowers: Start with the taller stems at the back, gradually layering shorter ones in front.
- Secure the Arrangement: Use floral tape or glue dots to hold the flowers in place.
- Finishing Touches: Add embellishments like twine or feathers for extra flair.
Expert Tips and Common Mistakes to Avoid
To ensure your dried flower arrangement stands the test of time, keep these expert tips in mind:
- Use flowers that retain their color and shape well, such as strawflowers or hydrangeas.
- Avoid direct sunlight to prevent fading.
- Dust your arrangements regularly to maintain their visual appeal.
By following these best practices, you’ll create stunning dried flower arrangements that not only beautify your space but also bring a sense of calm and connection to nature.
11. Journaling with Intent: Crafting Mindfulness Pages
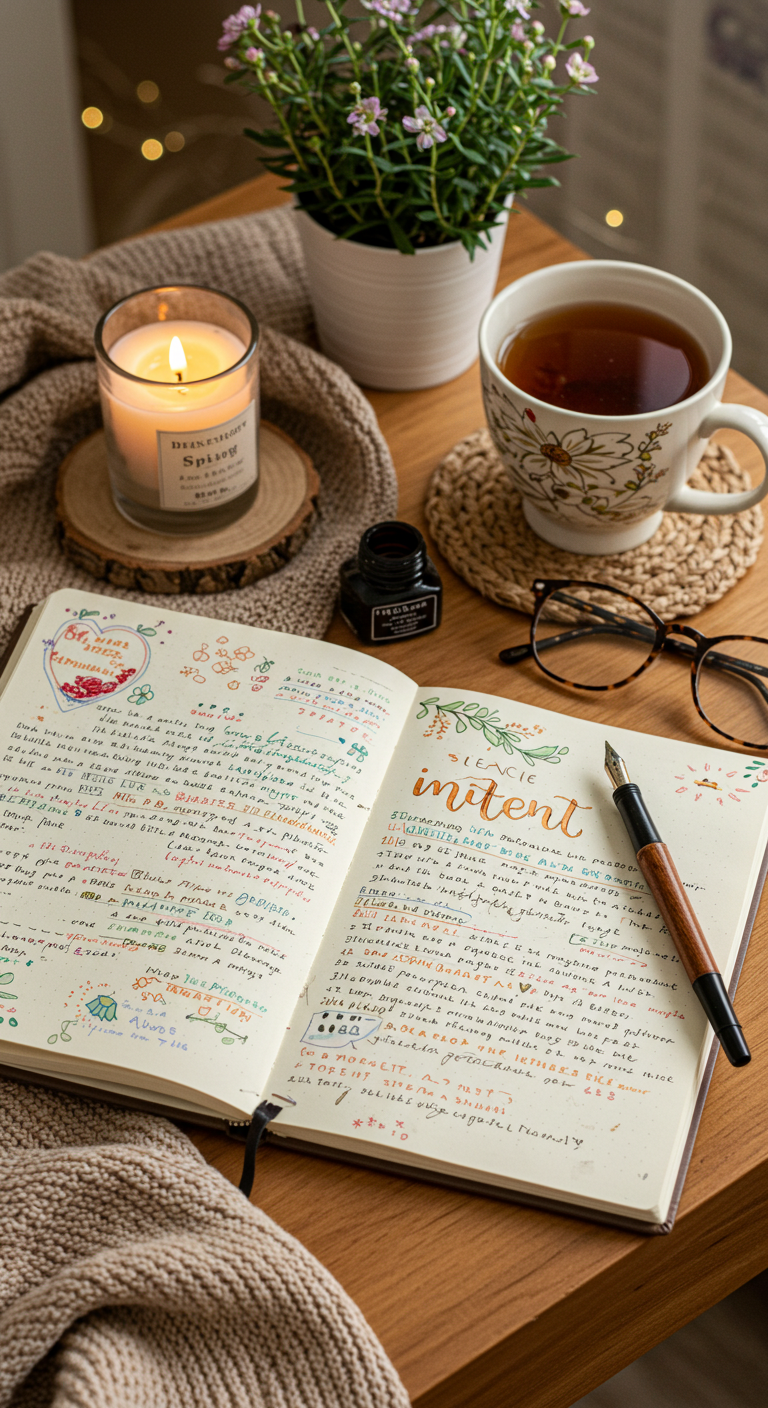
Journaling with Intent: Crafting Mindfulness Pages
Journaling with intent is a powerful way to enhance mindfulness and self-awareness in our busy lives. By crafting mindfulness pages, you can create a dedicated space for reflection, gratitude, and personal growth. Here’s how to get started.
Gather Your Supplies
Before diving into your mindfulness pages, gather the following materials:
- High-quality journal or notebook
- Colorful pens and markers
- Stickers or washi tape
- Inspirational quotes or images
Step-by-Step Guidance
Follow these steps to create effective mindfulness pages:
- Set Your Intent: Begin by writing down your purpose for journaling. This could be stress relief, self-discovery, or gratitude.
- Choose Themes: Select themes for your pages, such as “Gratitude,” “Daily Reflections,” or “Goals.”
- Design Your Pages: Use various layouts like bullet points or mind maps. Incorporate doodles and colors to make it visually appealing.
- Reflect Regularly: Schedule dedicated time each week to revisit your pages, allowing you to track your progress and feelings.
Expert Tips and Common Mistakes
To make the most of your journaling experience, consider these expert tips:
- Be consistent but flexible; allow your journaling to evolve.
- Avoid perfectionism; focus on expression rather than aesthetics.
- Experiment with different formats like bullet journaling or art journaling.
Crafting mindfulness pages is a delightful way to enhance your journaling practice. By incorporating these best practices and avoiding common mistakes, you can foster a deeper connection with yourself through your creative journey.
12. Creative Adult Puzzle Making: Engaging Your Mind for Calm
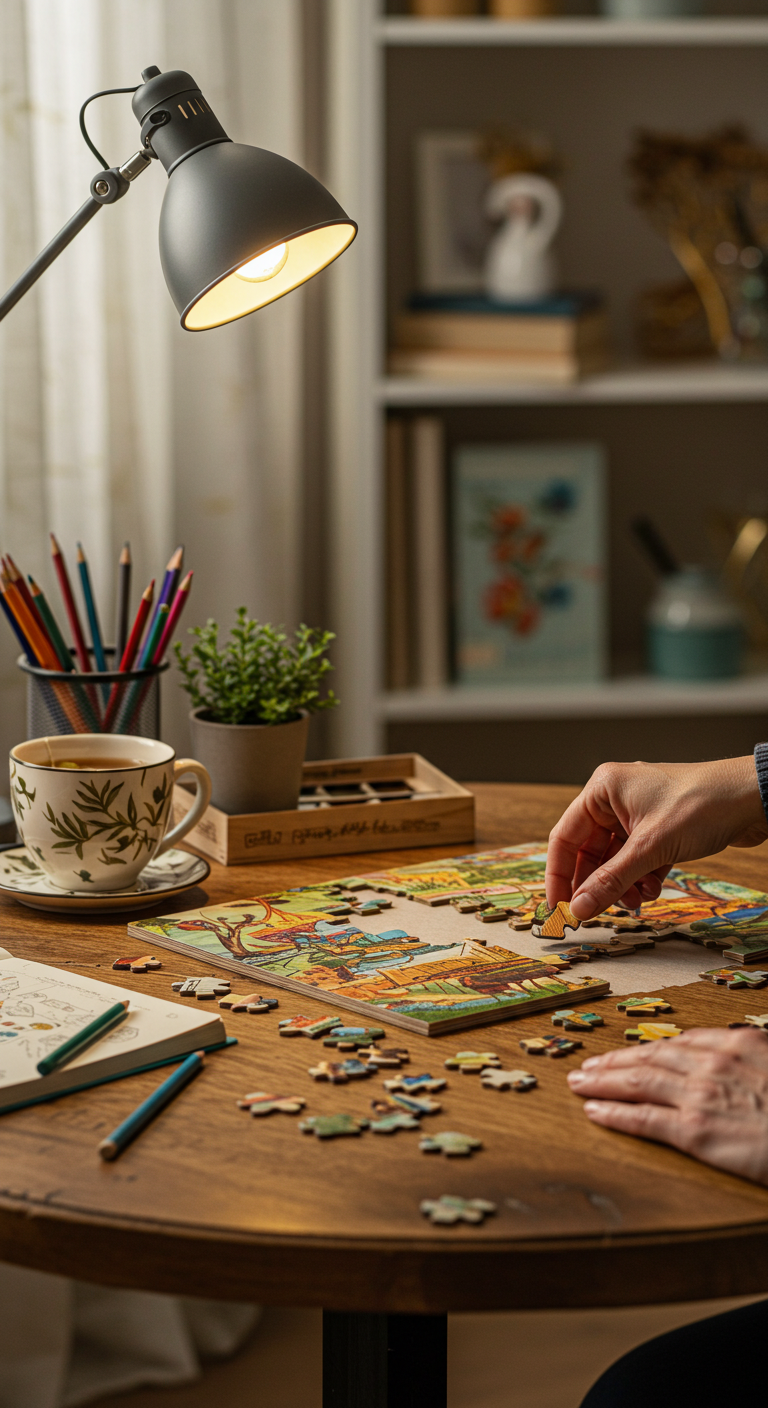
Creative Adult Puzzle Making: Engaging Your Mind for Calm
Engaging in creative adult puzzle making is an excellent way to unwind while stimulating your mind. This calming activity not only improves concentration but also promotes mindfulness, making it a perfect hobby for busy adults seeking relaxation.
Getting Started with Puzzle Making
To create your own personalized puzzles, follow these steps:
- Select Your Image: Choose a photo or artwork that resonates with you. Current trends favor vibrant landscapes or intricate mandalas.
- Choose Your Materials: Use sturdy cardboard or high-quality wood. Consider eco-friendly options to align with sustainable crafting practices.
- Print and Prepare: Print your image in the desired size. Adhere it to your chosen base using Mod Podge for a smooth finish.
- Cut Your Pieces: Use a craft knife or jigsaw to cut out unique shapes. Aim for a variety of piece sizes to enhance the challenge.
Expert Tips and Tricks
To elevate your puzzle-making experience, consider the following:
- Use a template for consistent piece sizes.
- Experiment with layering different images for a mixed-media effect.
- Join local crafting clubs or online forums to share ideas and gain inspiration.
Common Mistakes to Avoid
While crafting your puzzle, be aware of these pitfalls:
- Using low-quality materials, which can lead to a poor final product.
- Rushing the cutting process, which may result in uneven pieces.
- Neglecting to varnish your finished puzzle, risking damage over time.
By engaging in creative adult puzzle making, you can enjoy a fulfilling and meditative pastime. Embrace the process, and don’t forget to share your creations with friends for an added layer of enjoyment!
Frequently Asked Questions
How can I get started with mindful mandala coloring for relaxation?
To get started with mindful mandala coloring, choose a quiet space and gather your coloring materials, such as colored pencils or markers. Begin by selecting a mandala design that resonates with you, and focus on filling in each section with color while breathing deeply and allowing your mind to relax.
Why is scented soy candle making considered a calming craft?
Scented soy candle making is calming because it engages multiple senses—sight, smell, and touch—creating a therapeutic experience. The process of melting wax, blending fragrances, and pouring candles allows for mindfulness, while the soothing scents can help reduce stress and enhance relaxation in your home environment.
What materials do I need for natural stone painting?
For natural stone painting, you will need smooth stones, acrylic paints, paintbrushes, and a sealant to protect your artwork. Optional materials include a palette for mixing colors and stencils for intricate designs. This simple setup allows for creativity while promoting relaxation through the artistic process.
How do I troubleshoot issues with my knitted cozies?
If you encounter issues with your knitted cozies, such as uneven stitches or incorrect sizing, review your tension and knitting technique. Take the time to practice basic stitches and consider using a stitch marker to track rows. If necessary, unravel and re-knit sections to correct any mistakes and ensure a cozy, finished product.
What are the best practices for creating a Zen garden at home?
To create a Zen garden at home, select a quiet area and use materials like sand, gravel, and stones to design your layout. Incorporate elements like plants or small sculptures, and regularly rake the sand to maintain a calming appearance. This ritualistic care encourages mindfulness and can significantly enhance your sense of peace and tranquility.


