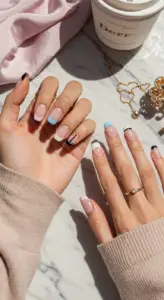
1. Revamping the Classic: Ombre French Manicure Techniques

Revamping the Classic: Ombre French Manicure Techniques
The ombre French manicure is a stylish twist on the traditional French tip, seamlessly blending colors for a modern, chic appearance. This nail art technique has taken the beauty world by storm, allowing for endless customization while keeping a classic touch. Whether you’re preparing for a special occasion or just want to elevate your everyday look, here’s how to achieve the perfect ombre French manicure.
Step-by-Step Guidance
- Prepare Your Nails: Start with clean, filed nails. Push back cuticles and apply a base coat to protect your natural nails.
- Choose Your Colors: Opt for a nude base and a complementary tip color. Trending combinations include soft pinks with whites or vibrant shades like lavender and mint.
- Apply the Base Color: Paint your nails with the nude polish and let it dry completely.
- Create the Ombre Effect: Using a makeup sponge, dab the tip color onto the sponge and lightly press it onto the tips of your nails, blending towards the base. Repeat until you achieve your desired gradient.
- Seal the Look: Finish with a top coat for shine and durability.
Expert Tips and Tricks
- Use a latex barrier around your cuticles for easy cleanup.
- Experiment with color combinations to find what suits your style.
- Keep your sponge damp, not wet, for smoother application.
Common Mistakes to Avoid
To ensure a flawless ombre French manicure, avoid these pitfalls:
- Skipping the base coat, which can lead to staining.
- Using too much product on the sponge, causing uneven blending.
- Neglecting to let each layer dry thoroughly before moving on.
The ombre French manicure is not only a sophisticated style but also a canvas to express your creativity. By following these expert techniques, you’ll be well on your way to revamping this classic look with a trendy twist!
2. Geometric French Tips: Modern Designs for Chic Nail Art
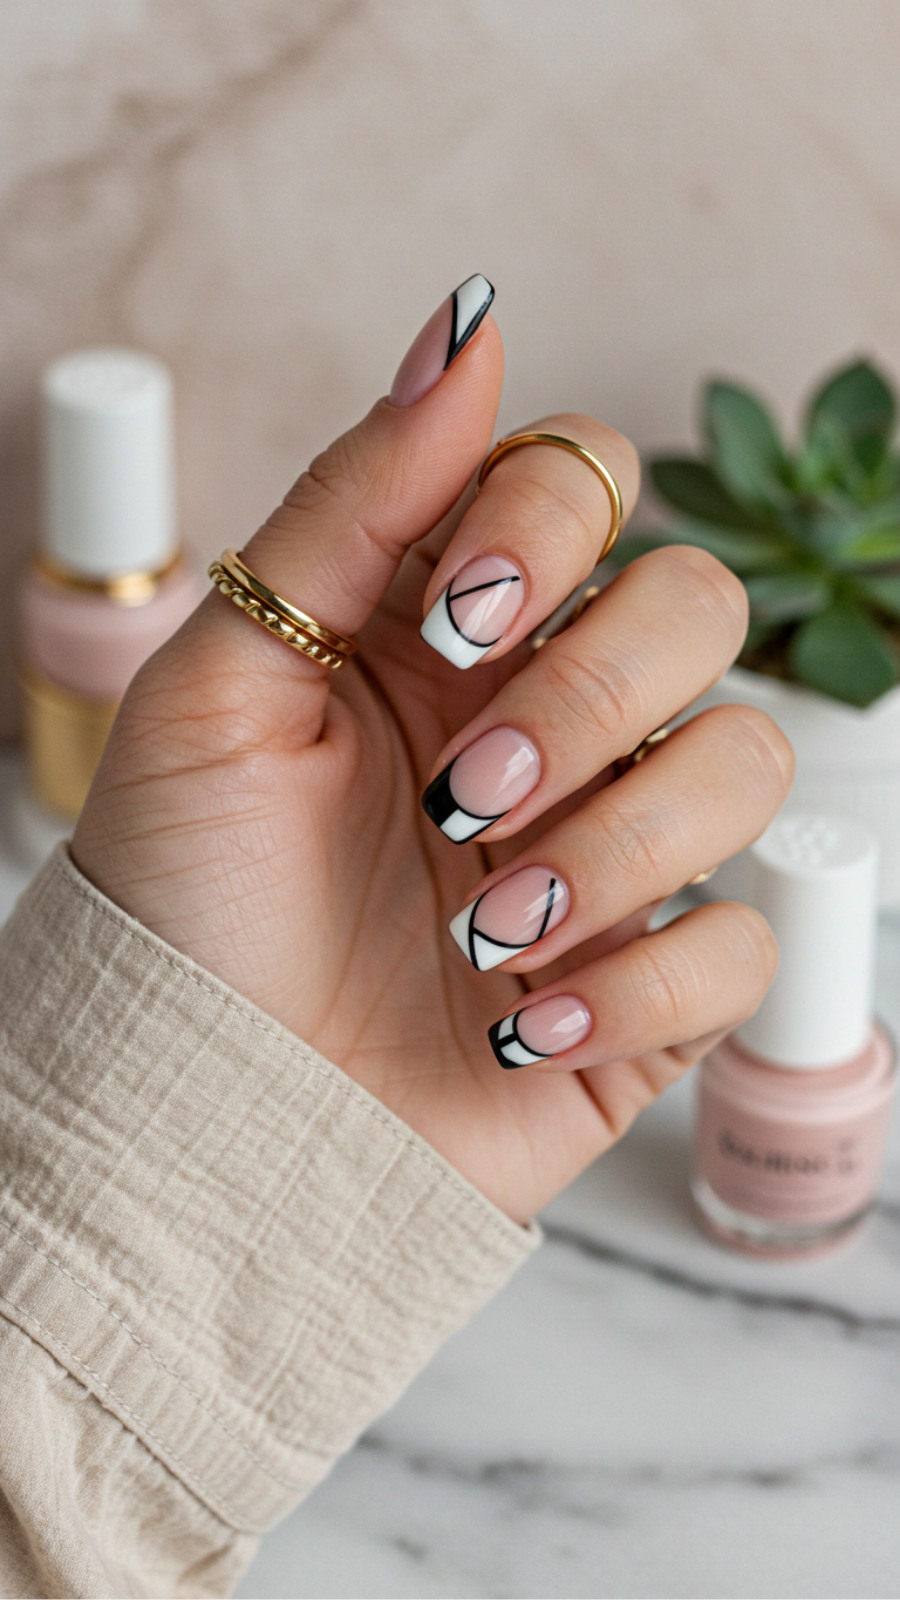
Geometric French Tips: Modern Designs for Chic Nail Art
Elevate your nail game with geometric French tips, a contemporary twist on the classic manicure. This chic nail art trend combines the elegance of traditional French tips with modern geometric shapes, creating a stylish statement perfect for any occasion.
Current Trends in Geometric French Tips
Currently, geometric French tips are all about bold colors and unique patterns. Think asymmetrical lines, negative space, and vibrant hues that can transform the classic look into a work of art. Popular designs include triangular tips, zigzag patterns, and multi-colored stripes, allowing for endless creativity.
Step-by-Step Guide to Achieve Geometric French Tips
- Prep Your Nails: Start with clean, trimmed nails. Apply a base coat to protect your natural nails.
- Choose Your Colors: Pick a base color and an accent color for the tips. Trending combinations include pastel bases with bold tips.
- Apply the Base Color: Paint your nails with the base color and let it dry completely.
- Create Geometric Shapes: Using nail tape or a fine brush, create your desired geometric pattern at the tips. Fill in with your accent color.
- Seal the Design: Finish with a top coat to add shine and longevity to your nail art.
Expert Tips and Common Mistakes to Avoid
- Tip: Use thin tape for precise lines and shapes.
- Avoid: Overloading your brush with polish; it can lead to smudges.
- Tip: Allow each layer to dry thoroughly before applying the next.
Best Practices for Chic Nail Art
To maintain your geometric French tips, apply cuticle oil regularly and avoid harsh detergents. Embrace the versatility of this style by experimenting with different colors and patterns, ensuring your nails remain a true reflection of your personality. With these expert insights, your geometric French tips will be the talk of the town!
3. Pastel Perfection: Soft Colored French Manicure Inspirations

Pastel Perfection: Soft Colored French Manicure Inspirations
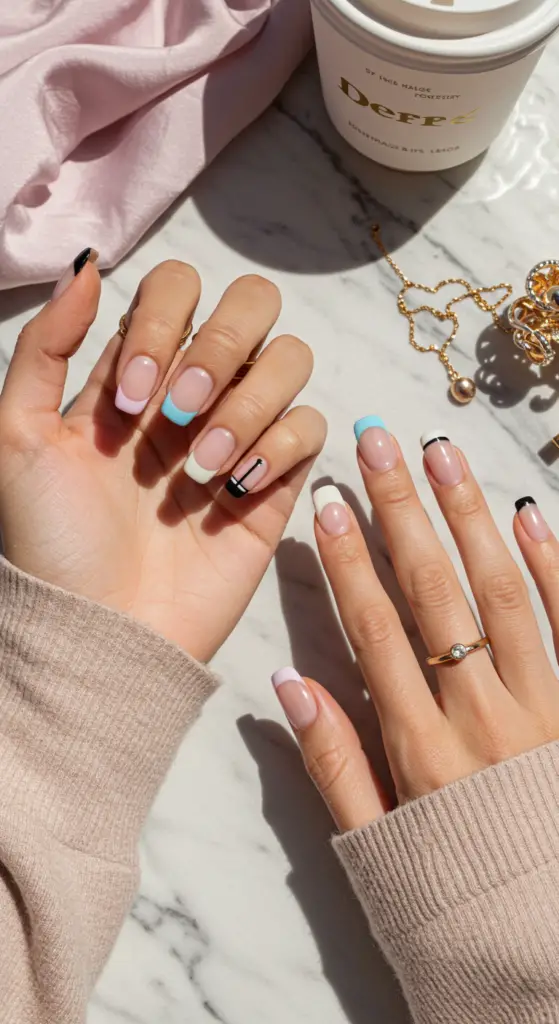
The pastel French manicure is making waves in the nail art scene, blending classic elegance with a modern twist. Soft colors like lavender, mint green, and baby blue not only elevate your look but also evoke a serene vibe, perfect for any occasion.
Current Trends in Pastel French Manicures
This season, the trend leans towards subtle gradients and playful designs. Think ombre effects with pastel hues or adding delicate floral patterns to your French tips. These unique touches can transform a traditional manicure into a stunning statement piece.
Step-by-Step Guide to Achieving Pastel Perfection
- Prep Your Nails: Start with clean, filed nails. Push back cuticles and apply a base coat to protect your nails.
- Choose Your Colors: Select two or three pastel shades that complement each other. Popular combinations include soft pink with mint green or pale yellow with lavender.
- Apply Base Color: Paint your entire nail with the lightest color and let it dry completely.
- Create the French Tip: Using a fine nail brush, carefully apply your chosen pastel tip color. Aim for a smooth line—tape can help with precision!
- Finish with Top Coat: Seal your design with a glossy top coat for shine and longevity.
Expert Tips and Common Mistakes to Avoid
- Always allow each layer to dry fully to prevent smudging.
- Use a clean brush for each color to avoid mixing hues.
- Avoid excessive product on the brush to ensure clean lines.
Best Practices for Pastel French Manicures
To maintain your pastel perfection, regularly apply cuticle oil and reapply top coat every few days. Embrace seasonal colors and designs to keep your manicures fresh and trendy. With these tips, your pastel French manicure will not only look amazing but also last longer, ensuring you shine with soft colored elegance.
4. Metallic Accents: Adding Shine to Your French Manicure
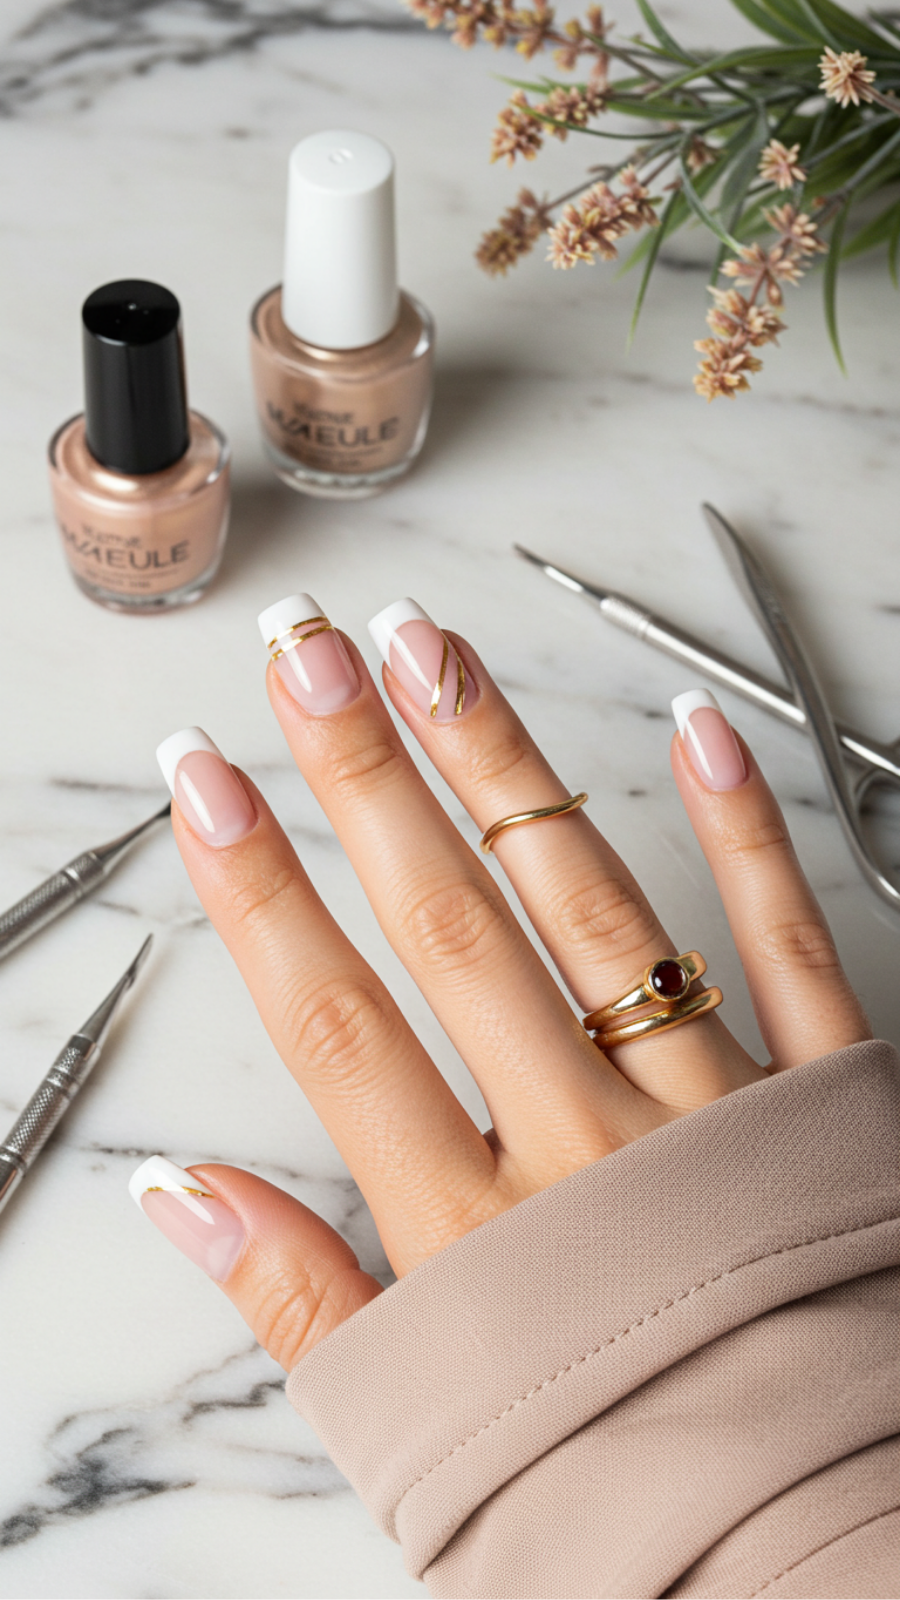
Metallic Accents: Adding Shine to Your French Manicure
French manicures have long been a classic choice for nail art enthusiasts, but incorporating metallic accents can elevate this timeless style to a whole new level. By adding a touch of shimmer, you can create a chic and modern twist on the traditional French tip.
Current Trends in Nail Art
Metallic hues are trending in the nail art scene, with shades like gold, silver, and rose gold making a significant impact. These accents not only enhance the elegance of your French manicure but also provide a striking contrast against neutral base colors.
Step-by-Step Guidance
- Prep Your Nails: Start with clean, filed nails. Apply a base coat to protect your nails and extend the wear of your manicure.
- Apply the Base Color: Choose a classic nude or soft pink polish for the base. Apply two coats for full coverage, allowing each coat to dry.
- Create the French Tips: Using a fine brush or nail tape, apply the metallic polish to the tips of your nails. For a modern look, consider an angular or diagonal tip.
- Seal the Design: Once the metallic polish is dry, apply a top coat to lock in your design and add extra shine.
Expert Tips and Tricks
- Choose high-quality metallic polishes for better opacity and shine.
- Consider layering different metallic shades for a unique gradient effect.
Avoid Common Mistakes
Be cautious not to overload your brush with metallic polish, as it can cause streaks. Additionally, ensure that each layer is completely dry before proceeding to the next step to avoid smudges.
Best Practices
Maintain the longevity of your metallic French manicure by reapplying top coat every few days and avoiding harsh chemicals. This will keep your nails looking fresh and shiny.
By creatively incorporating metallic accents into your French manicure, you not only stay on-trend but also express your personal style. With these expert tips, your nails will shine brighter than ever!
5. Floral French Tips: Incorporating Nature into Nail Designs
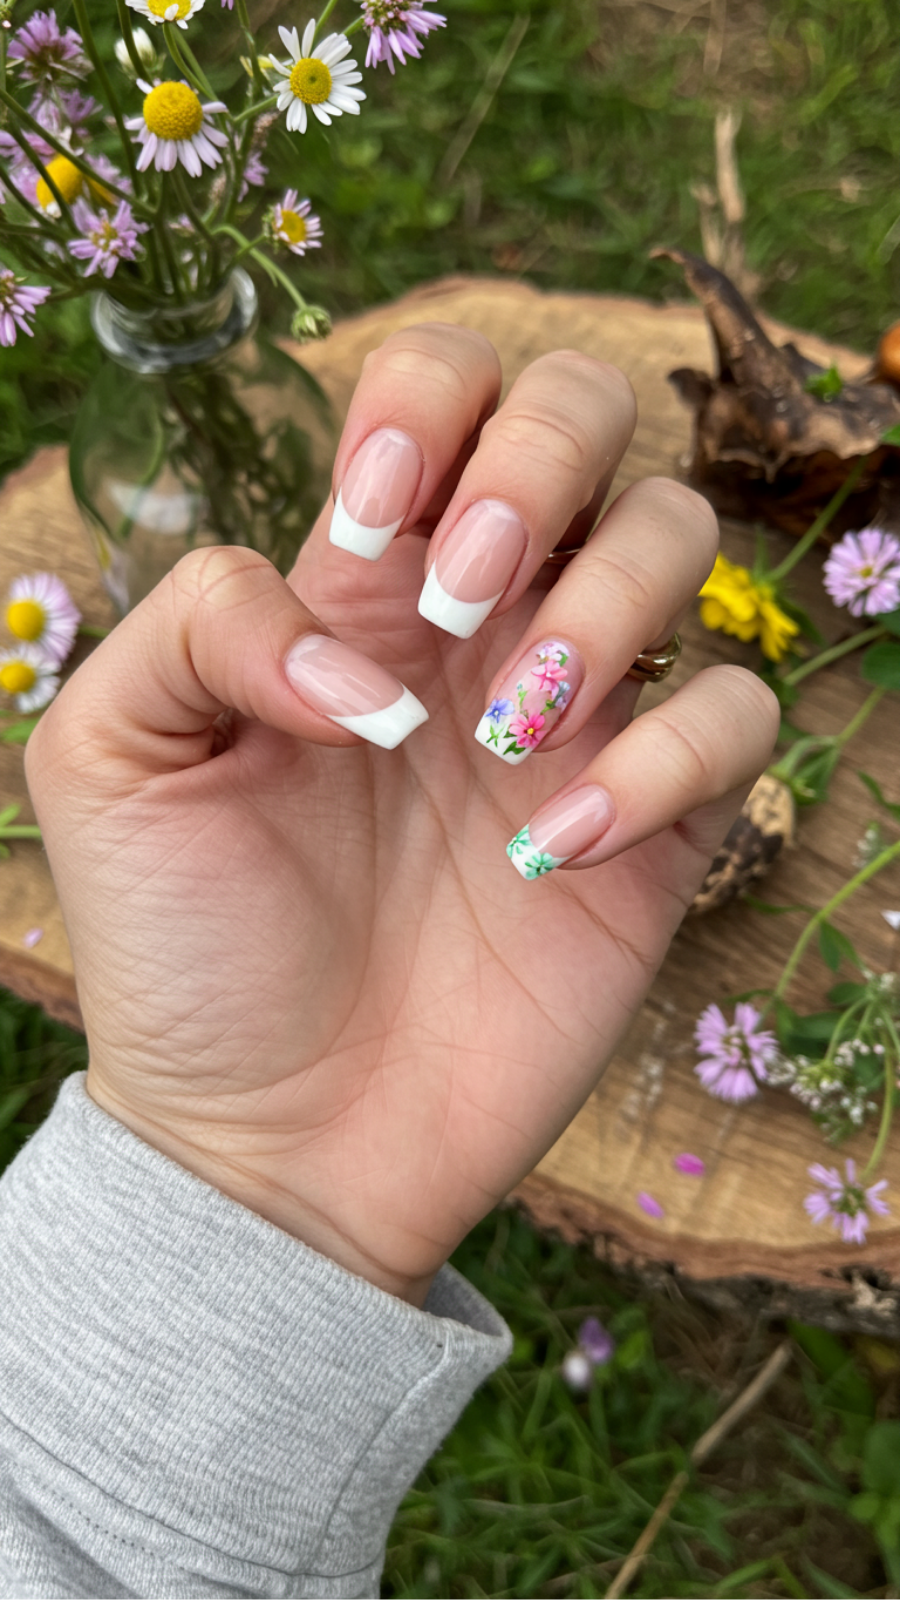
Floral French Tips: Incorporating Nature into Nail Designs
Floral French tips are the perfect way to blend classic nail art with the beauty of nature. This trendy design not only enhances your manicure but also adds a touch of elegance and whimsy. Whether you’re preparing for a special occasion or looking to elevate your everyday look, incorporating floral elements into your French tips can make a stunning statement.
Current Trends in Floral French Tips
As of 2023, the floral French tip trend is gaining momentum. Popular styles include:
- Pastel florals for a soft, romantic look
- Bold, vibrant flowers for a striking contrast
- Minimalistic designs featuring single flower accents
Step-by-Step Guide to Creating Floral French Tips
- Prep Your Nails: Start with clean, shaped nails. Apply a base coat to protect your nails and create a smooth surface.
- Apply French Tip Base: Paint the tips of your nails white or any color of your choice, creating a classic French tip look.
- Add Floral Designs: Once dry, use a fine brush or dotting tool to paint small flowers along the nail bed. Consider using light colors to keep it fresh and airy.
- Seal the Design: Finish with a top coat to protect your artwork and enhance shine.
Expert Tips and Tricks
To achieve the best floral French tips:
- Use high-quality nail polish for better color payoff.
- Practice your floral designs on paper before applying them to your nails.
- Keep your brush strokes light to create delicate petals.
Avoiding Common Mistakes
Many enthusiasts struggle with:
- Overloading the brush with polish, which can lead to clumps.
- Choosing colors that clash instead of complementing the base.
Best Practices for Floral French Tips
Remember to allow each layer to dry completely before moving on to the next. This not only enhances the longevity of your manicure but also ensures a flawless finish. By following these expert tips, you can successfully incorporate nature into your nail designs, creating beautiful floral French tips that stand out.
6. Negative Space French Manicure: Trending Minimalist Styles
Negative Space French Manicure: Trending Minimalist Styles
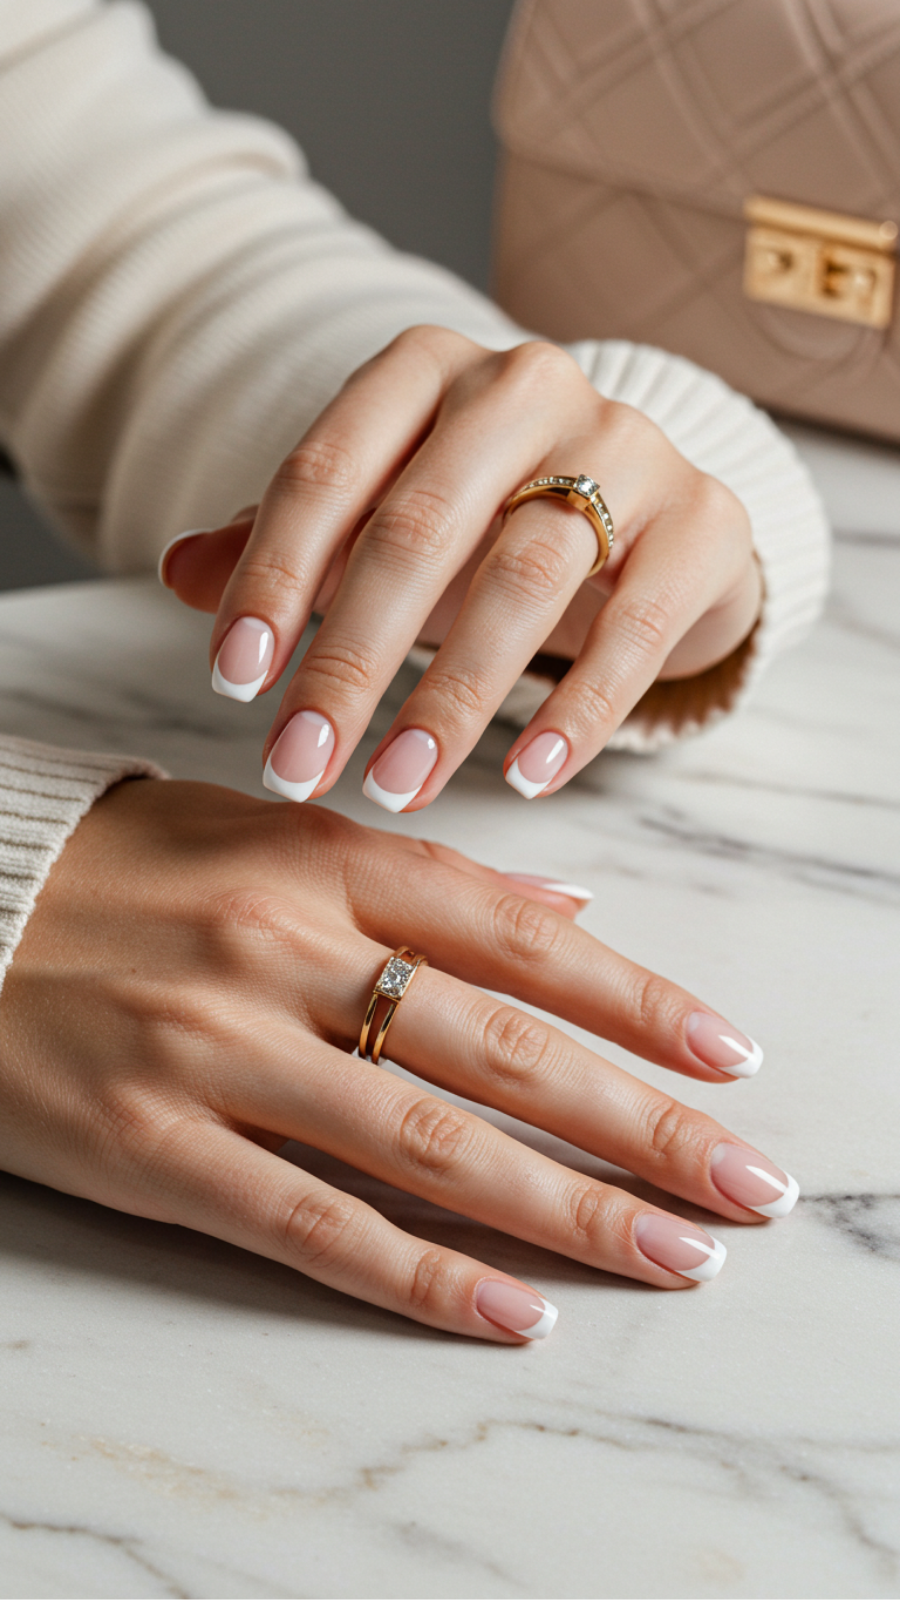
The Negative Space French Manicure is an innovative twist on the classic French tip, marrying elegance with a modern minimalist aesthetic. This chic style has taken the nail art world by storm, making it a must-try for beauty enthusiasts looking to embrace current trends.
Expert-Level Advice
To achieve the perfect negative space French manicure, follow these expert tips:
- Choose Your Colors Wisely: Opt for neutral or pastel shades for the base to allow the negative space to pop. Popular choices include soft pinks, nudes, and whites.
- Use a Quality Base Coat: A strong foundation ensures your manicure lasts longer and looks flawless.
- Experiment with Shapes: Instead of traditional curved tips, try geometric designs or asymmetrical lines for a contemporary look.
Step-by-Step Guidance
- Prep Your Nails: Start with clean, shaped nails. Push back cuticles and buff the surface for a smooth application.
- Apply Base Coat: Use a high-quality base coat to protect your nails and enhance longevity.
- Paint the Base Color: Apply two coats of your chosen base color, allowing each layer to dry thoroughly.
- Create the Negative Space: Using nail tape or a fine brush, paint your desired tip shape, leaving the base color visible.
- Seal with Top Coat: Finish with a glossy top coat to enhance shine and protect your design.
Common Mistakes to Avoid
When attempting a negative space French manicure, be mindful of these pitfalls:
- Rushing the drying process can lead to smudging.
- Using too much polish can obscure the negative space.
- Neglecting to use tape or a steady hand for clean lines will compromise the look.
Best Practices
For the best results, practice patience and precision. This trendy style not only showcases your creativity but also keeps your nails looking fresh and modern. With these tips and steps, you’ll master the art of the negative space French manicure in no time!
7. Glitter Gradient: Sparkling Updates for French Nail Art

Glitter Gradient: Sparkling Updates for French Nail Art
The glitter gradient technique is transforming traditional French nail art into a stunningly modern statement. This trendy update combines the classic elegance of the French manicure with a dazzling gradient of glitter, perfect for any occasion.
Step-by-Step Guide to Achieving a Glitter Gradient
- Prep Your Nails: Start with clean, buffed nails. Apply a base coat to protect your natural nails.
- Apply Base Color: Choose a nude or soft pink polish for the French tip. Apply it to your nails, leaving the tips bare.
- Create the French Tip: Use a striping brush or nail tape to create a clean line at the free edge of your nails, painting it white or colored polish.
- Add Glitter: While the tips are still wet, sprinkle fine glitter onto the wet polish. For a gradient effect, focus on the tips and blend it down towards the base.
- Seal with Top Coat: Finish with a clear top coat to seal your design and enhance shine.
Expert Tips for a Flawless Finish
- Choose Quality Products: Use high-quality glitter that won’t clump and a durable top coat.
- Practice Your Technique: If you’re new to gradients, practice on a nail wheel before applying to your nails.
- Avoid Common Mistakes: Ensure your base and glitter layers are dry before applying the top coat to prevent smudging.
This glitter gradient technique not only revitalizes the classic French manicure but also allows for personal expression through color and sparkle. Whether you’re heading to a party or just want to elevate your everyday look, this nail art trend is sure to impress!
8. Rainbow French Tips: Bold Color Combinations for Summer
Rainbow French Tips: Bold Color Combinations for Summer
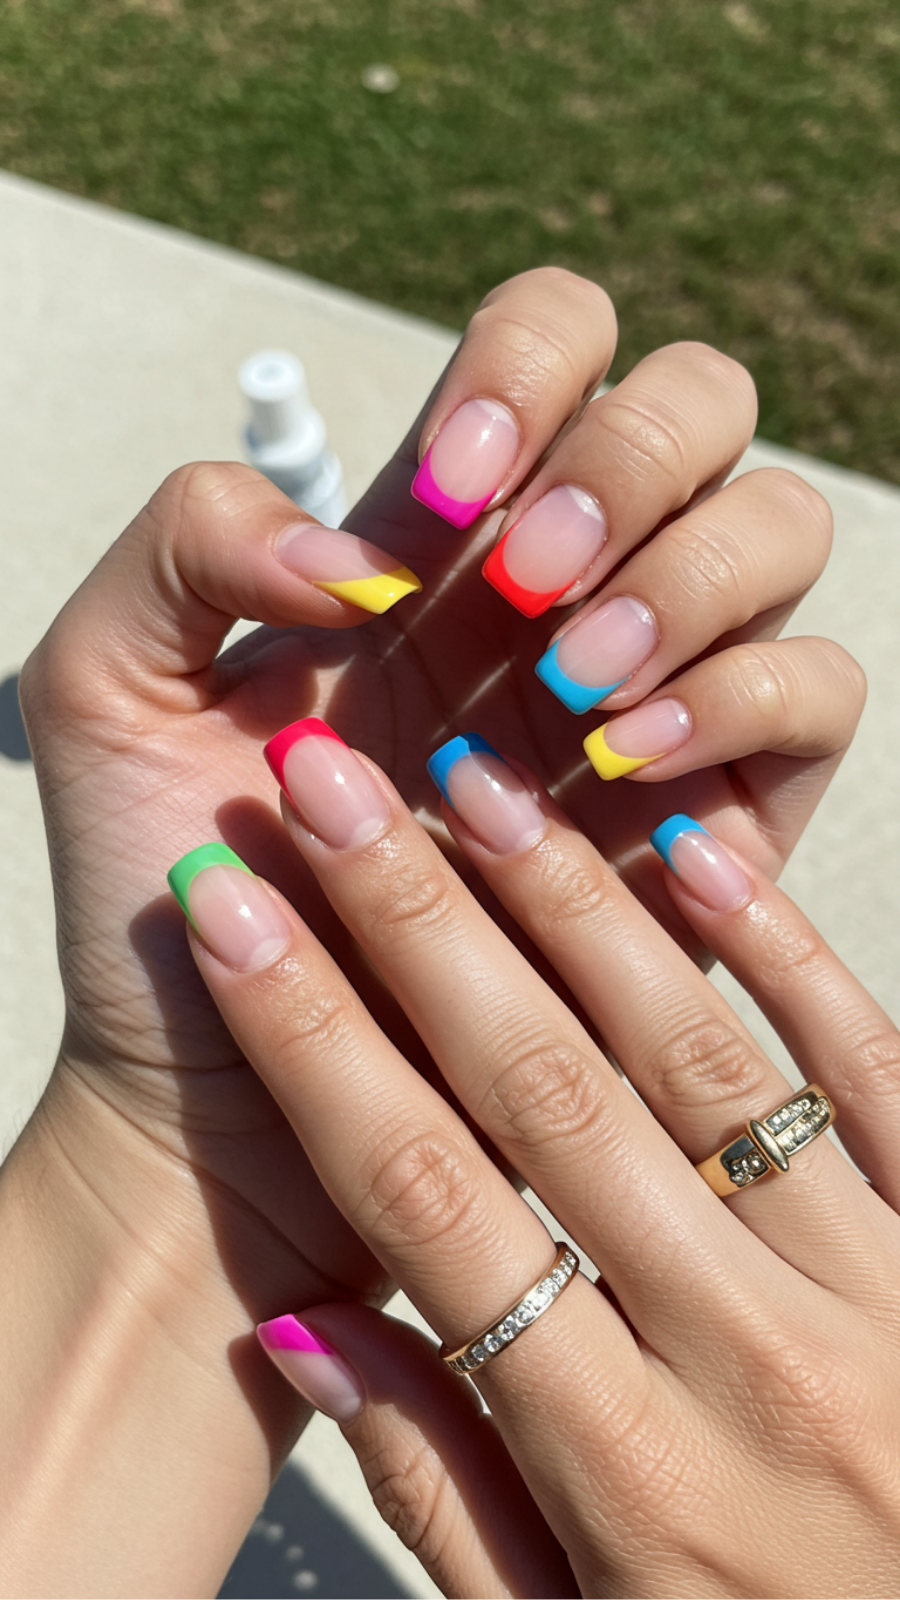
As summer approaches, Rainbow French Tips are making waves in the nail art scene. This playful take on the classic French manicure combines vibrant colors to create a fun, eye-catching look. Let’s explore how to achieve this trendy style, along with expert tips and common pitfalls to avoid.
Choosing Your Color Palette
To start, select a palette that reflects the summer vibe. Popular combinations include:
- Coral, turquoise, and sunny yellow
- Bold pink, electric blue, and pastel green
- Classic white with neon accents
Consider using three to five colors to maintain balance and cohesion.
Step-by-Step Guide to Creating Rainbow French Tips
- Prep Your Nails: Start with clean, dry nails. Push back the cuticles and file the nails to your desired shape.
- Base Coat: Apply a clear base coat to protect your nails from staining.
- Apply Base Color: Choose a neutral or pastel shade as your base. Allow it to dry completely.
- Color Application: Use nail tape to section off the tips. Apply your chosen colors one at a time, ensuring each layer dries before moving to the next.
- Top Coat: Finish with a glossy top coat for added shine and longevity.
Expert Tips and Common Mistakes
To achieve the best results, keep these tips in mind:
- Use high-quality nail polish for vibrant colors.
- Don’t rush the drying process—this is key to avoiding smudges.
- Experiment with different shapes for the tip, like a diagonal or a curved edge.
Stay ahead of the trends and express your personality this summer with Rainbow French Tips. Remember, practice makes perfect, so don’t hesitate to try different combinations until you find your ideal look!
9. Matte vs. Glossy: Textured Takes on the French Manicure
Matte vs. Glossy: Textured Takes on the French Manicure
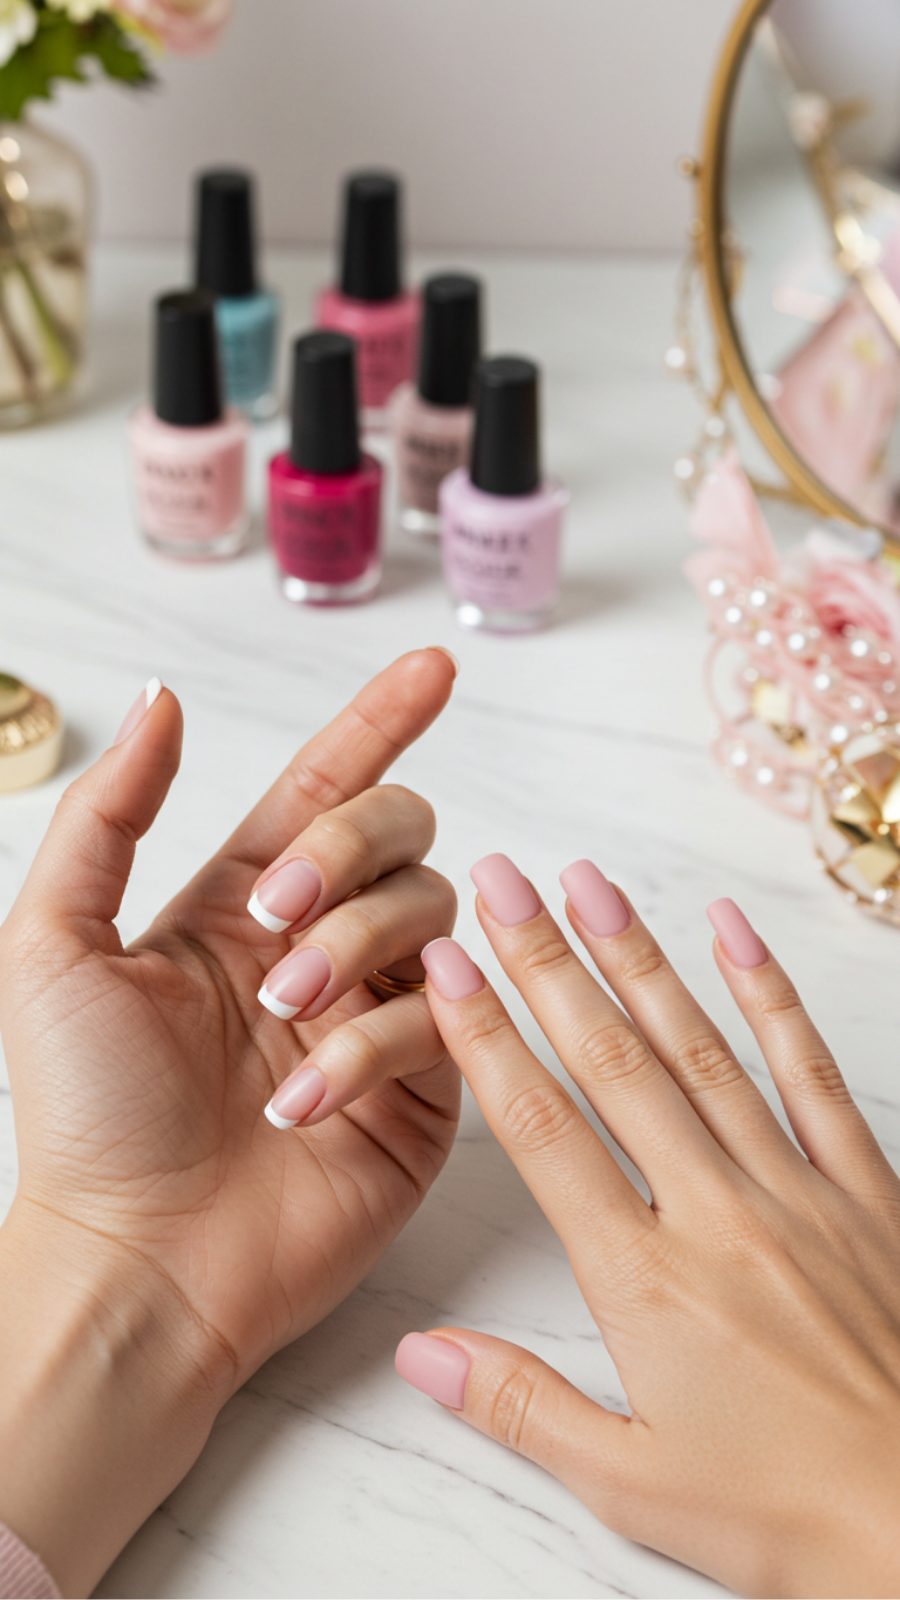
The French manicure has evolved significantly, embracing various textures that add depth to this classic look. Among the most popular choices are matte and glossy finishes, each offering a unique aesthetic. Understanding the differences and how to master these styles can elevate your nail art game.
Current Trends in Nail Art
Matte finishes are making waves in the nail art scene, providing a chic, understated elegance. Meanwhile, glossy nails exude sophistication and shine. Combining these textures can create a modern twist on the traditional French manicure, perfect for any occasion.
Step-by-Step Guidance
- Preparation: Start with clean, shaped nails. Apply a base coat to protect your nails.
- Base Color: Choose a nude or soft pink polish for the base. Apply two coats for opacity.
- Tip Application: For a matte finish, use a matte topcoat over the tips. For glossy, apply a high-shine topcoat. You can also mix textures by using matte on the base and glossy on the tips for a unique look.
- Finishing Touch: Allow your nails to dry completely. To enhance longevity, apply a topcoat every few days.
Expert Tips and Tricks
- Use a matte topcoat on an ultra-glossy polish for a striking contrast.
- Avoid overloading the brush with polish to prevent streaks and uneven finishes.
- Keep the nail surface clean to ensure even application.
Common Mistakes to Avoid
One common mistake is applying too many layers, which can lead to chipping. Ensure each layer dries completely before proceeding to the next. Additionally, don’t skip the base coat; it’s essential for protecting your nails and enhancing color vibrancy.
Best Practices
Experiment with different color combinations and textures to find your signature style. Whether you opt for a matte or glossy finish, remember that the key to a stunning French manicure lies in meticulous application and attention to detail.
By mastering matte and glossy finishes, you can transform a classic French manicure into a modern masterpiece that reflects your personal style. Happy painting!
10. Artistic Strokes: Hand-Painted Designs for a Unique Look
Artistic Strokes: Hand-Painted Designs for a Unique Look
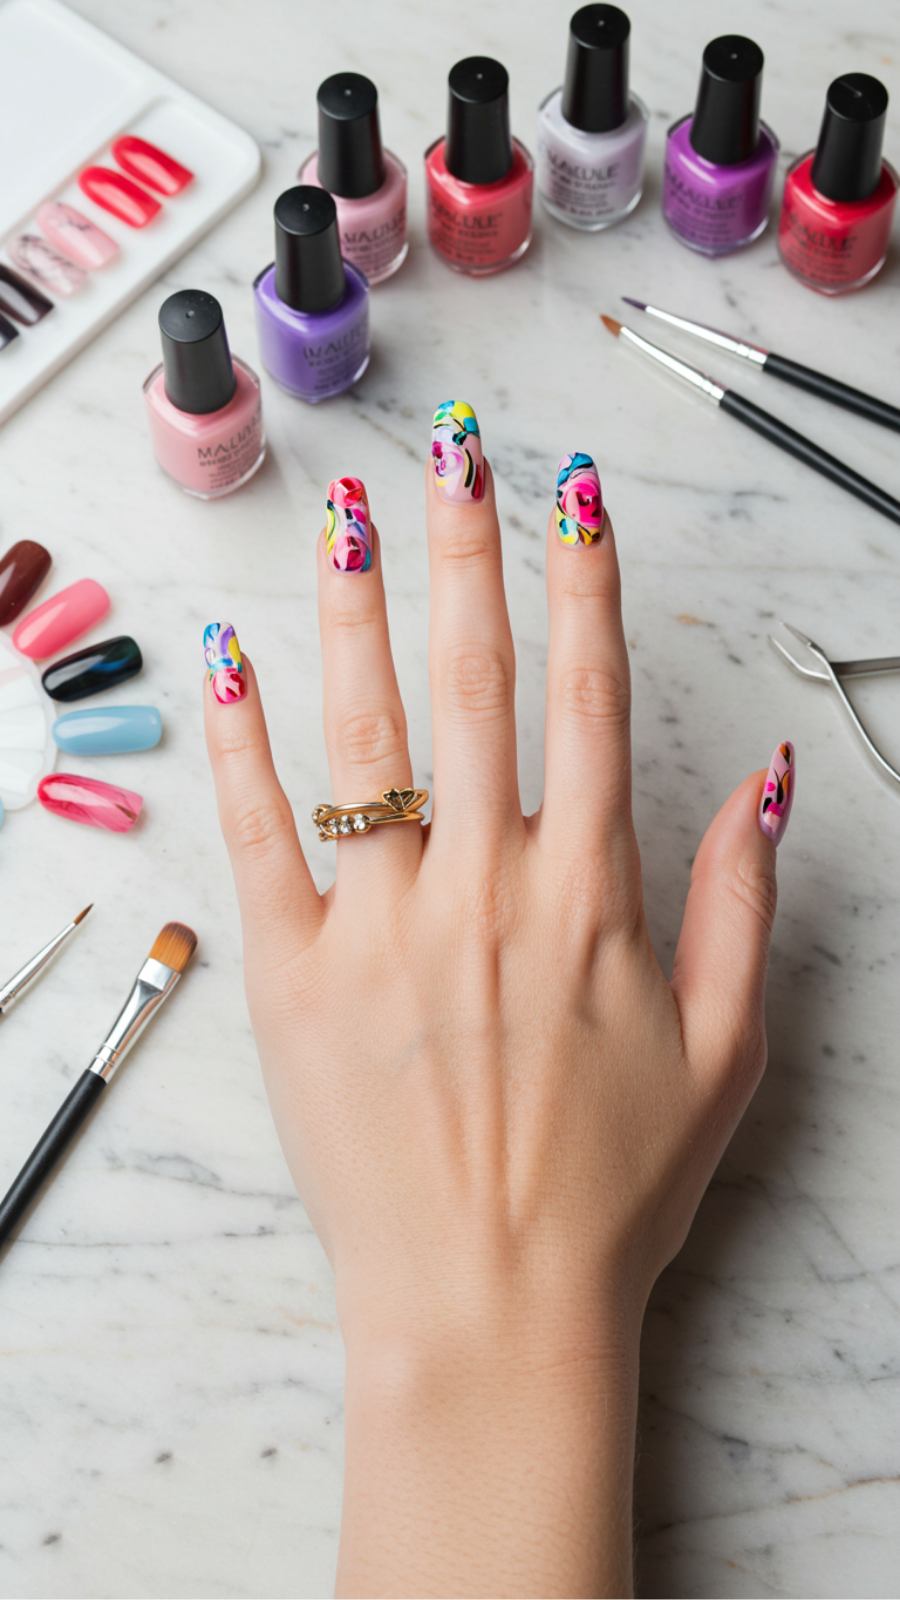
In the world of nail art, hand-painted designs are making a bold statement, allowing individuals to express their creativity and personality. This artistic approach not only enhances your nails but also sets you apart from the crowd. Here’s how to master the art of hand-painted nail designs.
Current Trends in Nail Art
From abstract patterns to floral motifs, the current trends in nail art reflect a blend of sophistication and whimsy. Popular designs include:
- Geometric shapes
- Watercolor effects
- Minimalist lines
- Seasonal themes
Step-by-Step Guide to Hand-Painted Nail Designs
- Prep Your Nails: Start with clean, shaped nails. Apply a base coat to protect your nails and enhance longevity.
- Choose Your Palette: Select high-quality nail polishes in colors that complement each other.
- Design Application: Using a fine detail brush, apply your design carefully. For intricate patterns, consider using a dotting tool for precision.
- Finish with a Top Coat: Seal your artwork with a glossy or matte top coat to protect your design and add shine.
Expert Tips and Tricks
To achieve stunning hand-painted designs, consider the following:
- Practice your strokes on paper before applying to your nails.
- Work in layers; allow each layer to dry before adding more details.
- Use a light touch to avoid smudging and maintain control.
Avoid Common Mistakes
Avoid these common errors for the best results:
- Skipping the base coat, which can lead to staining.
- Overloading your brush with polish, causing blotches.
- Neglecting to clean your brushes, leading to color contamination.
Best Practices for Unique Hand-Painted Nail Art
Embrace creativity and experiment with different styles. Remember to take your time and enjoy the process of creating beautiful, one-of-a-kind nail art. With practice, your hand-painted designs will not only reflect your artistic side but also turn heads wherever you go.
11. French Manicure with Jewels: Elevating Your Nail Glam
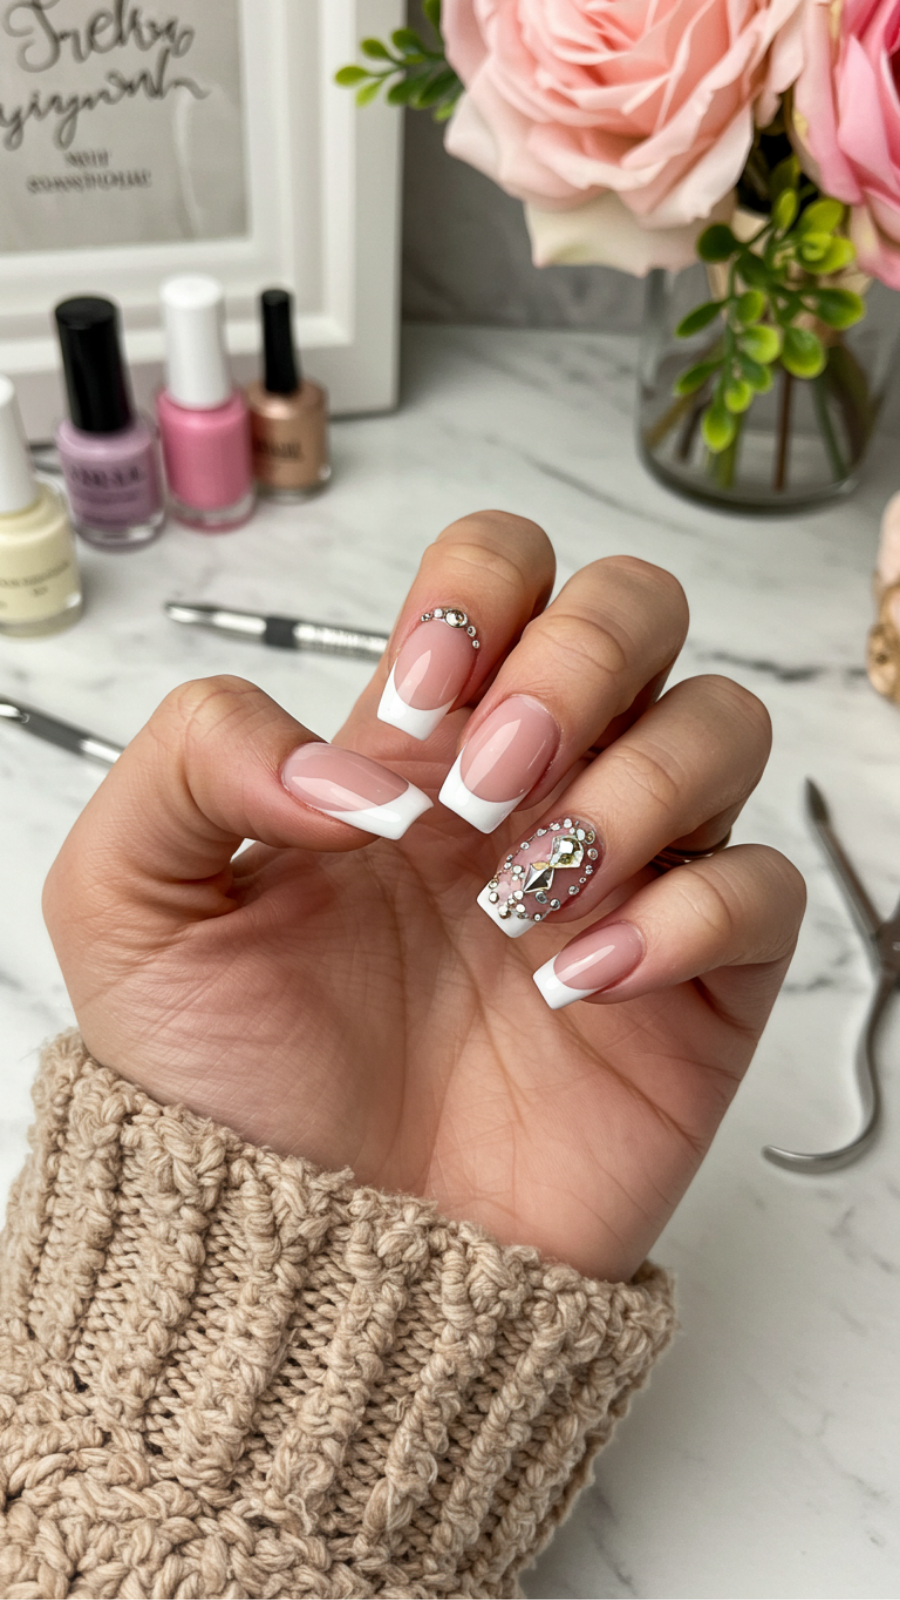
French Manicure with Jewels: Elevating Your Nail Glam
The classic French manicure is a timeless favorite, but adding jewels takes this elegant style to new heights. Elevate your nail glam with this chic combination that’s perfect for special occasions or just to make a statement. In this guide, we’ll explore how to create a stunning French manicure adorned with beautiful jewels.
Step-by-Step Guide to Achieving Jewel-Enhanced French Nails
- Prep Your Nails: Start with clean, dry nails. Trim and file them to your desired shape, and gently push back your cuticles.
- Apply Base Coat: Use a nourishing base coat to protect your nails and ensure longevity.
- Paint the Tips: Choose a classic white polish for the tips. Use tape or a nail guide for clean lines.
- Choose Your Jewels: Select jewels that complement your nail color. Consider using rhinestones, studs, or even delicate nail art decals.
- Secure the Jewels: Apply a small dot of nail glue or clear polish where you want to place each jewel, then carefully press them into place.
- Finish with Top Coat: Seal your design with a high-gloss top coat to enhance shine and durability.
Expert Tips and Common Mistakes to Avoid
- Tip: Use a tweezer to handle jewels for precision placement.
- Common Mistake: Avoid overcrowding nails with too many jewels; less is often more.
- Best Practice: Allow each layer of polish to dry before moving on to the next step for a flawless finish.
Incorporating jewels into your French manicure not only adds sparkle but also reflects current trends in nail art and beauty. Whether you’re preparing for a wedding or a night out, this look promises to elevate your style and make you shine.
12. Seasonal Themes: French Manicure Ideas for Every Holiday
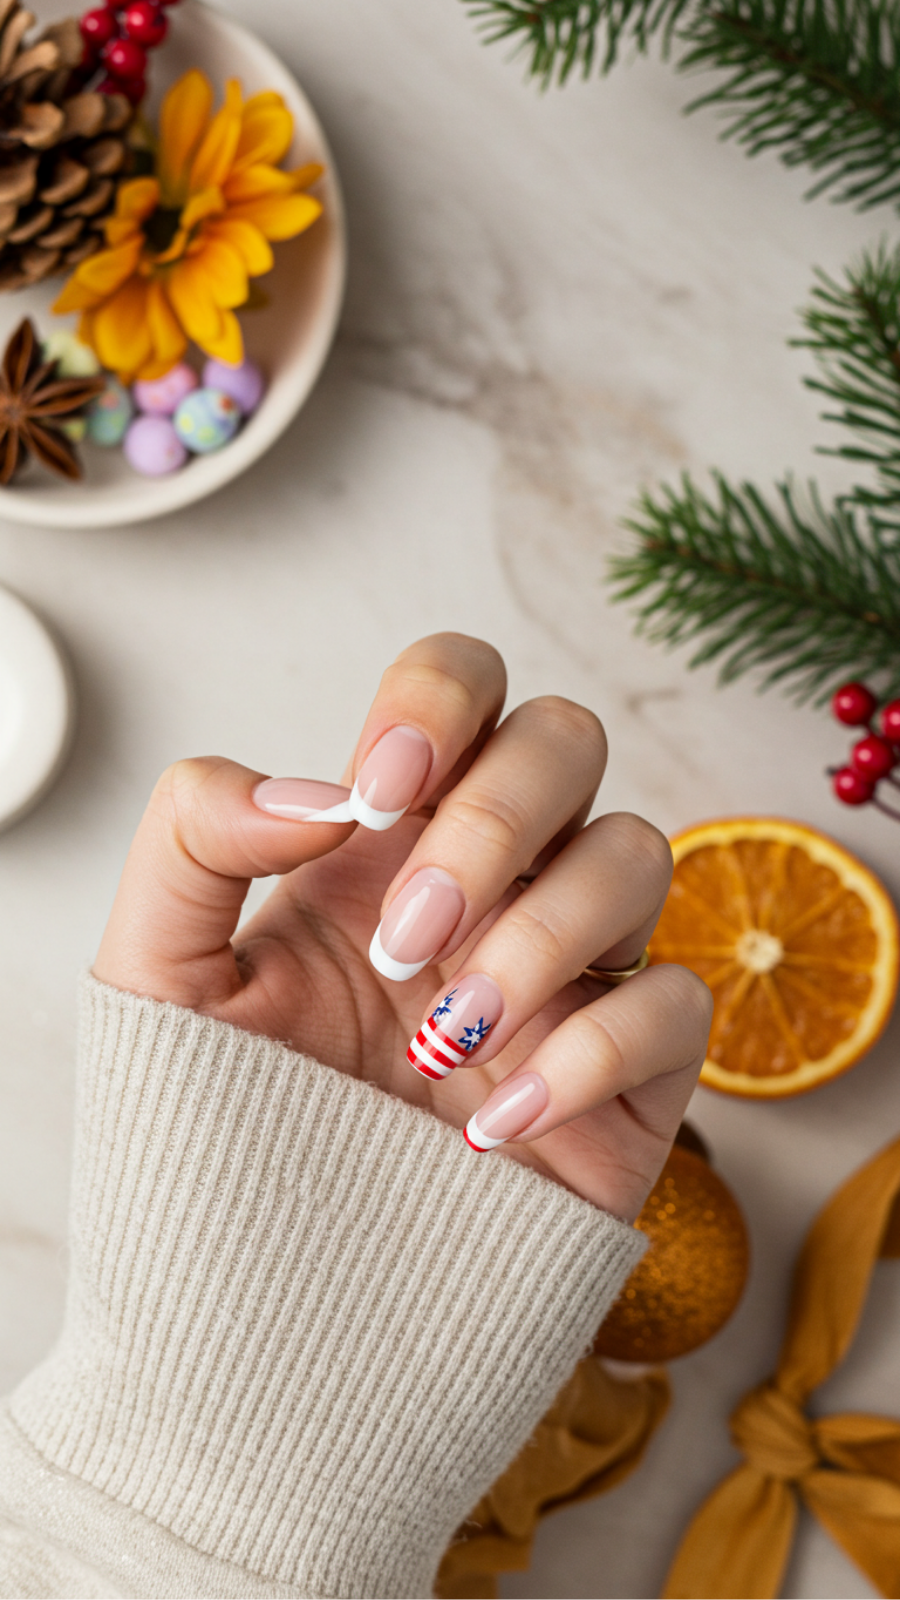
Seasonal Themes: French Manicure Ideas for Every Holiday
The classic French manicure is a timeless beauty staple, but it can be revitalized with seasonal themes that reflect the spirit of every holiday. Here, we explore creative French manicure ideas tailored for each season, ensuring your nails are festive and chic.
Spring Celebrations
For Easter, consider a pastel palette. Use soft pinks, baby blues, and mint greens as your base. Add tiny floral designs or bunny accents on the tips to capture the essence of spring. To achieve this look:
- Start with a clear base coat.
- Apply two coats of your chosen pastel color.
- Use a fine brush for delicate floral details.
Summer Vibes
Embrace summer with vibrant colors! Opt for bright coral or neon hues with white tips. Incorporate sun, beach, or tropical motifs for a fun twist. Here’s how:
- Choose a bold nail polish for the base.
- Paint tips white for that classic French look.
- Add stickers or nail art for extra flair.
Autumn Aesthetics
As the leaves change, so can your nails! Use warm tones like burgundy and gold. Consider adding leaf patterns or a glitter gradient for a luxurious autumn feel:
- Apply a rich burgundy as your base.
- Use gold polish for the tips.
- Finish with a top coat to seal in your design.
Winter Wonderland
For the holiday season, go for a frosty look with icy blues and silvers. Snowflakes or festive patterns can bring your winter manicure to life:
- Begin with a light blue base.
- Use silver polish for tips.
- Employ a dotting tool for intricate snowflake designs.
Expert Tips and Common Mistakes
To achieve the best results, remember these expert tips:
- Always use a base coat to protect your nails.
- Allow adequate drying time between coats.
- Avoid overloading your brush with polish to prevent streaking.
By following these seasonal French manicure ideas, you’ll keep your nails stylishly on-trend throughout the year. Embrace creativity and let your nails reflect the joy of each holiday!
13. Animal Print Tips: Wild Designs for the Fashion-Forward
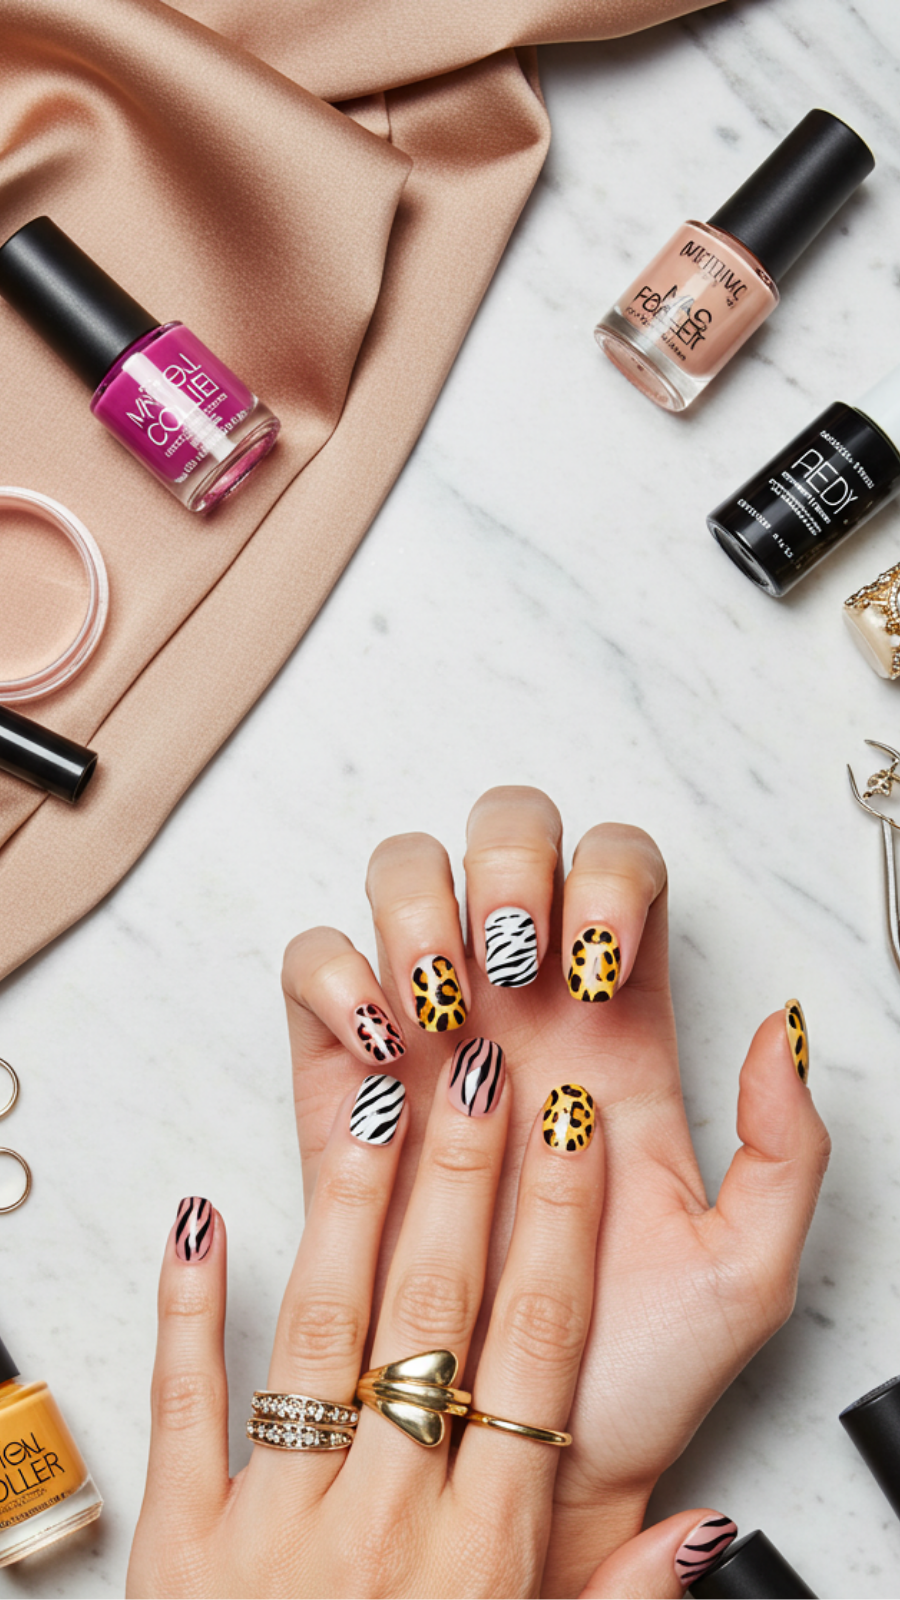
Animal Print Tips: Wild Designs for the Fashion-Forward
Animal prints have roared back into fashion, making them a must-try for nail art enthusiasts seeking to make a bold statement. Whether you prefer classic leopard spots or exotic zebra stripes, these wild designs are perfect for the fashion-forward individual looking to elevate their style.
Current Trends in Animal Print Nail Art
This season, the focus is on mixing textures and colors. Try combining traditional animal prints with abstract shapes or metallic accents for a modern twist. Pastel animal prints are also trending, offering a softer approach that is perfect for spring and summer.
Step-by-Step Guide to Creating Animal Print Nails
- Prep Your Nails: Start with clean, filed nails. Apply a base coat to protect your natural nails.
- Apply Base Color: Choose a neutral base color like beige or soft pink to make your animal prints pop.
- Design the Print: Using a fine nail art brush or a dotting tool, create your desired animal pattern. For example, for leopard print, use a dark brown or black to make the spots.
- Add Details: Incorporate lighter shades to highlight and add depth to your design.
- Seal the Look: Finish with a top coat to enhance shine and longevity.
Expert Tips and Common Mistakes to Avoid
- Use Quality Tools: Invest in good brushes and dotting tools for precision.
- Avoid Overloading: Don’t use too much polish on your brush, as this can cause smudging.
- Practice Patience: Allow each layer to dry completely before moving on to the next step.
With these animal print tips, you can unleash your creativity and enjoy stunning, fashion-forward nail designs. Remember, the key is to experiment and have fun while embracing your wild side!
14. French Manicure with Foil Accents: Luxe Nail Innovations
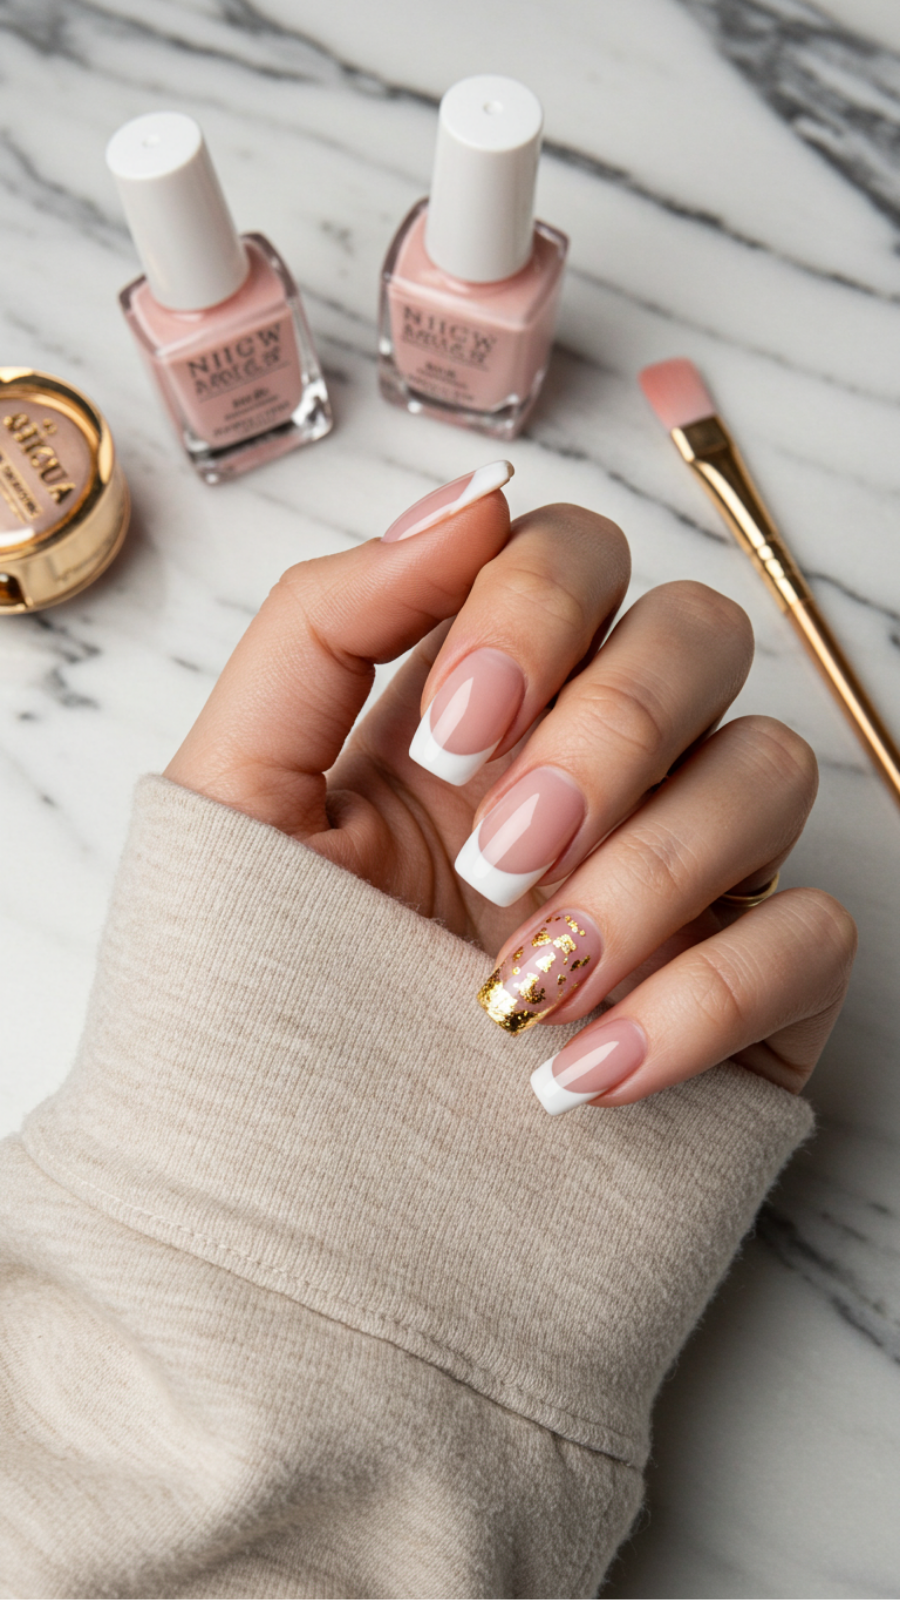
French Manicure with Foil Accents: Luxe Nail Innovations
The French manicure has long been a classic in the nail art world, but 2023 has ushered in an exciting twist: foil accents. This luxe innovation combines the timeless elegance of a French tip with the modern flair of metallic and holographic foils, offering a fresh take that’s perfect for any occasion.
Step-by-Step Guide to Achieving Foil Accented French Nails
- Prep Your Nails: Start by cleaning and buffing your nails to create a smooth canvas. Apply a base coat to protect your natural nails.
- Apply French Tips: Use a white or pastel polish to create your classic French tips. Use tape or a nail guide for precision.
- Add Foil Accents: Once the tips are dry, apply a special foil adhesive where you want the foils to adhere. Use tweezers to place small pieces of foil onto the adhesive.
- Seal the Design: Finish with a top coat to seal the foils and add shine. This will also help prevent lifting.
Expert Tips and Common Mistakes to Avoid
For best results, consider these expert tips:
- Choose high-quality foils to ensure vibrant colors and easy application.
- Layer the top coat carefully to avoid lifting the foil edges.
- Practice precision with the French tip application; uneven lines can detract from the overall look.
Common mistakes include applying too much adhesive, which can overwhelm the foil, or rushing the drying time. Always allow each layer to dry thoroughly before moving to the next step.
Current Trends in Nail Art
This season, nail art enthusiasts are increasingly gravitating towards minimalist designs with a touch of glam. The combination of a classic French manicure with foil accents perfectly embodies this trend, making it a go-to for both everyday wear and special events.
Incorporate French manicure with foil accents into your beauty routine to elevate your nail game. With these expert tips and a touch of creativity, you’ll achieve a stunning look that’s sure to turn heads.
15. Vintage Vibes: Retro French Manicure Styles Making a Comeback

Vintage Vibes: Retro French Manicure Styles Making a Comeback
The classic French manicure is experiencing a nostalgic revival, appealing to nail art enthusiasts and beauty aficionados alike. With its clean lines and timeless elegance, the retro French manicure offers a fresh twist on a beloved favorite. This guide will explore current trends, expert tips, and practical examples to help you achieve the perfect vintage vibe.
Current Trends in Retro French Manicure Styles
Today’s retro French manicure embraces creativity and individuality. Here are some of the standout styles:
- Colorful Tips: Instead of traditional white, consider pastel shades like lavender or mint for a playful pop.
- Negative Space: Incorporate negative space designs to add a modern twist while maintaining vintage charm.
- Geometric Shapes: Angular tips or diagonal lines can elevate the classic look into a trendy statement piece.
Step-by-Step Guidance
- Preparation: Start with clean, trimmed nails. Apply a base coat to protect your nails.
- Base Color: Choose a nude or soft pink polish as your base color. Allow it to dry completely.
- Tip Color: Using striping tape, create a straight line across the tip of your nail. Paint the tips with your chosen color and remove the tape while the polish is still wet.
- Top Coat: Finish with a glossy top coat to seal your design and enhance durability.
Expert Tips and Common Mistakes to Avoid
To achieve a flawless vintage French manicure, consider these expert tips:
- Always let each layer dry thoroughly to prevent smudging.
- Avoid overloading your brush with polish, as this can lead to uneven lines.
- Practice steady hands; if needed, use a nail art pen for precise detailing.
By following these best practices, you can ensure that your retro French manicure not only looks stunning but also lasts longer. Embrace the vintage vibes and let your nails tell a story of timeless elegance!
Frequently Asked Questions
How do I create an ombre French manicure at home?
To create an ombre French manicure at home, start with a base coat and let it dry. Then, use a makeup sponge to apply two shades of polish—one for the tips and a lighter one for the base—blending them together on the sponge before dabbing it onto your nails. Finish with a top coat for a smooth finish.
Why should I try geometric French tips for my next manicure?
Geometric French tips offer a modern twist on the classic look, making your nails stand out while still maintaining elegance. These designs can be customized with various shapes and colors, allowing you to express your personal style and creativity in a chic and contemporary way.
What colors are best for a pastel French manicure?
For a pastel French manicure, consider soft shades like baby pink, mint green, lavender, and pale blue. These colors not only evoke a fresh and airy vibe but also complement the classic white tips beautifully, creating a soft and sophisticated look perfect for any occasion.
How can I add metallic accents to my French manicure?
To add metallic accents to your French manicure, use a metallic polish or nail tape to create striking lines along the tips or around the edges of your nails. You can also incorporate metallic studs or foil for added texture and shine, ensuring your nails have a glamorous and modern finish.
What should I do if my floral French tips smudge?
If your floral French tips smudge, ensure you apply a quick-drying top coat after your design to seal it in place. If smudging occurs, carefully use a fine brush to touch up the design with the original colors, or try a nail art remover to clean up the edges and then reapply the design for a polished look.

