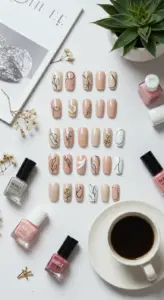
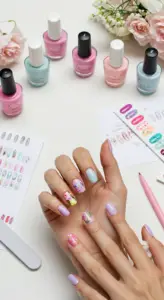
1. Effortless Nude Ombre Nails for a Chic Everyday Look

Effortless Nude Ombre Nails for a Chic Everyday Look
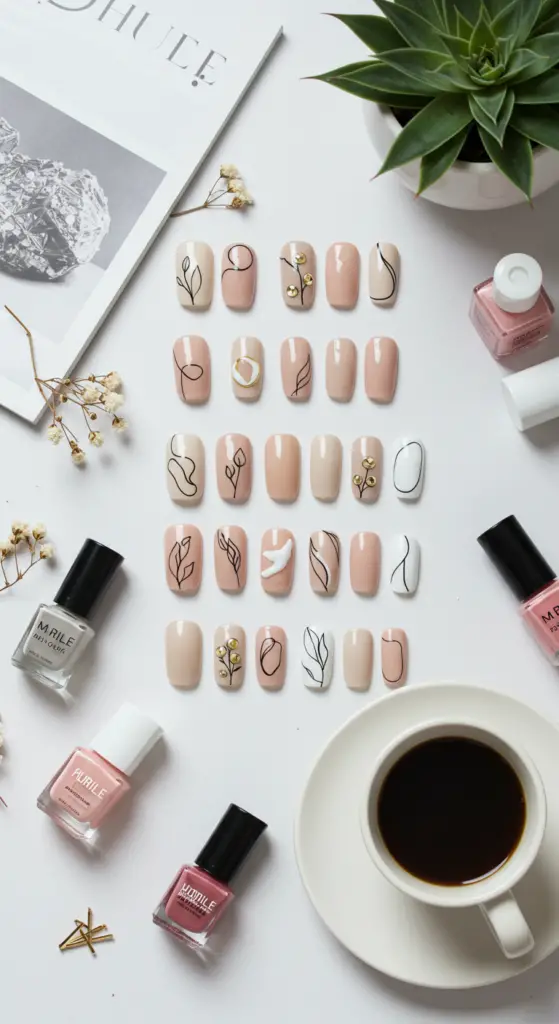
Nude ombre nails are a timeless choice for anyone seeking a chic everyday look. This versatile style enhances your natural nail color while adding a subtle gradient effect that’s perfect for any occasion. Whether you’re heading to the office or enjoying a night out, nude ombre nails provide an effortlessly polished finish that complements any outfit.
Step-by-Step Guide to Achieving Nude Ombre Nails
- Prep Your Nails: Start with clean, trimmed nails. Gently buff the surface to create an even canvas.
- Apply Base Coat: Use a quality base coat to protect your nails and enhance longevity.
- Select Your Colors: Choose two shades of nude polish—one lighter and one slightly darker for the ombre effect.
- Apply the Darker Shade: Paint the tips of your nails with the darker nude polish, leaving the base color bare.
- Blend with a Makeup Sponge: Use a makeup sponge to dab the lighter shade onto the base of your nail, blending into the darker polish.
- Finish with Top Coat: Seal your design with a glossy top coat for a durable finish.
Expert Tips and Common Mistakes to Avoid
- Tip: Use a latex barrier around your nails to minimize cleanup.
- Avoid: Overloading the sponge with polish, which can create a messy look.
- Best Practice: Allow each layer to dry completely to prevent smudging.
Incorporating nude ombre nails into your beauty routine not only enhances your style but also reflects current trends in nail art. With these expert tips and step-by-step guidance, you can achieve a flawless look that is both chic and effortless. Embrace the elegance of nude ombre nails today!
2. Geometric Line Art: Minimalist Designs for Modern Nail Trends
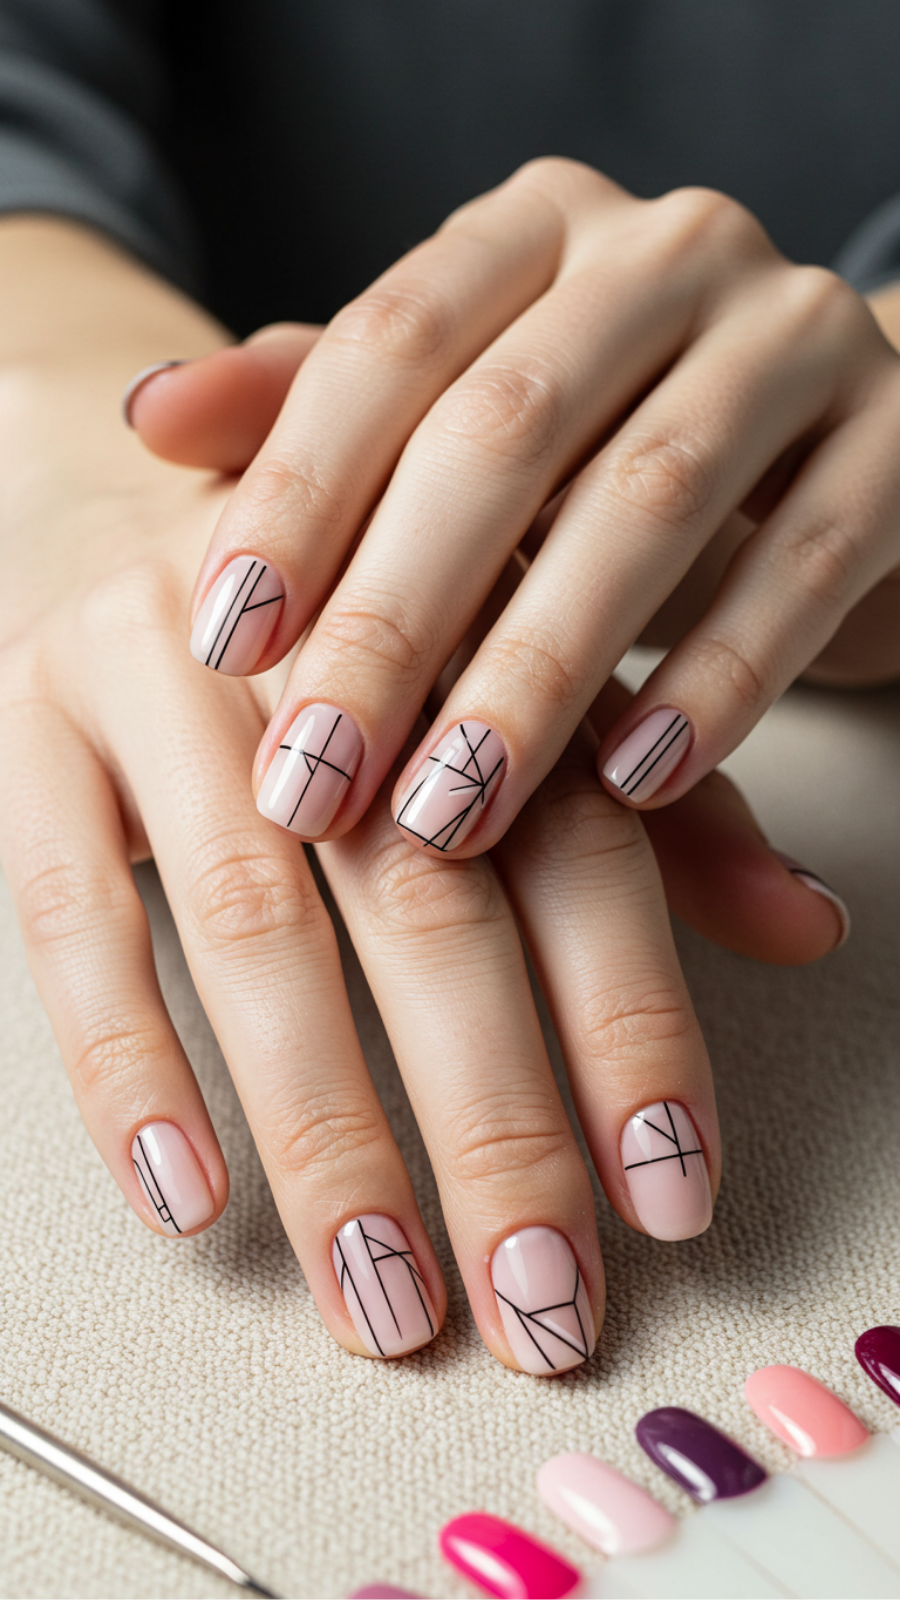
Geometric Line Art: Minimalist Designs for Modern Nail Trends
In the world of nail art and beauty, geometric line art has emerged as a leading trend for those seeking minimalist designs that make a statement. This style combines sharp lines, angles, and negative space to create eye-catching patterns that are both chic and modern. Here’s how to incorporate this trend into your nail care routine.
Step-by-Step Guide to Creating Geometric Line Art
- Prepare Your Nails: Start with clean, filed nails. Apply a base coat to protect your natural nails.
- Choose Your Colors: Select a palette that complements your style. Neutral shades paired with black or white work beautifully.
- Use a Striping Brush: With a fine striping brush, draw straight lines to create geometric shapes. Consider triangles, squares, or asymmetrical designs.
- Incorporate Negative Space: Leave sections of your nail unpainted to enhance the minimalist effect.
- Seal Your Design: Finish with a top coat to add shine and longevity to your art.
Expert Tips and Common Mistakes to Avoid
- Tip: Practice your line work on a piece of paper before applying it to your nails.
- Tip: Use tape for precise lines; this helps in avoiding smudges.
- Mistake to Avoid: Don’t rush the drying process; allow each layer to dry completely to prevent smearing.
Best Practices for Geometric Nail Art
To truly embrace the geometric line art trend, experiment with different shapes and color combinations. Keep nails well-moisturized and maintain a regular manicure schedule to ensure your designs always look fresh. This modern nail trend not only emphasizes creativity but also reflects your personal style, making it a perfect choice for any occasion.
3. Subtle Dot Patterns: Elevate Your Everyday Nail Aesthetic

Subtle Dot Patterns: Elevate Your Everyday Nail Aesthetic
In the world of nail art, subtle dot patterns are becoming increasingly popular for those who desire a chic yet understated look. These tiny details can transform a basic manicure into a sophisticated statement while still being appropriate for everyday wear.
Current Trends in Dot Patterns
As we embrace minimalism, the trend of subtle dot patterns has gained traction. This style allows for creativity without overwhelming the senses. You can choose colors that complement your outfits, such as muted pastels or classic monochromes, ensuring a polished appearance.
Step-by-Step Guide to Creating Subtle Dot Patterns
- Prepare Your Nails: Start with clean, trimmed nails. Apply a base coat to protect your nails and enhance longevity.
- Choose Your Colors: Select a base color and a contrasting polish for your dots.
- Use a Dotting Tool: Dip the dotting tool in your contrasting polish and gently apply dots on your nails, spacing them evenly.
- Seal the Design: Finish with a top coat to add shine and protect your design.
Expert Tips and Tricks
- Practice on a piece of paper before applying to your nails for better control.
- Vary the size of your dots for added visual interest.
- Use a matte top coat for a soft finish.
Avoid Common Mistakes
Many beginners tend to overload the dotting tool, leading to too-large dots. Additionally, skipping the base and top coat can diminish the durability of your design.
Best Practices for Subtle Dot Patterns
Always ensure each layer is completely dry before proceeding to the next to prevent smudging. Experiment with different placements—aligning dots along the cuticle line or creating a scattered effect can yield stunning results.
By incorporating subtle dot patterns into your nail routine, you can effortlessly elevate your daily aesthetic. This versatile design is perfect for any occasion, allowing you to express your style with sophistication.
4. Classic French Tips with a Twist: Modern Minimalism Unleashed
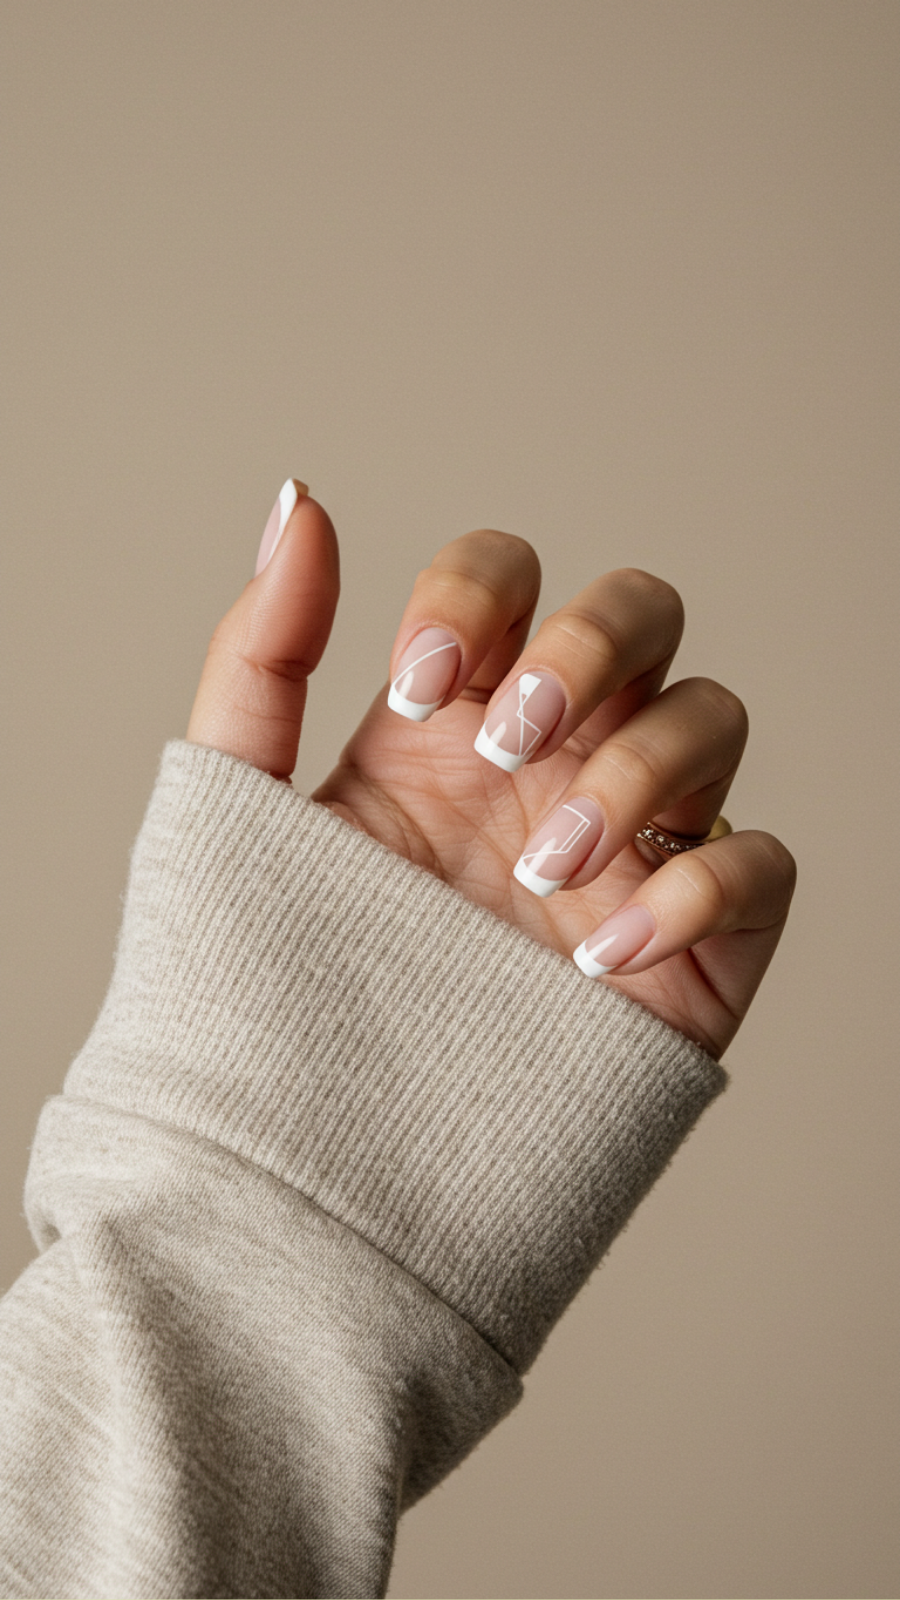
Classic French Tips with a Twist: Modern Minimalism Unleashed
The classic French tip manicure has long been a symbol of elegance and simplicity. However, today’s nail art trends invite a refreshing twist on this timeless design, embracing modern minimalism. Let’s explore how you can elevate your French tips while staying true to the minimalist aesthetic.
Current Trends in Modern French Tips
Minimalism in nail art focuses on clean lines, subtle colors, and unique designs. Here are some current trends that can transform your French tips:
- Negative Space: Incorporate negative space to create geometric shapes or stripes alongside traditional white tips.
- Pastel Shades: Swap the classic white for soft pastels like lavender or mint for a fresh twist.
- Matte Finish: A matte topcoat can give your French tips an edgy, sophisticated look.
Step-by-Step Guidance
To achieve the perfect modern French manicure, follow these expert tips:
- Prep Your Nails: Start with clean, shaped nails. Use a buffer to smooth the surface.
- Base Coat: Apply a clear base coat to protect your nails.
- Color Application: Choose your desired color for the tips. Use a fine brush for precision.
- Negative Space Design: If using negative space, carefully tape off sections before applying polish.
- Top Coat: Finish with a glossy or matte topcoat for lasting shine.
Common Mistakes to Avoid
While creating modern French tips, be mindful of these common pitfalls:
- Skipping the base coat, which can lead to staining.
- Applying too thick layers of polish, resulting in an uneven finish.
- Neglecting to clean up excess polish around the cuticles.
Best Practices for Maintenance
To keep your French tips looking fresh:
- Reapply topcoat every few days to maintain shine.
- Moisturize your cuticles regularly to prevent dryness.
Embrace these modern twists on classic French tips to express your individual style while enjoying the beauty of minimalism. With these tips, you can achieve a sophisticated look that speaks volumes!
5. Negative Space Nail Art: Embrace the Beauty of Simplicity
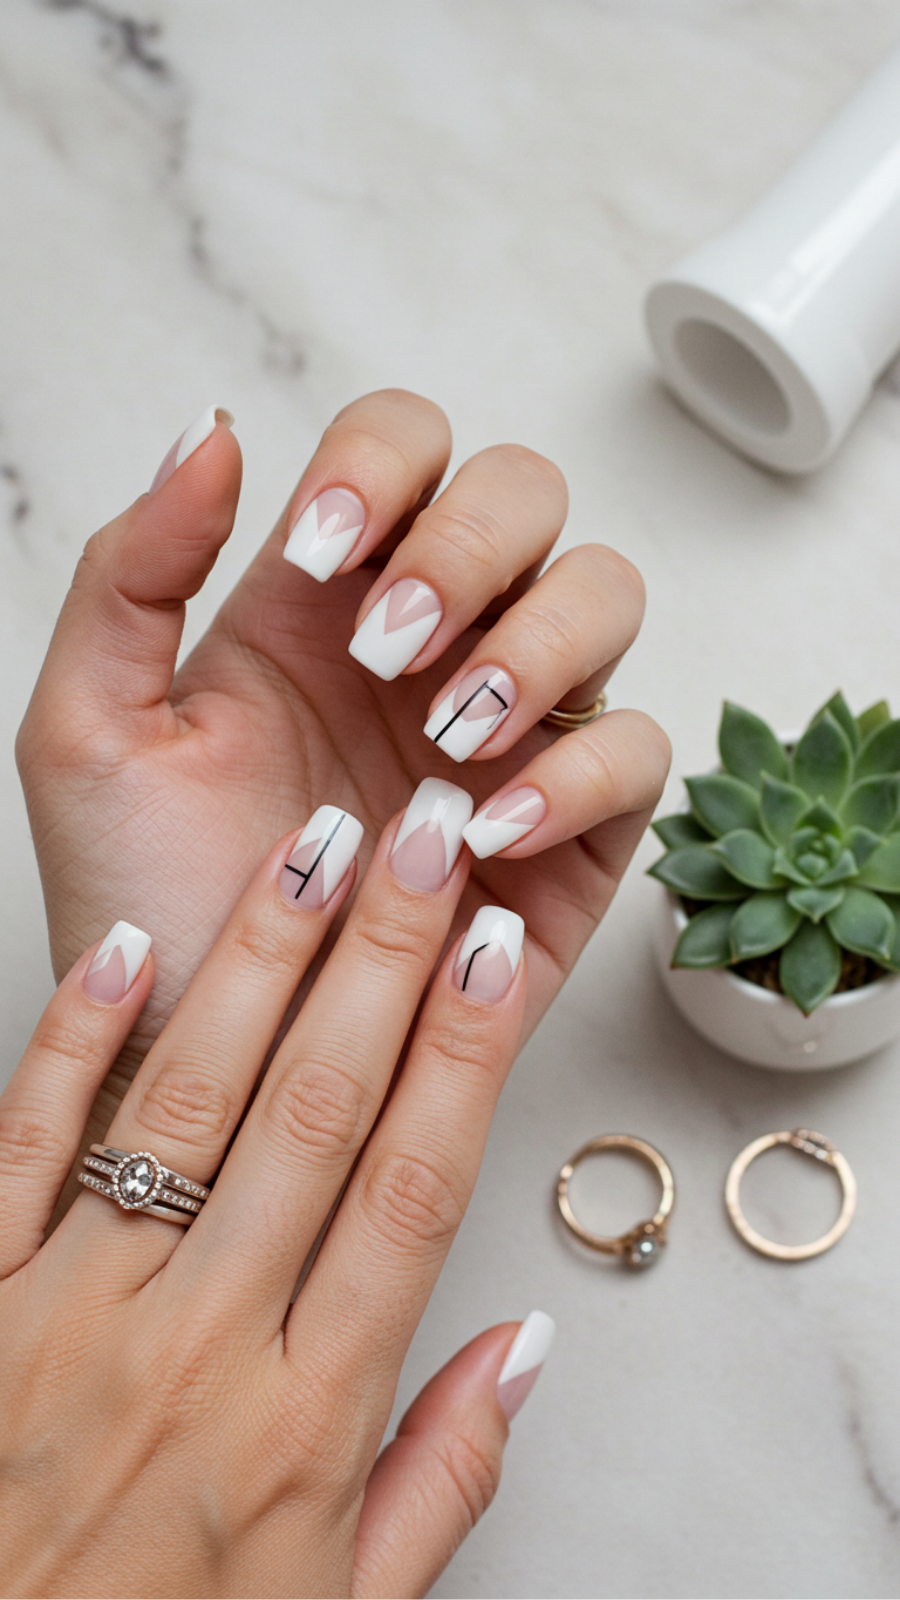
Negative Space Nail Art: Embrace the Beauty of Simplicity
Negative space nail art has emerged as a trending technique that celebrates the natural beauty of your nails. This minimalist approach utilizes the unpolished areas of the nail as part of the design, creating striking contrasts and visual interest. By embracing simplicity, you can achieve a chic and modern look that’s perfect for any occasion.
Step-by-Step Guidance for Creating Negative Space Nail Art
- Prep Your Nails: Start with clean, dry nails. Remove any old polish and push back cuticles for a smooth canvas.
- Apply a Base Coat: Use a clear base coat to protect your nails and enhance the longevity of your nail art.
- Create Your Design: Use nail tape to outline shapes or patterns on your nails. Popular designs include geometric lines, half-moon shapes, or floral motifs.
- Paint the Design: Apply your chosen nail polish to the exposed areas, leaving the negative space visible. Bold colors like deep blues or vibrant reds work well.
- Finish with a Top Coat: Seal your design with a glossy top coat for a polished finish and added durability.
Expert Tips and Tricks
- Choose colors that contrast with your natural nail for a bolder effect.
- Experiment with different shapes to find what complements your style best.
- Ensure the tape is firmly pressed down to avoid polish seeping underneath.
Common Mistakes to Avoid
- Rushing the drying time can lead to smudging—patience is key!
- Neglecting to use a base coat can cause discoloration over time.
- Overloading your brush with polish may result in uneven lines.
By following these best practices, you can master negative space nail art and enjoy its beauty of simplicity. Embrace this trend and let your nails be a canvas for creativity!
6. Monochrome Magic: One-Color Nails for Effortless Style
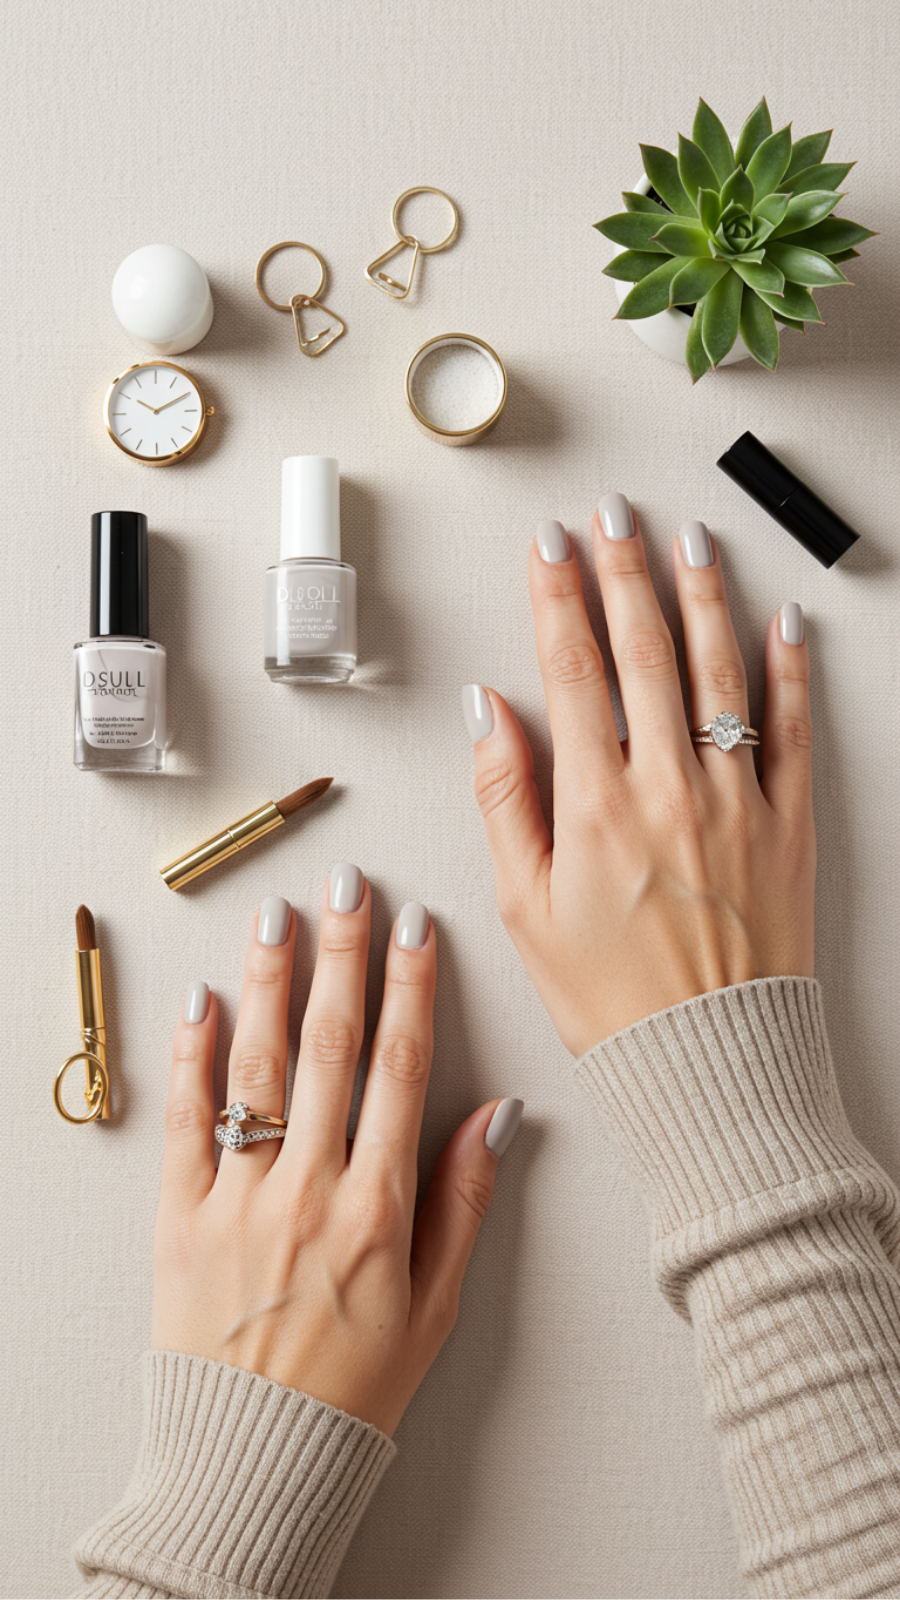
Monochrome Magic: One-Color Nails for Effortless Style
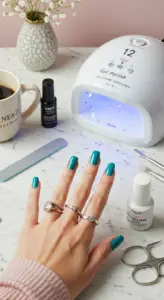
In the world of nail art, monochrome nails are making a significant impact, offering a chic and effortless style that suits any occasion. By focusing on a single color, you can create a polished look that is both modern and sophisticated.
Current Trends in Monochrome Nail Art
This season, bold colors like deep navy, rich burgundy, and soft pastels are trending. A single hue can make a powerful statement, whether you choose a glossy finish or a matte look. Pairing your monochrome nails with minimalist outfits enhances their impact, making them the perfect accessory.
Expert Tips for Achieving Monochrome Perfection
- Choose Quality Products: Invest in high-quality nail polish that provides full coverage and lasts longer.
- Prep Your Nails: Ensure your nails are clean and smooth. Use a base coat to protect and help the polish adhere better.
- Apply Thin Layers: For an even finish, apply your polish in thin layers, allowing each coat to dry before adding another.
Step-by-Step Guide to One-Color Nails
- Start with a base coat to prevent staining and enhance durability.
- Apply your chosen color in thin coats, usually two coats for opacity.
- Finish with a top coat for shine and longevity.
Avoiding Common Mistakes
One common mistake is applying too thick of a polish layer, which can lead to smudging and uneven drying. Always allow adequate drying time between coats to achieve a flawless finish.
Best Practices for Monochrome Nails
For a truly polished look, consider adding nail art accents, such as matte topcoat designs or subtle glitter. Remember, monochrome doesn’t mean boring; it’s about how you express your style with simplicity.
With these expert tips and trends, you can embrace the monochrome magic of one-color nails and showcase effortless style in your beauty routine.
7. Pastel Palette: Soft Shades for a Gentle Everyday Vibe

Pastel Palette: Soft Shades for a Gentle Everyday Vibe
Embrace a pastel palette this season to infuse your everyday look with soft, soothing shades that exude a gentle vibe. Pastel nail art offers a chic yet understated aesthetic, perfect for both casual outings and professional settings. By incorporating these delicate hues into your nail routine, you can achieve a polished look that complements any outfit.
Current Trends in Pastel Nail Art
This year, minimalistic designs paired with pastel colors are trending. Think ombre effects, subtle florals, or simple geometric patterns in soft shades like lavender, mint green, and pale pink. These designs not only look elegant but also showcase your creativity without being overpowering.
Step-by-Step Guidance for Pastel Nail Art
- Prep Your Nails: Start with clean, filed nails. Apply a base coat to protect your nails and enhance longevity.
- Choose Your Shades: Select two to three complementary pastel colors. For instance, a combination of baby blue, soft yellow, and lilac creates a delightful palette.
- Apply Base Color: Paint your nails with your chosen base pastel shade. Allow it to dry completely.
- Add Designs: Use a fine brush or dotting tool to create your desired patterns. Remember, subtlety is key!
- Seal Your Art: Finish with a top coat to add shine and protect your design.
Expert Tips and Common Mistakes to Avoid
- Tip: Layer your colors for depth, but avoid overcrowding your design.
- Mistake to Avoid: Skipping the base and top coats; they are essential for a long-lasting finish.
- Best Practice: Use high-quality nail polish brands for rich pigmentation and smooth application.
By following these guidelines, you can effortlessly incorporate a soft pastel palette into your nail art routine, ensuring a gentle everyday vibe that’s both stylish and sophisticated.
8. Tiny Floral Accents: Simplistic Beauty for Natural Nail Art
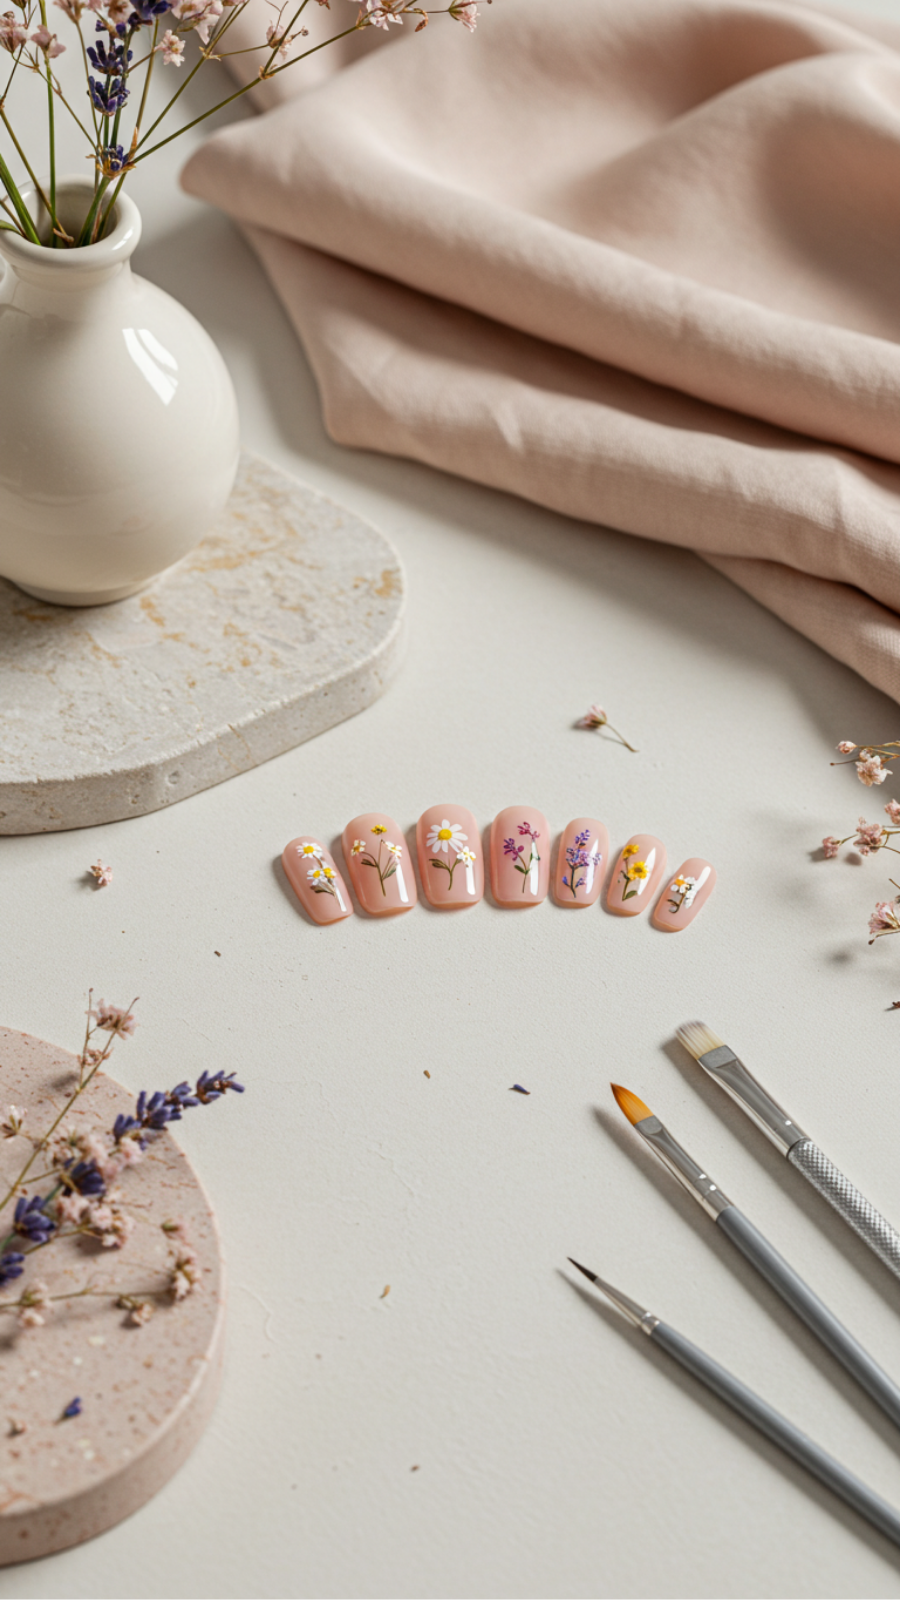
Tiny Floral Accents: Simplistic Beauty for Natural Nail Art
If you’re seeking a fresh and subtle way to enhance your natural nails, tiny floral accents are the perfect solution. This nail art trend embraces simplicity while adding a touch of elegance, making it ideal for everyday wear. Below, we explore expert tips, step-by-step guidance, and common mistakes to avoid when creating this charming look.
Step-by-Step Guide to Creating Tiny Floral Accents
- Prepare Your Nails: Start with clean, trimmed nails. Gently buff the surface and apply a base coat to protect your natural nails.
- Choose Your Colors: Select a neutral base color, like soft beige or pale pink, that complements your skin tone. For the floral accents, opt for vibrant shades like coral or lavender.
- Apply the Base Coat: Once your base is dry, apply two coats of your chosen neutral color for a smooth canvas.
- Create the Flowers: Using a fine nail art brush or dotting tool, paint small flower shapes. Two to three petals with a dot in the center work well for a minimalist look.
- Seal the Design: Finish with a top coat to add shine and longevity to your floral accents.
Expert Tips and Common Mistakes
- Choose the Right Tools: Invest in quality brushes for precise application.
- Practice Patience: Allow each coat to dry completely to avoid smudging.
- Avoid Overcrowding: Less is more; a few well-placed flowers will look more sophisticated than a crowded design.
Incorporating tiny floral accents into your nail art routine not only aligns with current trends but also offers a refreshing twist to your everyday look. Remember, the key to flawless nail art is practice and patience!
9. Matte Finish vs. Glossy: Choosing the Best for Minimalist Nails

Matte Finish vs. Glossy: Choosing the Best for Minimalist Nails
When it comes to minimalist nails, the choice between a matte finish and a glossy topcoat can significantly impact your overall look. Both styles offer unique aesthetics and can cater to different vibes and occasions. Here’s how to choose the best finish for your next manicure.
Current Trends in Nail Art
Matte nails have surged in popularity, offering a chic and understated elegance that appeals to many minimalist aesthetics. Conversely, glossy nails provide a classic, polished appearance that remains timeless. Both finishes can be styled with neutral shades, soft pastels, or even bold colors, depending on your preference.
Step-by-Step Guidance
- Choose Your Base Color: Opt for soft, muted tones for a minimalist look.
- Prep Your Nails: Clean, buff, and apply a base coat to ensure longevity.
- Apply the Color: For matte, use a matte topcoat; for glossy, apply a shiny topcoat.
- Finish Up: Seal with a topcoat suited for your finish to enhance durability.
Expert Tips and Common Mistakes
Choosing the right finish often comes down to personal style. Here are some expert tips:
- Consider the occasion: Glossy nails work well for formal events, while matte can be perfect for casual outings.
- Avoid applying too many layers, which can cause uneven finishes.
- Always use a base coat to prevent staining, especially with darker colors.
Ultimately, both matte and glossy finishes can elevate your minimalist nail game. Choose based on your style preferences and the vibe you want to convey. Experimenting with both can also lead to unique combinations that stand out!
10. Textured Minimalism: Incorporating Matte and Shine Effects
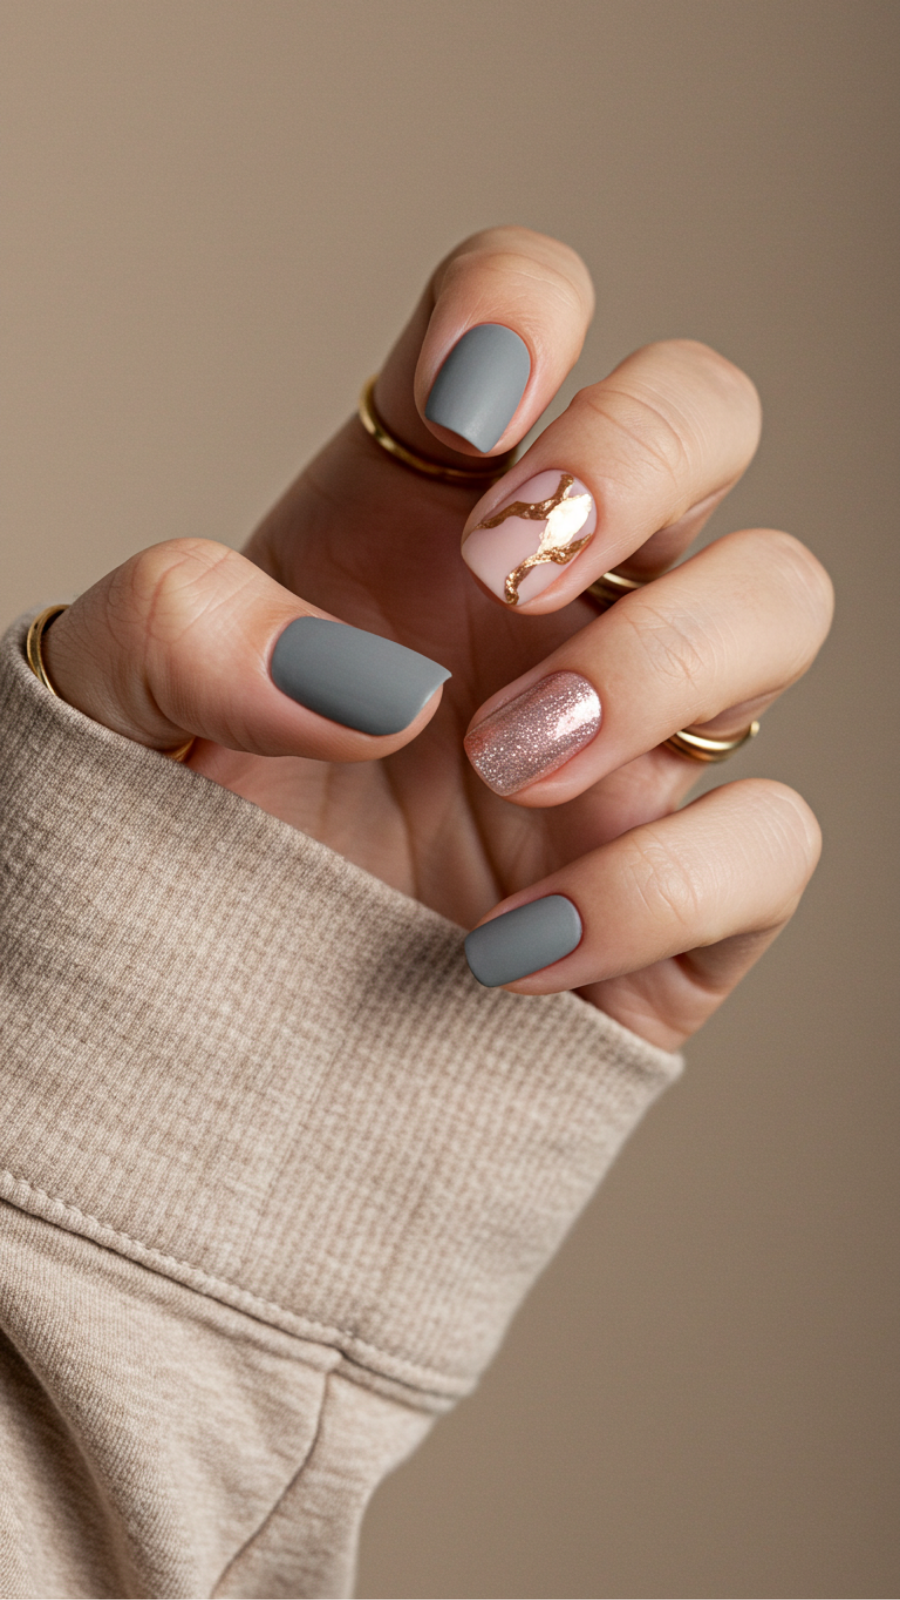
Textured Minimalism: Incorporating Matte and Shine Effects
Textured minimalism is taking the nail art world by storm, blending matte and shine effects into a harmonious nail design. This trend embraces simplicity while allowing for creativity through texture, making it perfect for those who appreciate understated elegance.
Current Trends in Nail Art & Beauty
In 2023, the focus is on subtle contrasts. Think matte finishes paired with glossy accents or metallic details. Popular styles include:
- Matte nails with shiny tips
- Half-moon designs featuring a matte base with a glossy cuticle area
- Textured matte polishes, like suede or velvet finishes
Expert Tips and Tricks
To achieve the perfect textured minimalist look, follow these expert guidelines:
- Prep Your Nails: Begin with clean, dry nails. Apply a base coat to protect and smooth the surface.
- Choose Your Colors: Opt for a matte polish in a neutral shade and a contrasting shiny top coat.
- Application Technique: Apply the matte color first. Once dried, use tape for precise designs, then add the shiny accents.
Avoid Common Mistakes
While experimenting with matte and shine effects, keep these pitfalls in mind:
- Skipping the base coat can lead to uneven texture.
- Overloading the brush with polish may cause clumping.
- Neglecting to let layers dry completely can result in smudging.
Best Practices for Stunning Results
For a flawless finish, remember to:
- Seal your design with a top coat for longevity.
- Experiment with different finishes to find your preferred texture combination.
- Keep nails well-moisturized to enhance the matte effect.
Incorporating matte and shine effects into your nail art not only aligns with current trends but also allows for a personal touch in your beauty routine. Embrace textured minimalism to showcase your unique style!
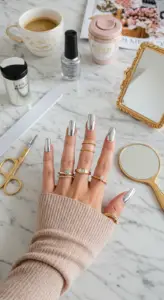
11. Elegant Metallic Stripes: A Touch of Glam for Casual Days
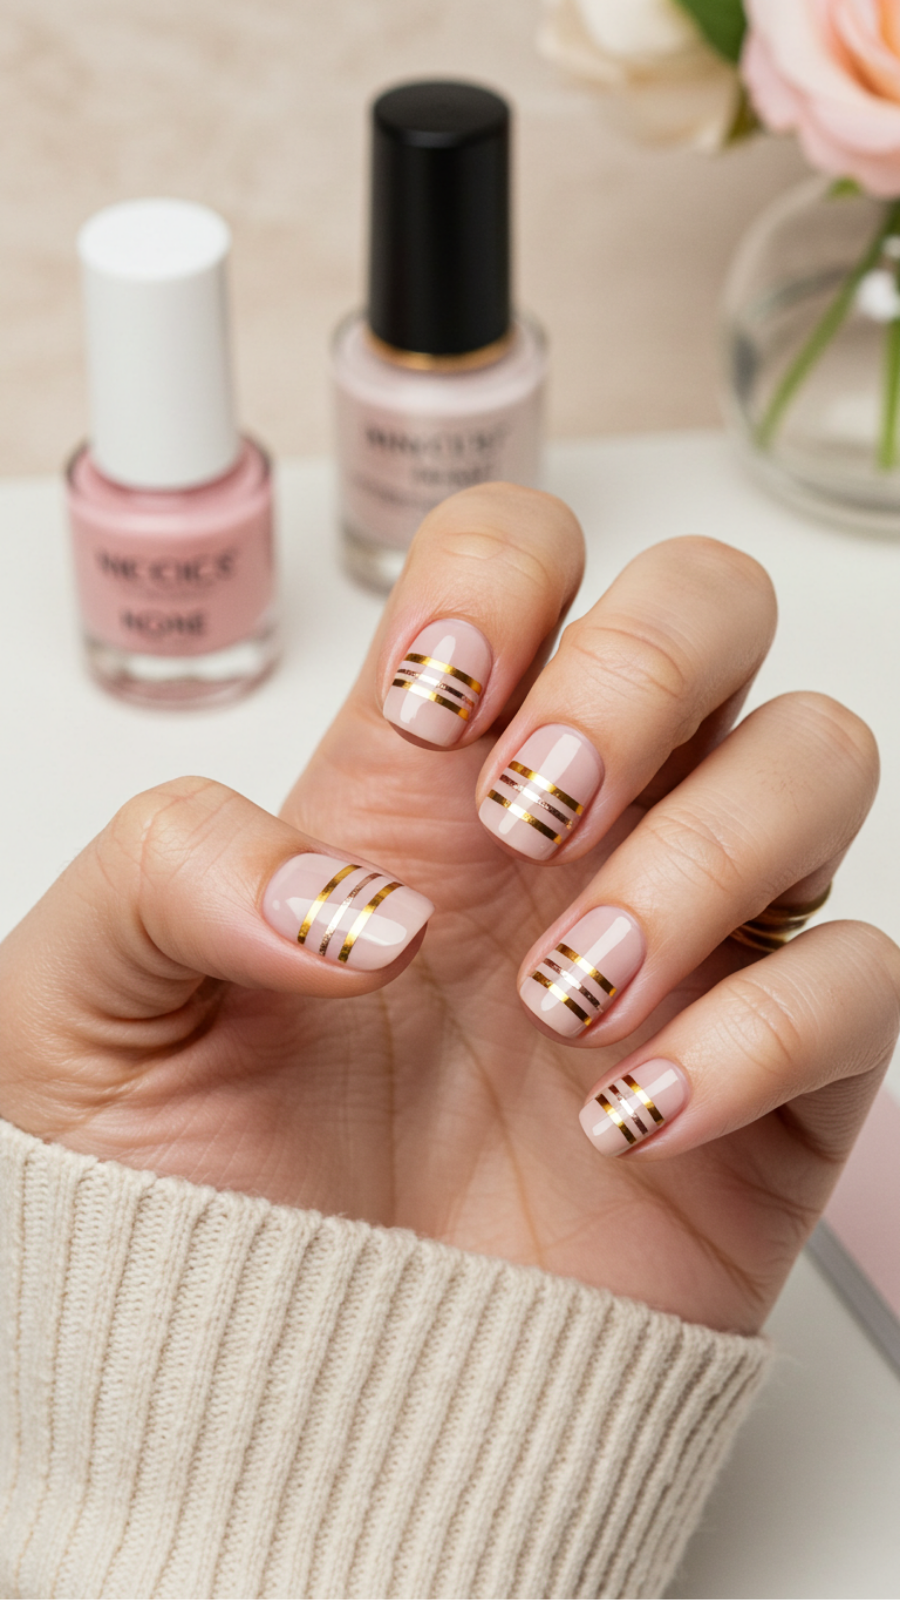
Elegant Metallic Stripes: A Touch of Glam for Casual Days
Nail art has evolved into an essential aspect of personal style, and elegant metallic stripes are a perfect way to add a touch of glam to your casual days. This chic design blends sophistication with simplicity, making it ideal for both everyday wear and special occasions.
Current Trends in Nail Art
Metallic tones are trending in 2023, thanks to their versatility and ability to catch the light beautifully. Shades like gold, silver, and rose gold are particularly popular, allowing for a striking contrast against neutral bases. Pair these metallics with matte or glossy backgrounds for a stunning effect.
Step-by-Step Guidance
- Prep Your Nails: Start with clean, shaped nails. Apply a base coat to protect your natural nails.
- Choose Your Base Color: Opt for a soft pastel or nude shade as a backdrop to enhance the metallic stripes.
- Apply Metallic Stripes: Using striping tape or a fine nail art brush, apply your metallic polish in straight lines. Consider varying the width for added interest.
- Seal the Design: Finish with a topcoat to ensure durability and shine.
Expert Tips and Tricks
- Use a quick-dry topcoat to avoid smudging your design.
- Practice on a nail wheel before applying to your fingers to perfect your technique.
- Keep your hand steady by resting your wrist on a flat surface while painting.
Avoid Common Mistakes
While creating elegant metallic stripes, avoid these pitfalls:
- Skipping the base coat, which can lead to staining.
- Using too thick a layer of metallic polish, resulting in uneven lines.
- Neglecting to clean your brushes or tools, which can transfer colors unintentionally.
By following these best practices, you can effortlessly incorporate elegant metallic stripes into your nail art repertoire. Whether you’re heading to brunch or a casual evening out, this design will elevate your look with minimal effort.
12. Accent Nails: Minimalist Art That Makes a Statement
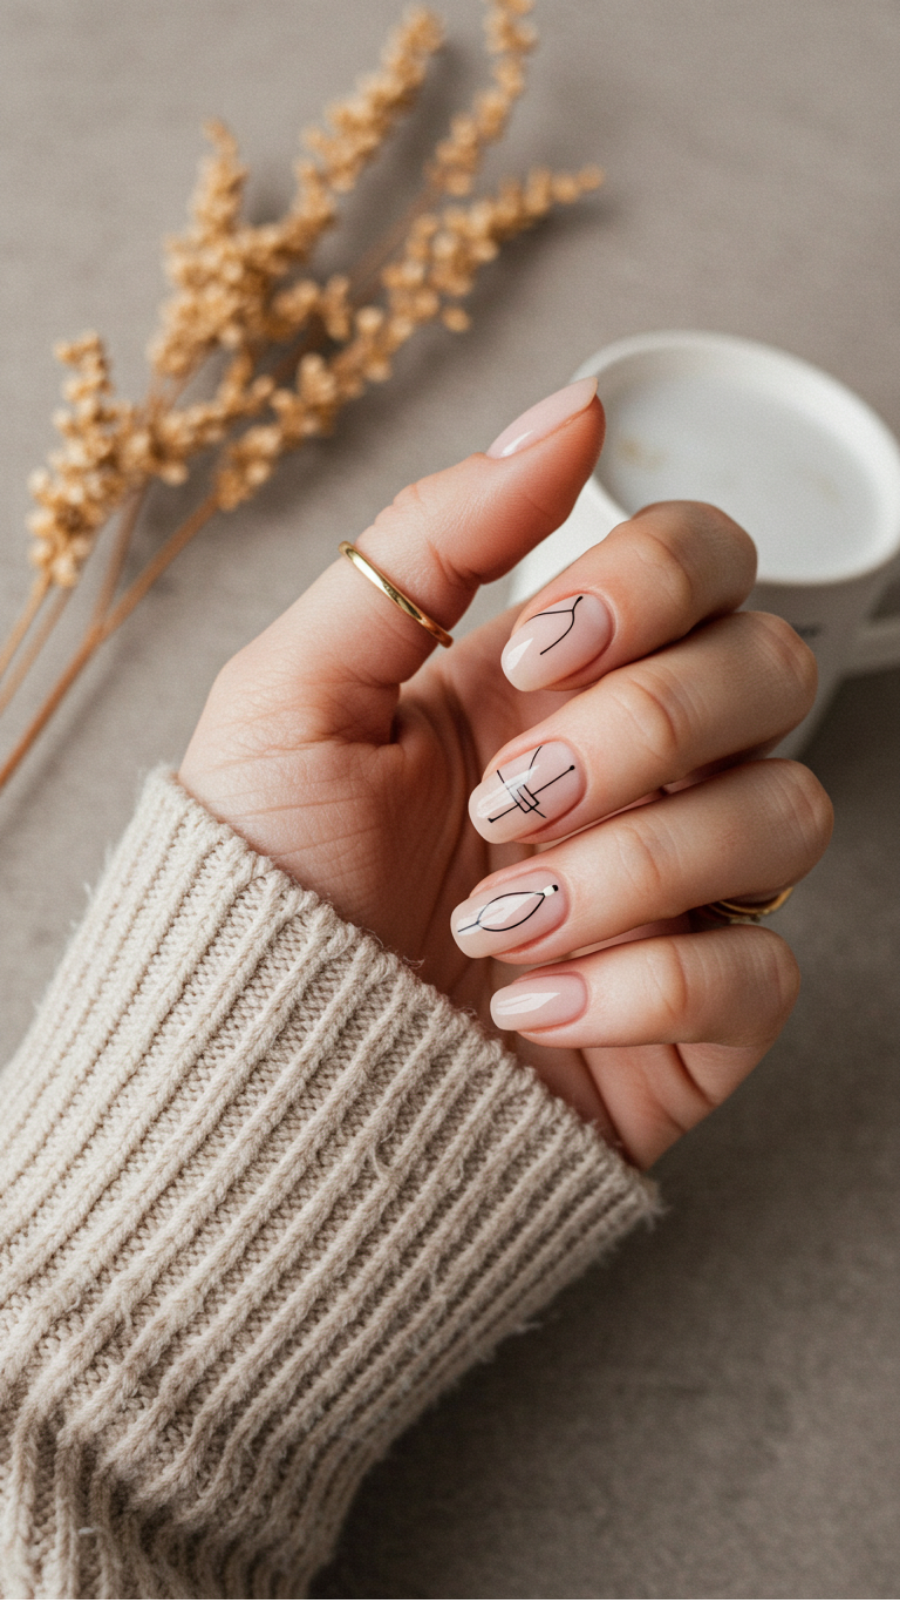
Accent Nails: Minimalist Art That Makes a Statement
In the evolving world of nail art and beauty, accent nails have emerged as a popular trend. This minimalist approach allows you to showcase your personal style while keeping things chic and understated. An accent nail is a single nail on each hand that features a design or color different from the rest, creating a bold statement without overwhelming your look.
Current Trends in Accent Nails
As of 2023, some of the hottest trends include:
- Negative Space Designs: Utilizing the natural nail as part of the art.
- Geometric Shapes: Simple lines and shapes for a modern touch.
- Metallic Accents: Gold or silver foils to add a touch of glam.
Step-by-Step Guidance
Creating stunning accent nails is easier than you think. Follow these expert tips:
- Prep Your Nails: Start by cleaning and shaping your nails. Apply a base coat to protect them.
- Select Your Colors: Choose a primary color for most nails and a contrasting shade for your accent nail.
- Design the Accent Nail: Use nail art brushes or tools to create your desired design, like stripes or dots.
- Seal the Look: Finish with a top coat for longevity and shine.
Common Mistakes to Avoid
When crafting your accent nails, keep these pitfalls in mind:
- Choosing overly complex designs that can overwhelm the minimalist aesthetic.
- Neglecting nail care, which can detract from the beauty of your art.
- Forgetting to use a top coat, leading to chipping and dullness.
Best Practices
To enhance your accent nail artistry, remember:
- Keep designs simple and cohesive with your overall look.
- Experiment with textures, like matte versus glossy finishes.
- Stay updated with seasonal colors to keep your look fresh.
Accent nails are a perfect way to express your creativity while maintaining a minimalist vibe. Whether you’re heading to a casual brunch or a formal event, this nail art technique is versatile and timeless.
13. Subtle Glitter Gradient: Everyday Sparkle Without Overdoing It
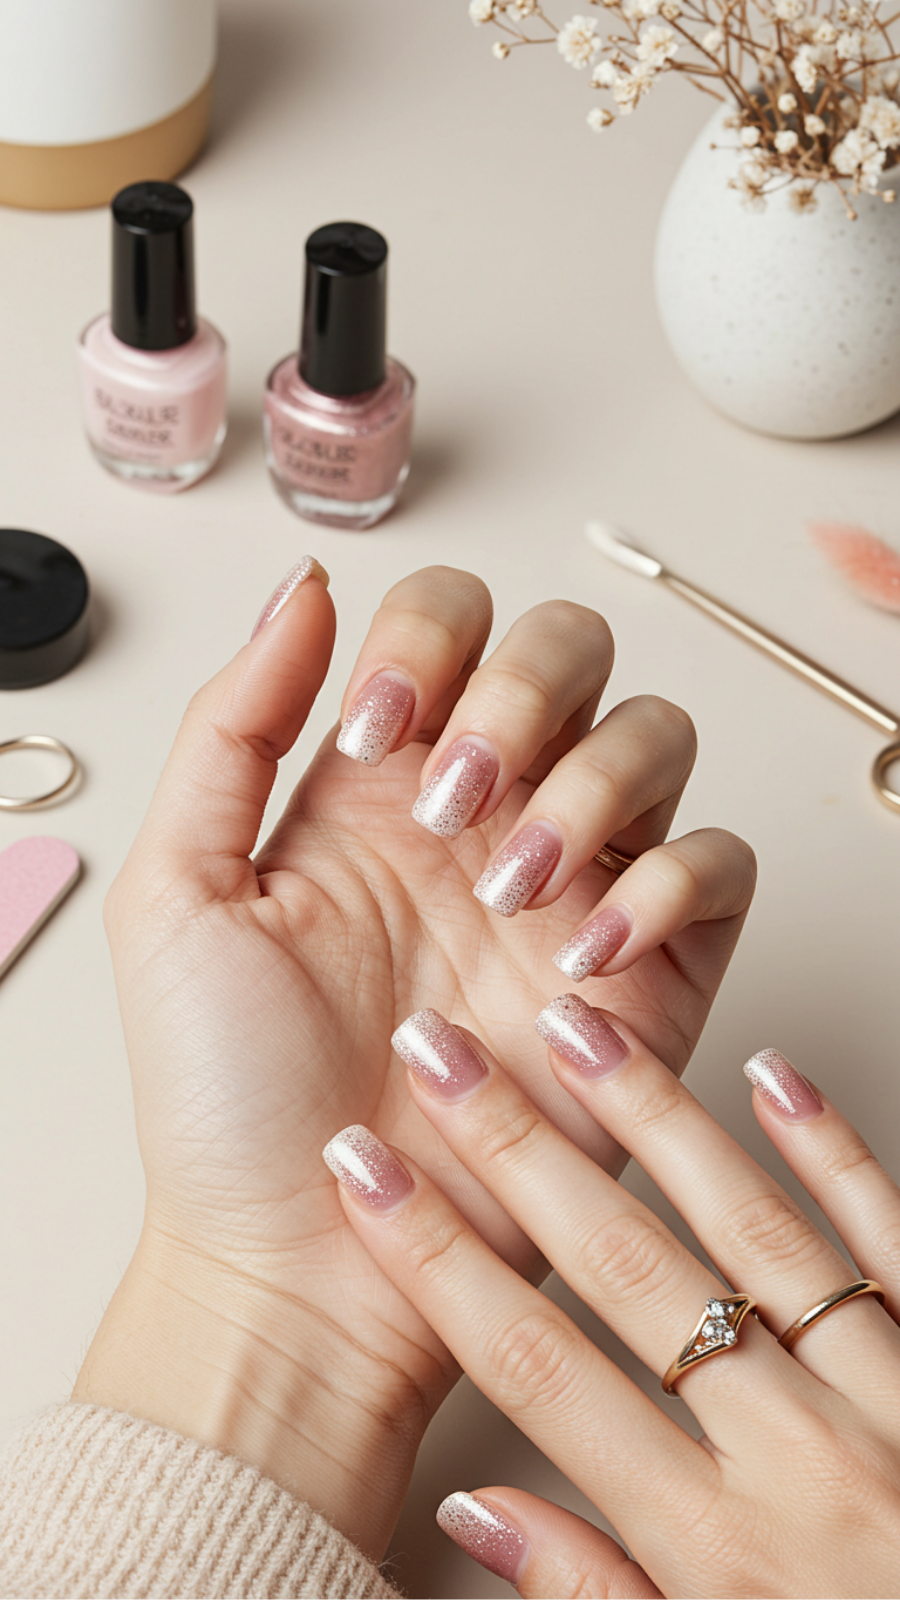
Subtle Glitter Gradient: Everyday Sparkle Without Overdoing It
Looking to add a touch of glam to your everyday look without being too flashy? The subtle glitter gradient is your go-to nail art technique. This trendy style combines elegance with a hint of sparkle, making it perfect for any occasion.
Step-by-Step Guide to Achieve Subtle Glitter Gradient
- Prep Your Nails: Start with clean, shaped nails. Apply a base coat to protect your natural nails and enhance longevity.
- Select Your Colors: Choose a nude or pastel base color paired with a fine glitter polish. Soft hues like blush or baby blue work beautifully.
- Apply the Base Color: Paint two coats of your chosen base color, allowing each layer to dry completely.
- Create the Gradient: Using a makeup sponge, apply the glitter polish to the tip, gradually blending it down towards the base color. This technique softens the transition.
- Seal the Look: Finish with a top coat to add shine and protect your design.
Expert Tips and Tricks
- Use Fine Glitter: Opt for fine glitter for a more delicate effect, avoiding chunky glitter that can overwhelm your look.
- Practice the Sponge Technique: Experiment with different sponges to find one that gives you the best gradient.
- Don’t Rush: Allow each layer to dry completely to prevent smudging.
Common Mistakes to Avoid
To achieve the perfect subtle glitter gradient, avoid these pitfalls:
- Applying too much glitter at once, which can create an uneven look.
- Skipping the base coat, which can lead to discoloration.
- Neglecting to use a top coat, compromising the shine and longevity.
With this guide, you can effortlessly incorporate a subtle glitter gradient into your nail art repertoire. Perfect for daily wear, this technique offers a chic way to express your style while keeping it elegant.
14. Barely-There Nail Art: Perfecting the ‘No Makeup’ Look
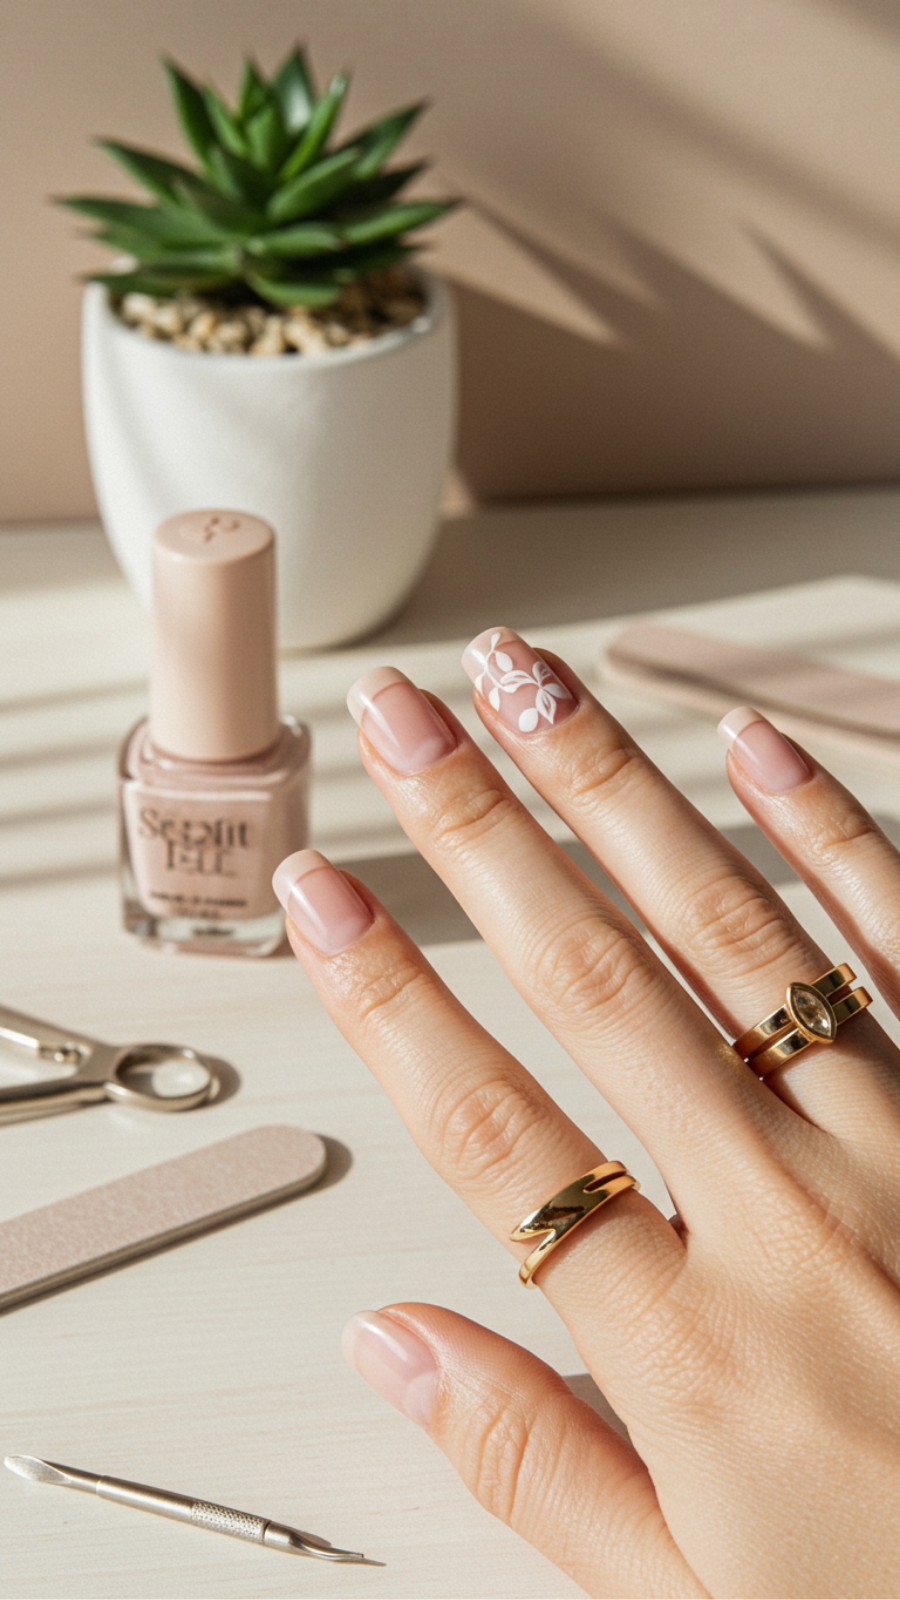
Barely-There Nail Art: Perfecting the ‘No Makeup’ Look
In the world of nail art, the barely-there nail art trend is taking center stage, epitomizing the ‘no makeup’ aesthetic that emphasizes natural beauty. This minimalist style complements any outfit while providing a polished look without overwhelming the senses.
Current Trends in Barely-There Nail Art
Popular designs include sheer nude shades, subtle pastels, and delicate negative space patterns. These options allow your natural nail to shine through while adding a touch of sophistication. Additionally, incorporating tiny gold or silver accents can elevate a simple design, making it perfect for both everyday wear and special occasions.
Step-by-Step Guidance
- Prep Your Nails: Start with clean, trimmed nails. Buff the surface to create a smooth canvas.
- Base Coat: Apply a clear base coat to protect your nails and enhance longevity.
- Choose the Right Shade: Select a nude or pastel polish that complements your skin tone. Light pinks and soft beiges work well for many.
- Apply Polish: Use two thin coats for a sheer effect. Allow each layer to dry before applying the next.
- Add Accents: Consider using a fine brush to create tiny dots or lines with a metallic polish for that extra flair.
- Top Coat: Finish with a glossy top coat for added shine and protection.
Expert Tips and Common Mistakes to Avoid
To achieve a flawless barely-there look, avoid these common pitfalls:
- Skipping the base coat can lead to staining.
- Applying thick layers of polish may result in an uneven finish.
- Neglecting cuticle care will detract from the overall clean appearance.
By following these best practices and embracing the barely-there nail art trend, you can achieve a chic, natural look that enhances your beauty effortlessly. Remember, the key is subtlety—less is often more!
15. Muted Color Block Nails: A Trendy Twist on Minimalist Styles
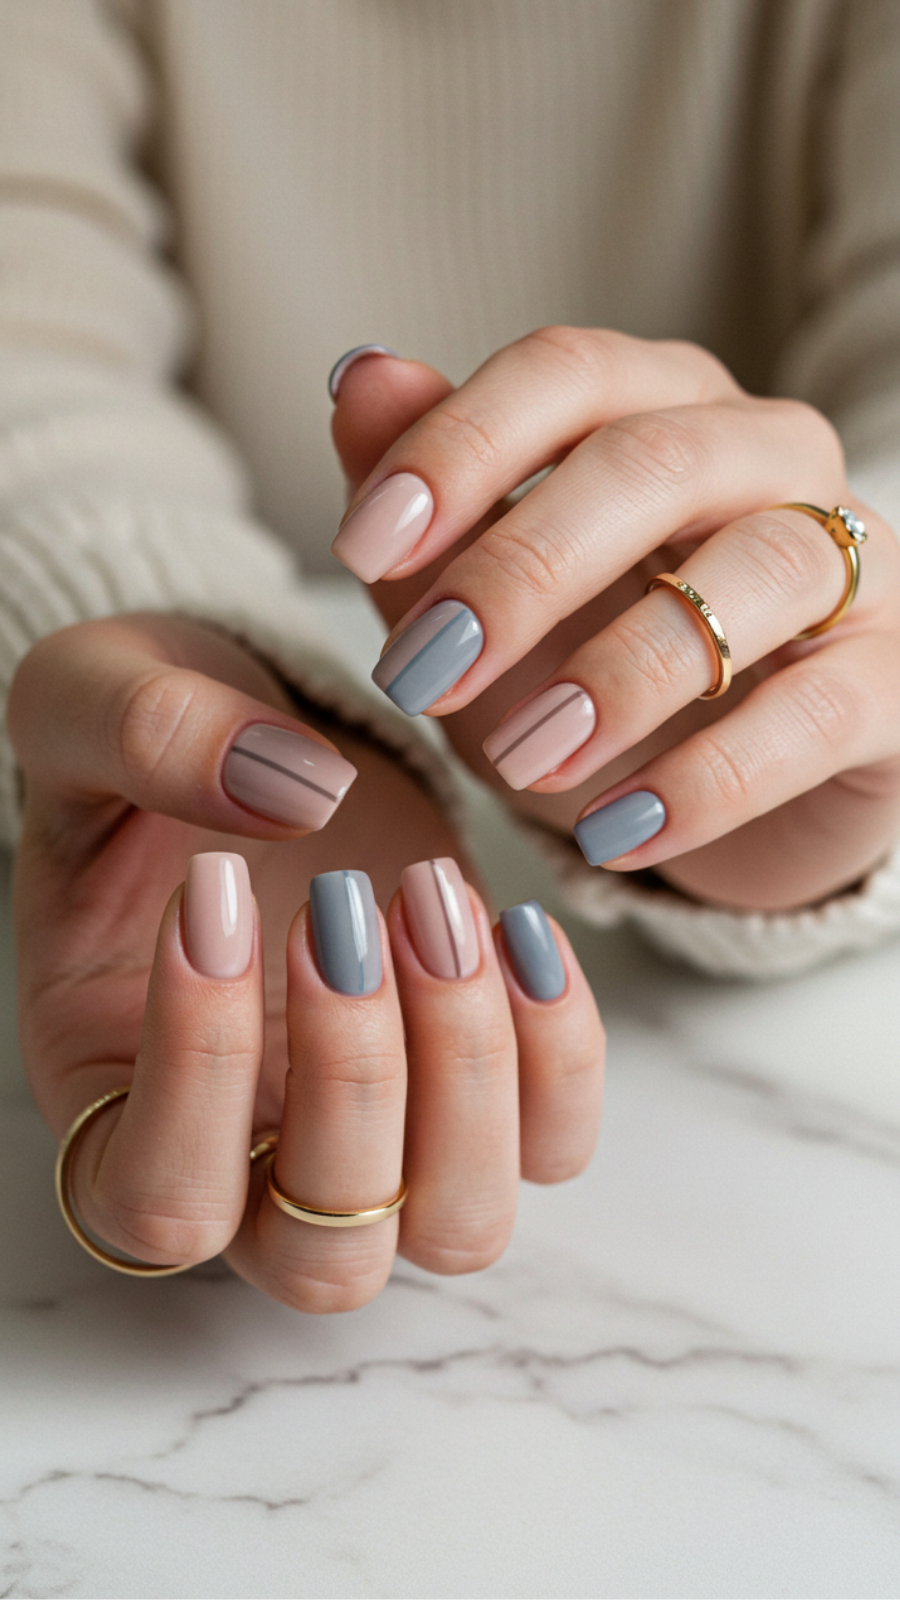
Muted Color Block Nails: A Trendy Twist on Minimalist Styles
Muted color block nails are making waves in the nail art scene, offering a chic and sophisticated take on minimalist designs. This trend allows for a blend of subtle shades, creating an elegant yet eye-catching look that complements any outfit.
Step-by-Step Guide to Creating Muted Color Block Nails
- Gather Your Materials: You’ll need a base coat, muted nail polish shades (think soft pastels or earthy tones), a top coat, and nail tape for clean lines.
- Prep Your Nails: Start by filing and shaping your nails. Apply a base coat to protect your natural nails and ensure long-lasting wear.
- Apply the Base Color: Choose your primary muted shade and apply two coats for full coverage, allowing time to dry in between.
- Block It Out: Use nail tape to create geometric shapes on your nails. Paint the exposed sections with contrasting muted colors for a stylish block effect.
- Seal the Deal: Once everything is dry, apply a top coat to add shine and longevity to your design.
Expert Tips and Common Mistakes to Avoid
- Tip: Experiment with different muted shades to find combinations that suit your style.
- Common Mistake: Applying too much polish can lead to smudging. Thin layers are key!
- Best Practice: Always let each layer dry completely before moving on to the next step for the cleanest results.
Muted color block nails seamlessly blend elegance and creativity, making them perfect for both casual and formal occasions. Embrace this trendy twist on minimalist styles, and elevate your nail art game today!
Frequently Asked Questions
How can I achieve effortless nude ombre nails at home?
To create nude ombre nails, start with a base coat and apply a nude polish. Use a makeup sponge to dab a slightly darker shade at the tips, blending it down towards the cuticle. Seal with a top coat for a smooth finish, ensuring your ombre looks seamless and chic for everyday wear.
Why are geometric line art designs popular in minimalist nail art?
Geometric line art designs are popular due to their modern aesthetic and versatility. They can be easily customized to match any outfit or occasion while maintaining a clean and sophisticated look. This trend allows for creativity without overwhelming the nails, making it perfect for a minimalist style.
What materials do I need for subtle dot patterns on my nails?
To create subtle dot patterns on your nails, you will need a dotting tool or a toothpick, along with your favorite nail polish colors. A base coat is essential to protect your nails, and a top coat will help seal the design for longevity. This simple technique can elevate your everyday nail aesthetic effortlessly.
How can I modernize classic French tips for a minimalist look?
To modernize classic French tips, consider using a matte top coat or experimenting with different colors for the tips, such as pastels or metallics. You can also try asymmetrical tips or add a thin line of negative space for a fresh take on this timeless style. This adds a unique twist while keeping the elegance of French tips.
What should I do if my negative space nail art chips easily?
If your negative space nail art is chipping easily, ensure you’re applying a high-quality base coat and top coat to protect the design. Additionally, try using a gel polish for added durability, and avoid using your nails as tools to prevent damage. Regular maintenance and touch-ups will keep your nail art looking fresh and chic.

