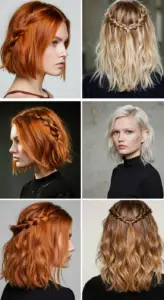
1. Texturizing Spray: Your Secret Weapon for Flat Hair Revival

Texturizing Spray: Your Secret Weapon for Flat Hair Revival
If you find yourself battling flat, lifeless hair, look no further than texturizing spray. This versatile product has become a staple in the beauty routines of hairstylists and trendsetters alike, making it the go-to solution for adding volume and texture to your locks.
Current Trends & Expert Tips
In 2023, hairstyle trends emphasize natural, effortless waves coupled with touchable texture. Texturizing sprays are perfect for achieving that beachy look without the fuss. Here are some expert tips:
- Choose the right formula: Look for sprays that contain sea salt or polymers for added grip and volume.
- Application method: Spray onto damp hair before blow-drying for maximum lift or onto dry hair for touch-ups.
Step-by-Step Guidance
To revive your flat hair using texturizing spray, follow these simple steps:
- Start with clean, damp hair. Towel-dry to remove excess moisture.
- Shake the texturizing spray well and hold it about 6-8 inches from your hair.
- Spray evenly, focusing on the roots for added volume.
- Use your fingers to scrunch and tousle your hair as you blow-dry on a medium setting.
- Finish with a light mist of spray for extra hold.
Common Mistakes to Avoid
While using texturizing spray can elevate your hairstyle, there are common pitfalls to watch out for:
- Applying too much product can weigh hair down.
- Neglecting the roots, where volume is most needed.
Best Practices for Texturizing Spray
For optimal results, remember these best practices:
- Experiment with different brands to find the one that works best for your hair type.
- Incorporate texturizing spray into your daily routine for ongoing volume and texture.
With texturizing spray as your secret weapon, flat hair revival is just a spray away. Embrace this trend and enjoy voluminous, textured locks that turn heads!
2. Beachy Waves: Effortless Texture Using a Curling Wand Technique
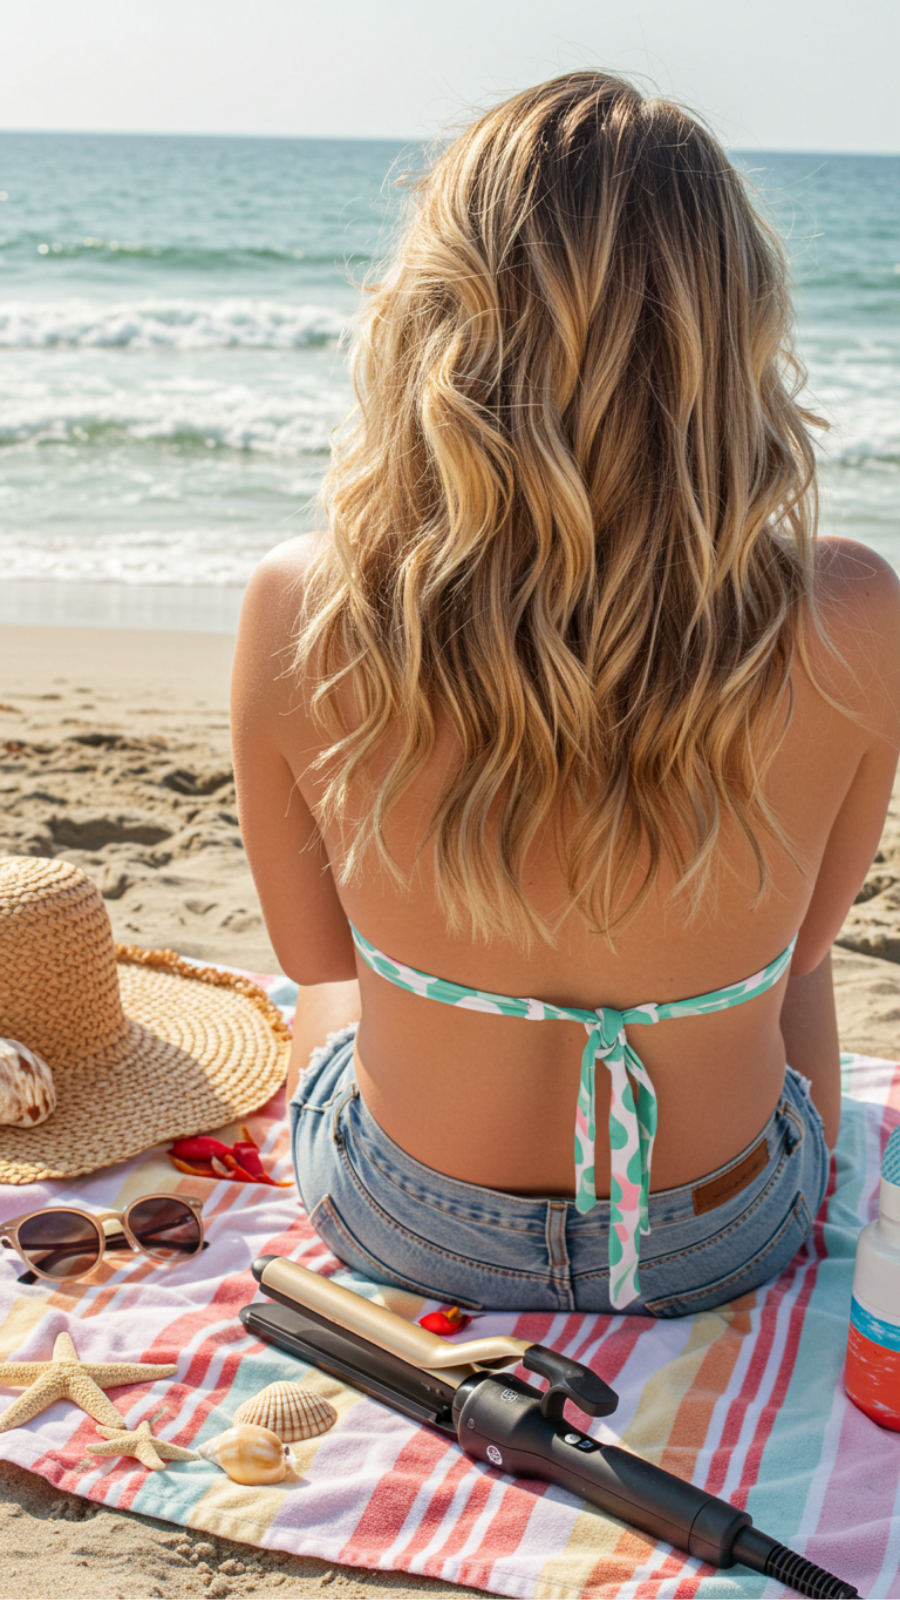
Beachy Waves: Effortless Texture Using a Curling Wand Technique
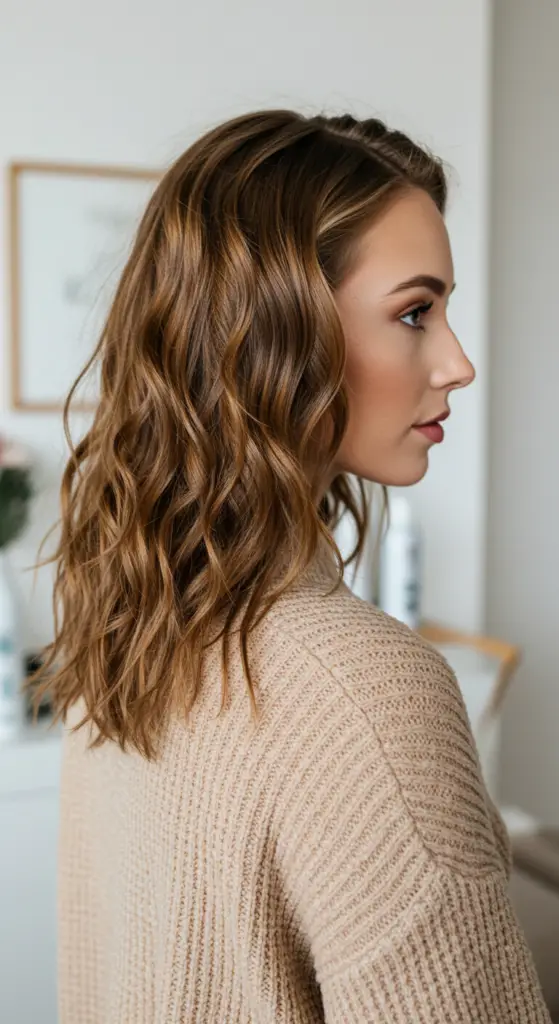
Achieving the perfect beachy waves is a must for those seeking an effortlessly chic look. This hairstyle trend is all about creating tousled texture that mimics the natural waves you get from a day at the beach. With the right technique using a curling wand, you can easily replicate this style at home.
Step-by-Step Guide to Creating Beachy Waves
- Prep Your Hair: Start with clean, dry hair. Apply a heat protectant spray to prevent damage from the curling wand.
- Section Your Hair: Divide your hair into 2-3 sections. This makes it easier to work through your locks and achieve even waves.
- Choose the Right Wand: Opt for a 1 to 1.5-inch barrel curling wand for soft, natural waves. A tapered wand can also create varied wave sizes.
- Wrap Your Hair: Take a small section (about 1 inch), and wrap it around the wand away from your face. Hold for 5-10 seconds.
- Release and Cool: Gently release the curl and allow it to cool in your hand for a few seconds before letting it fall.
- Finish with Texture Spray: Once all sections are curled, tousle the waves and spritz with a sea salt spray or texture spray for added hold.
Expert Tips and Common Mistakes to Avoid
- Don’t overheat the curling wand; it can lead to frizz and damage.
- Ensure you alternate the direction of the curls to create a more natural look.
- Avoid curling every strand; leave some pieces straight for added texture.
By following these steps and tips, you can achieve stunning beachy waves that are perfect for any occasion, from casual outings to summer parties. Embrace the effortless charm of this hairstyle trend!
3. Layered Cuts: How to Add Dimension and Volume to Flat Styles
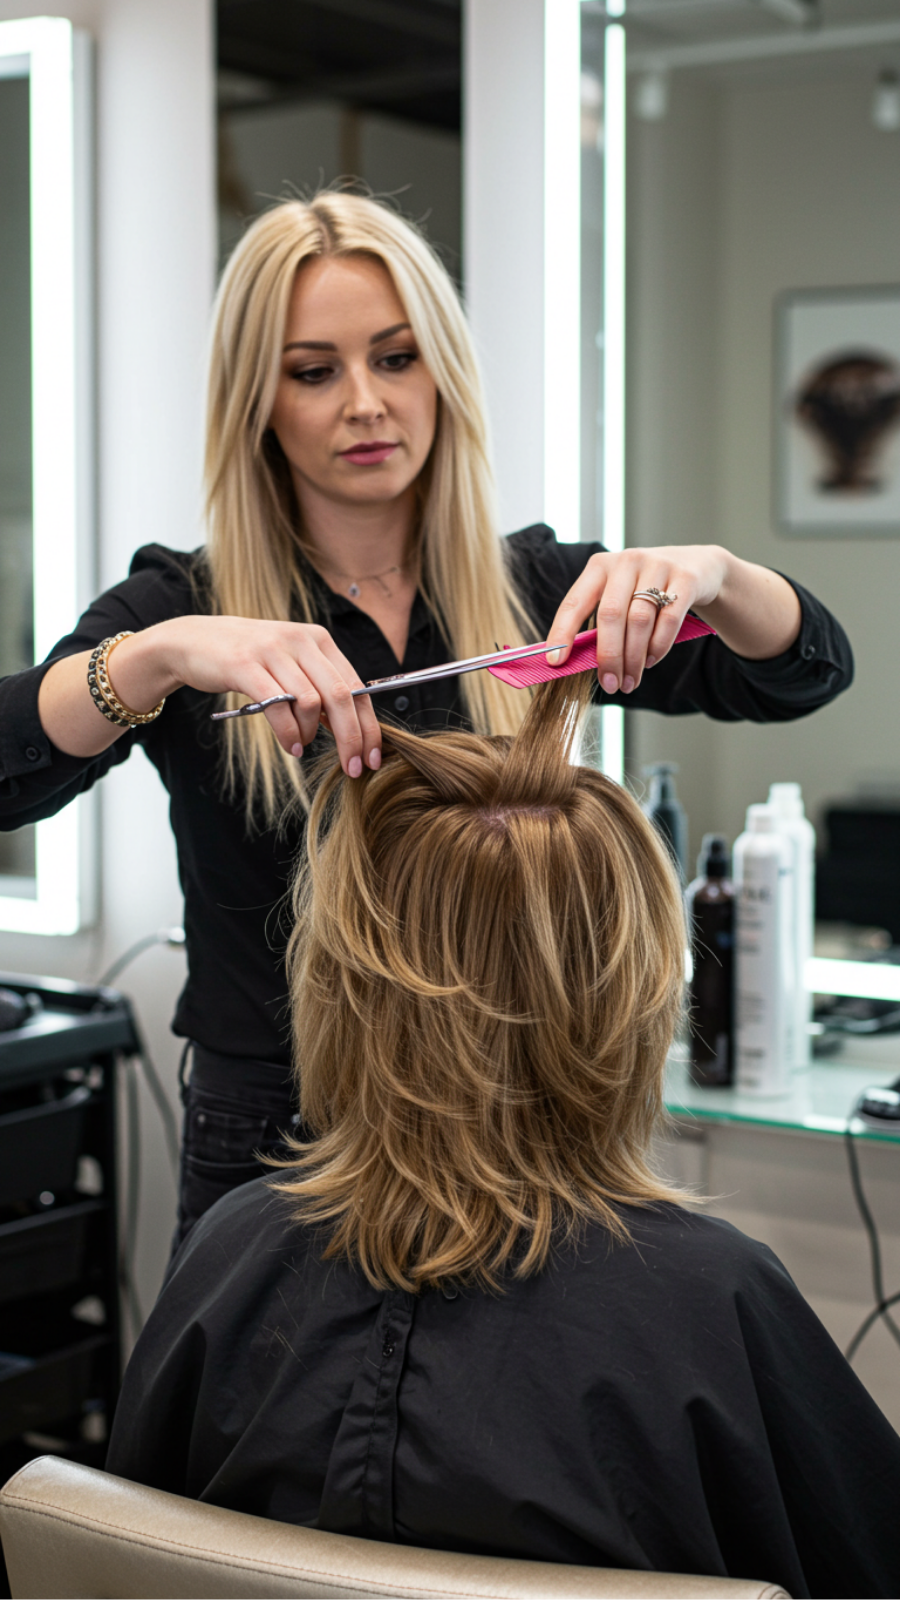
Layered Cuts: How to Add Dimension and Volume to Flat Styles
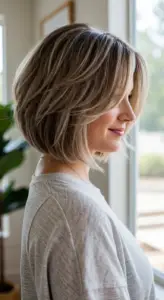
Layered cuts are a transformative hairstyle trend that can breathe life into flat, lifeless hair. By incorporating various lengths, layered cuts create the illusion of volume and movement, making them a popular choice for anyone looking to enhance their hair’s natural texture. Here’s how you can achieve this look, step by step.
Step-by-Step Guidance
- Consult a Professional: Start by discussing your hair type and desired outcome with a stylist who specializes in layered cuts. They can recommend the best approach for your face shape and hair texture.
- Choose the Right Layers: Opt for long layers for a subtle effect, or short layers for more dramatic volume. Face-framing layers can also enhance your features.
- Cutting Technique: Ask for a point-cutting technique to create softer edges, which adds dimension without looking choppy.
- Styling Products: Use volumizing mousse or sea salt spray on damp hair before blow-drying to boost lift at the roots.
Expert Tips and Tricks
To maximize the benefits of layered cuts:
- Consider your hair’s natural texture; curly hair may require different layering techniques than straight hair.
- Regular trims (every 6-8 weeks) can help maintain the shape and prevent split ends.
Common Mistakes to Avoid
Avoid cutting layers that are too short for your hair type, as this can lead to an unflattering silhouette. Also, be cautious with heavy styling products, which can weigh down layers and negate the volume you’re aiming for.
Best Practices
Incorporating a layered cut into your hairstyle routine can significantly enhance your overall look. Remember to tailor the layers to suit your hair type, and don’t hesitate to seek professional advice for the best results. Embrace the layered trend and enjoy the added dimension and volume!
4. Braided Accents: Elevate Your Look with Simple Braid Textures
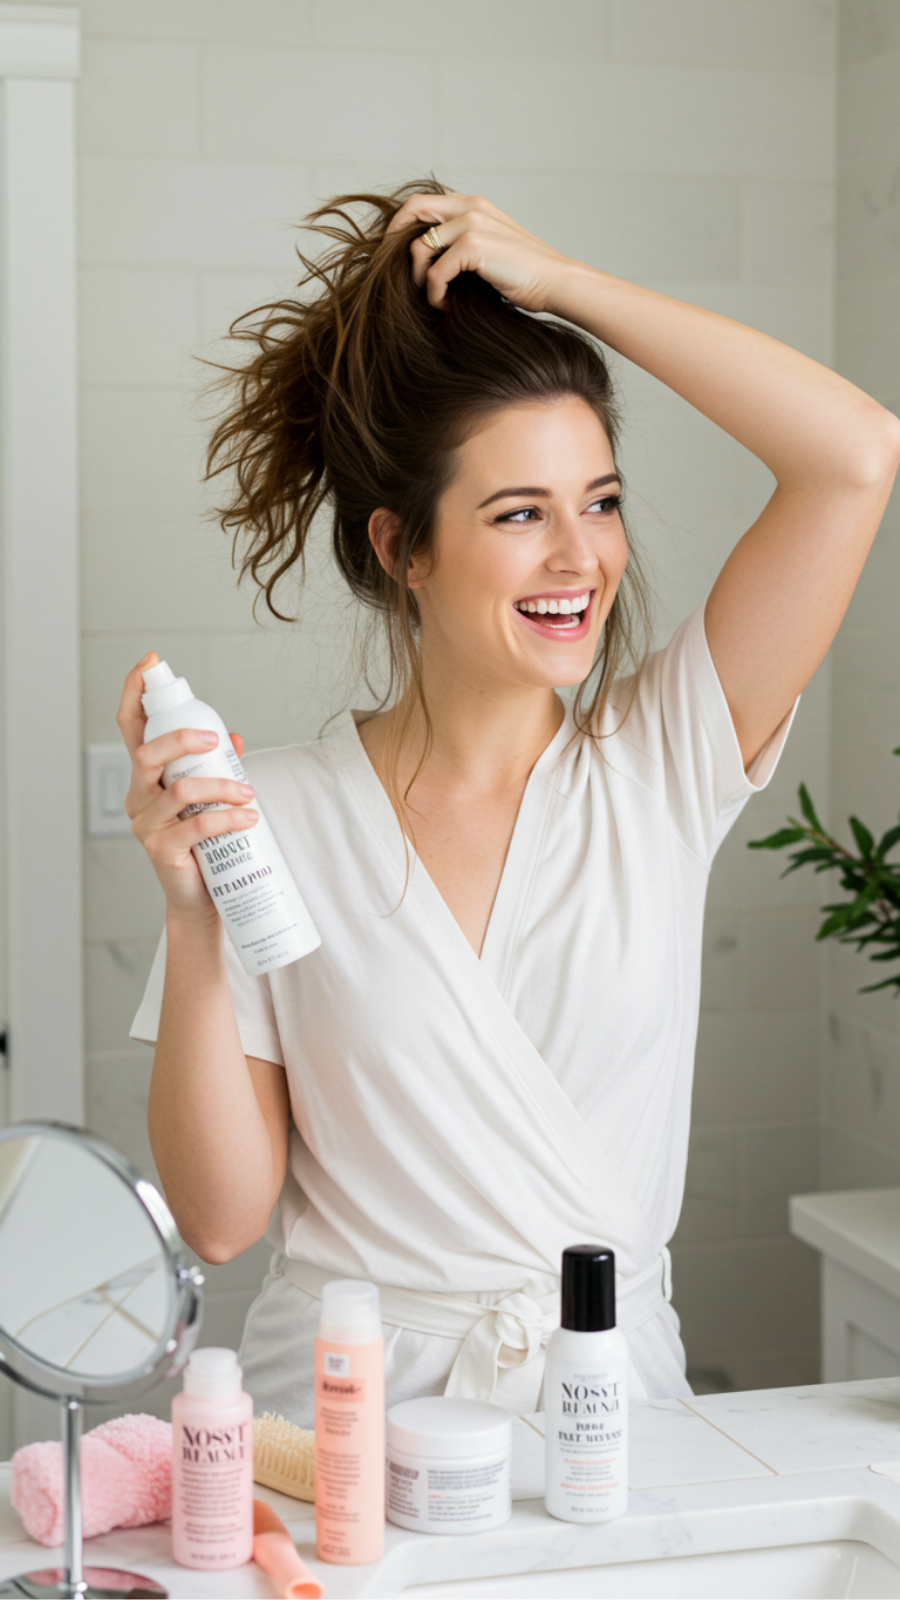
Braided Accents: Elevate Your Look with Simple Braid Textures
In the ever-evolving world of hairstyle trends, braided accents have emerged as a versatile way to elevate your look. These simple braid textures can transform even the most basic hairstyle into a chic statement. Whether you’re headed to a casual brunch or a formal event, incorporating braids can add a touch of elegance and sophistication.
Current Trends in Braid Styles
As of 2023, popular braid styles include the fishtail braid, halo braid, and boxer braids. Each offers unique textures and can be styled in various ways, allowing for creativity and personalization.
Expert Tips for Perfecting Braid Textures
- Practice makes perfect: Start with basic three-strand braids before moving to more complex styles.
- Use the right products: A lightweight mousse or texturizing spray can give your braids better hold and definition.
- Keep it loose: For a more relaxed vibe, gently pull on the edges of your braid for a fuller appearance.
Step-by-Step Guidance for a Fishtail Braid
- Divide your hair into two equal sections.
- Take a small piece from the outer edge of the left section and cross it over to the right.
- Repeat on the right side, crossing a small piece over to the left.
- Continue alternating until you reach the ends of your hair. Secure with a hair tie.
Common Mistakes to Avoid
- Skipping hair prep: Always ensure your hair is clean and slightly textured.
- Tight braiding: This can cause discomfort and breakage; keep it gentle.
Best Practices for Braided Accents
To truly embrace braided accents, experiment with placement — try side braids or incorporate them into buns and ponytails. Remember, the key to a stunning braid lies in its texture and the effortless finish.
By integrating these expert tips and techniques, you can master the art of braided accents and elevate your hairstyle to new heights. Whether you want a casual look or something more polished, the right braids can make all the difference!
5. Dry Shampoo Hacks: Boost Volume and Texture Between Washes
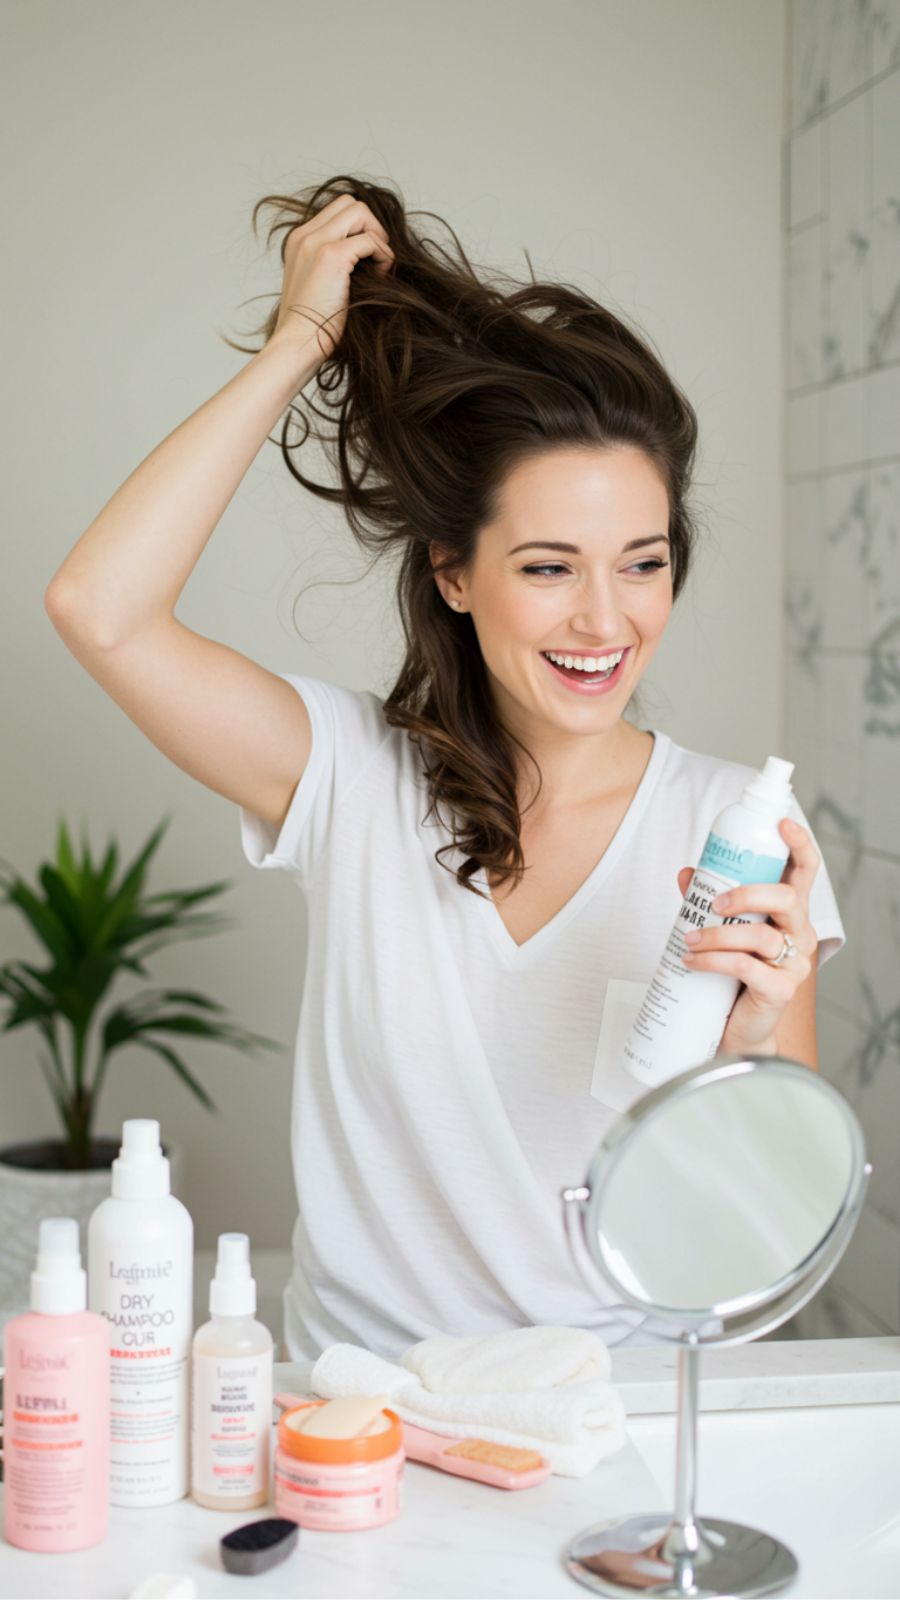
Dry Shampoo Hacks: Boost Volume and Texture Between Washes
Dry shampoo is not just a quick fix for greasy roots; it’s a versatile styling product that can enhance volume and texture between washes. With current hairstyle trends leaning towards effortless, lived-in looks, mastering dry shampoo hacks is essential for every beauty enthusiast.
Expert Tips for Maximum Volume
To achieve that coveted lift, follow these steps:
- Choose the Right Product: Opt for a dry shampoo that suits your hair type—powder for fine hair and sprays for thicker textures.
- Application Technique: Hold the canister 6-8 inches away from your scalp. Section your hair and spray directly at the roots, focusing on areas that need extra oomph.
- Massage and Distribute: Use your fingertips to massage the product into your scalp, which not only absorbs oil but also creates natural volume.
Adding Texture for Effortless Styles
Dry shampoo can also amplify texture, making it a favorite among those rocking beachy waves or tousled looks.
- Layering Method: After applying dry shampoo, twist sections of hair and pin them up for about 10 minutes. This helps set the texture.
- Finishing Touch: Lightly tousle your hair with your fingers to break up the sections, giving you that effortlessly chic vibe.
Common Mistakes to Avoid
While dry shampoo is a game-changer, beware of these pitfalls:
- Avoid over-application, which can lead to a chalky residue.
- Don’t forget to shake the canister before use to ensure even distribution.
- Be cautious with dark hair—choose tinted formulas to prevent white cast.
With these dry shampoo hacks, you can easily boost volume and texture between washes, keeping your hair looking fresh and stylish. Embrace the versatility of this must-have product and elevate your hairstyling game!
6. Messy Buns: Achieve a Chic, Textured Look in Minutes
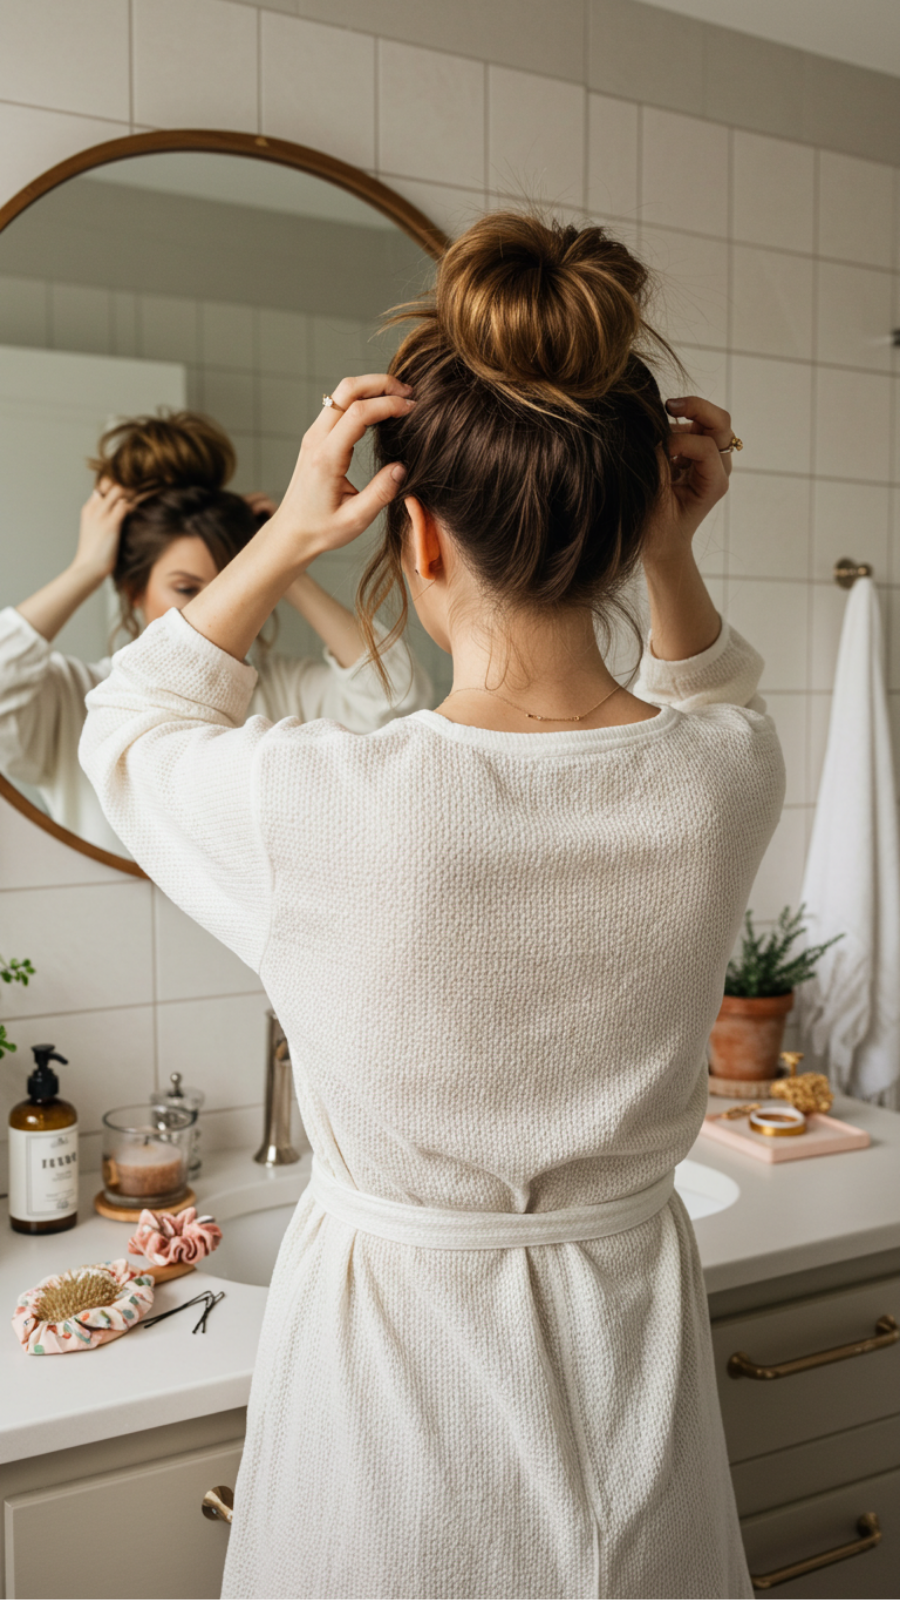
Messy Buns: Achieve a Chic, Textured Look in Minutes
Messy buns have become a staple in the world of hairstyle trends, offering a chic yet effortless look that’s perfect for a variety of occasions. Whether you’re heading to the office, running errands, or enjoying a night out, the messy bun is versatile and stylish. Here’s how to master this trendy hairstyle in just a few minutes!
Step-by-Step Guide to Creating the Perfect Messy Bun
- Prep Your Hair: Start with second-day hair or use a texturizing spray to add grip.
- Ponytail Base: Gather your hair into a high or low ponytail, depending on your preference.
- Twist and Pin: Twist the ponytail and wrap it around the base to form a bun. Secure with hairpins.
- Mess It Up: Pull out a few face-framing strands and gently tug on the bun to create a fuller, more textured look.
Expert Tips and Tricks
- Use a donut bun maker for added volume if you prefer a more structured look.
- Incorporate hair accessories like scrunchies or decorative pins for a trendy finish.
- Experiment with braids or twists before wrapping your hair into a bun for added texture.
Common Mistakes to Avoid
While creating a messy bun is simple, there are a few pitfalls to watch out for:
- Avoid making the bun too tight—loosen it for that effortless vibe.
- Don’t overthink the messiness; it should look casual and free-spirited.
- Be cautious with product use; too much can weigh down your hair.
Best Practices for a Stunning Messy Bun
To truly rock the messy bun trend, remember to embrace your natural hair texture and have fun with it. Play with different placements and styles to find what works best for you. With practice, you’ll be able to achieve a chic, textured look in minutes—perfect for any lifestyle!
7. Velcro Rollers: A Retro Trick for Instant Texture and Lift
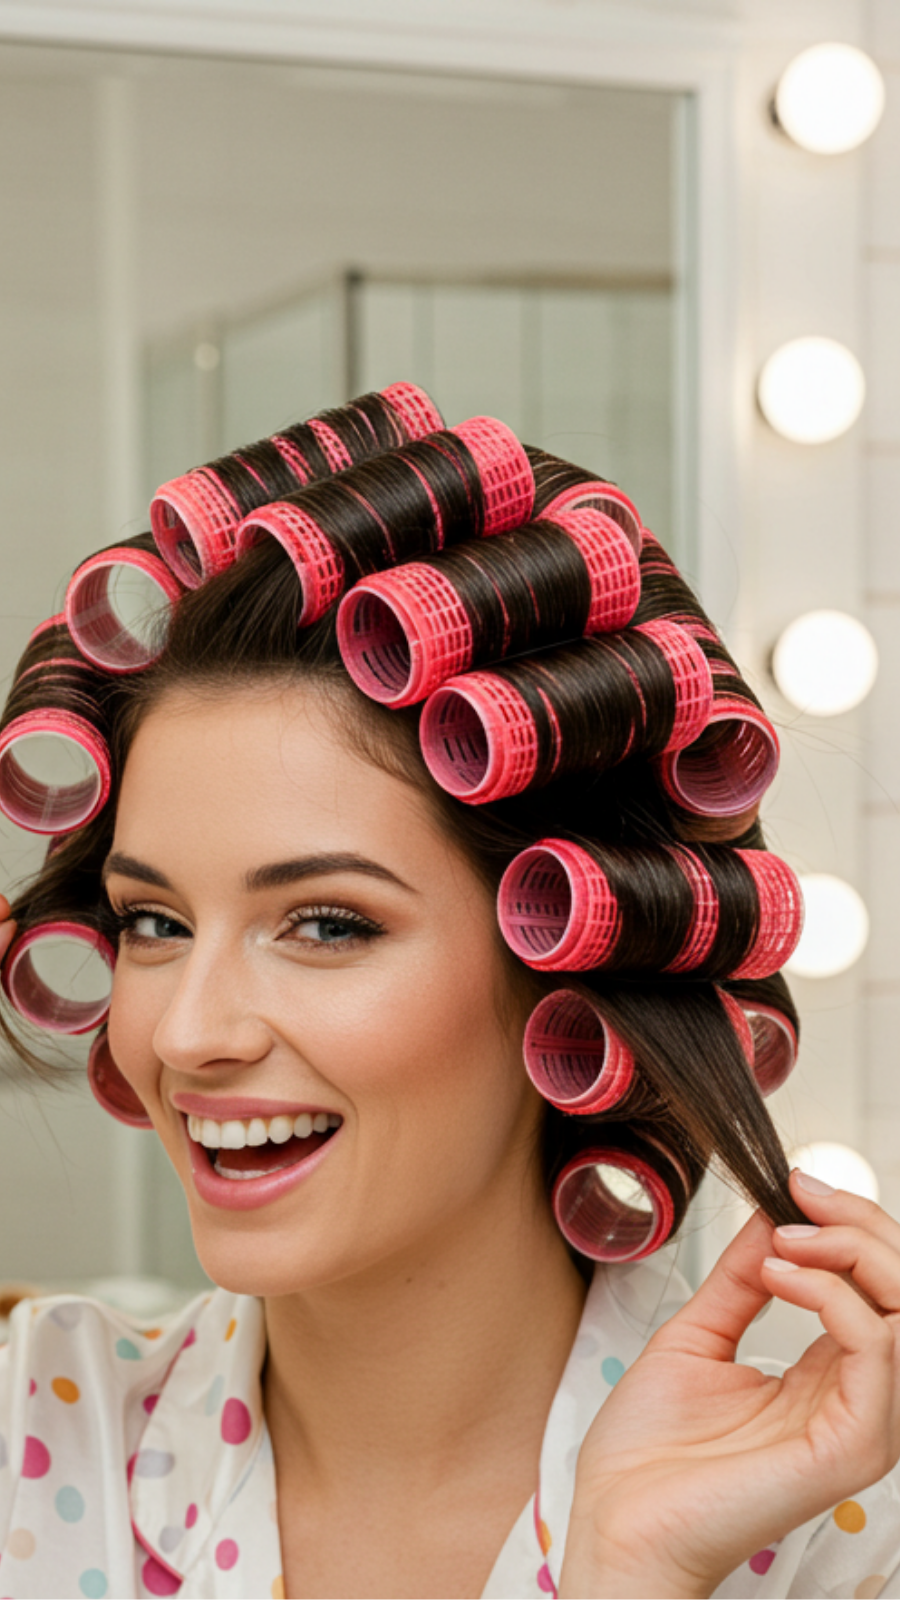
Velcro Rollers: A Retro Trick for Instant Texture and Lift
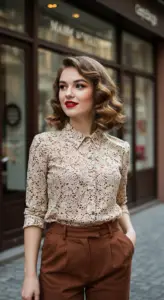
In the world of hairstyle trends, Velcro rollers are making a significant comeback as a reliable tool for achieving instant texture and lift. These classic rollers not only add volume but also create soft waves, making them a favorite among hairstylists and beauty enthusiasts alike.
Step-by-Step Guide to Using Velcro Rollers
- Start with Clean, Dry Hair: For best results, ensure your hair is clean and completely dry. This allows the rollers to grip better and set the style effectively.
- Apply a Styling Product: Use a volumizing mousse or spray to add hold and texture. This enhances the longevity of the style.
- Section Your Hair: Divide your hair into manageable sections. Smaller sections will yield tighter curls, while larger sections will create looser waves.
- Roll Up: Place the Velcro roller at the ends of the hair section and roll it towards the scalp. Secure it in place by using the roller’s natural grip.
- Let It Set: Allow the rollers to sit for at least 20-30 minutes. For added lift, consider using a blow dryer to heat the rollers for a few minutes.
- Unroll and Style: Carefully remove the rollers and tousle your hair with your fingers for a natural finish.
Expert Tips and Common Mistakes to Avoid
- Avoid Overloading Hair: Using too much product can weigh down your curls, so apply sparingly.
- Don’t Rush the Setting Time: Give the rollers ample time to set; rushing may result in flat hair.
- Use the Right Size Rollers: Larger rollers create volume, while smaller ones provide tighter curls. Choose according to your desired look.
Incorporating Velcro rollers into your hair routine not only embraces a chic retro vibe but also aligns with the current trend of effortless, textured hairstyles. This technique is perfect for adding body and dimension to any look, making it a must-try for anyone looking to elevate their hairstyle game.
8. Hair Mousse Magic: Create Lasting Volume and Texture Effortlessly

Hair Mousse Magic: Create Lasting Volume and Texture Effortlessly
In the ever-evolving world of hairstyle trends, hair mousse has emerged as a game-changer for achieving voluminous and textured locks. Whether you have fine, straight hair or thick, curly strands, using mousse can elevate your styling routine effortlessly.
Why Choose Hair Mousse?
Hair mousse is beloved for its lightweight formula, which provides hold without weighing hair down. It enhances natural texture and adds body, making it a staple in modern hairstyling. With current trends leaning towards natural yet polished looks, mousse is perfect for achieving that effortlessly chic vibe.
Step-By-Step Guide to Using Hair Mousse
- Prep Your Hair: Start with clean, damp hair. A good shampoo and conditioner will create a solid foundation.
- Apply Mousse: Shake the mousse canister and dispense a golf ball-sized amount into your palm. Distribute it evenly through your hair, focusing on the roots for added lift.
- Style: Use a blow dryer with a diffuser or a round brush to style. For a more textured look, scrunch your hair while drying.
- Finish: Consider a light hairspray to lock in your style without losing movement.
Expert Tips and Common Mistakes
- Don’t Overdo It: Using too much mousse can lead to a sticky finish. Start with a small amount and build as needed.
- Focus on the Roots: Concentrating mousse at the roots creates more volume.
- Experiment with Techniques: Use different styling tools to find what works best for your hair type.
Incorporating hair mousse into your routine not only enhances volume and texture but also keeps your styles looking fresh and modern. Embrace the hair mousse magic and transform your locks today!
Frequently Asked Questions
How can I use texturizing spray to add volume to my flat hair?
To effectively use texturizing spray, start with clean, dry hair and hold the spray about 6-8 inches away. Lightly mist the product throughout your hair, focusing on the roots and mid-lengths. This adds grip and body, making your hair appear fuller and more textured instantly.
Why do beachy waves work well for adding texture to flat hair?
Beachy waves are a great way to add texture because they create natural movement and dimension in your hair. The slight bends and curls break up the flatness, giving your hair a more voluminous and lively appearance. Plus, using a curling wand makes this look easy and achievable for anyone.
What are the benefits of layered cuts for flat hairstyles?
Layered cuts are beneficial for flat hairstyles as they remove bulk while adding movement and volume. The varying lengths create dimension, allowing light to reflect off your hair more effectively, making it look fuller. Opting for layers can transform limp hair into a lively, textured style.
How do I incorporate braided accents to add texture to my flat hair?
Incorporating braided accents is simple: start by taking small sections of hair and braiding them loosely. You can either create a single braid or multiple tiny braids to add interest and texture. This technique not only enhances your hairstyle but also provides a playful and stylish look.
What are the best dry shampoo hacks for boosting volume and texture?
To maximize the effects of dry shampoo, apply it to your roots and let it sit for a few minutes before massaging it in. This allows the product to absorb oil effectively and adds texture. Additionally, using dry shampoo on freshly washed hair can create a base for styling, giving your hair a more voluminous look.

