1. Eco-Friendly Soy Wax Candles: A Profitable DIY Project
Eco-Friendly Soy Wax Candles: A Profitable DIY Project
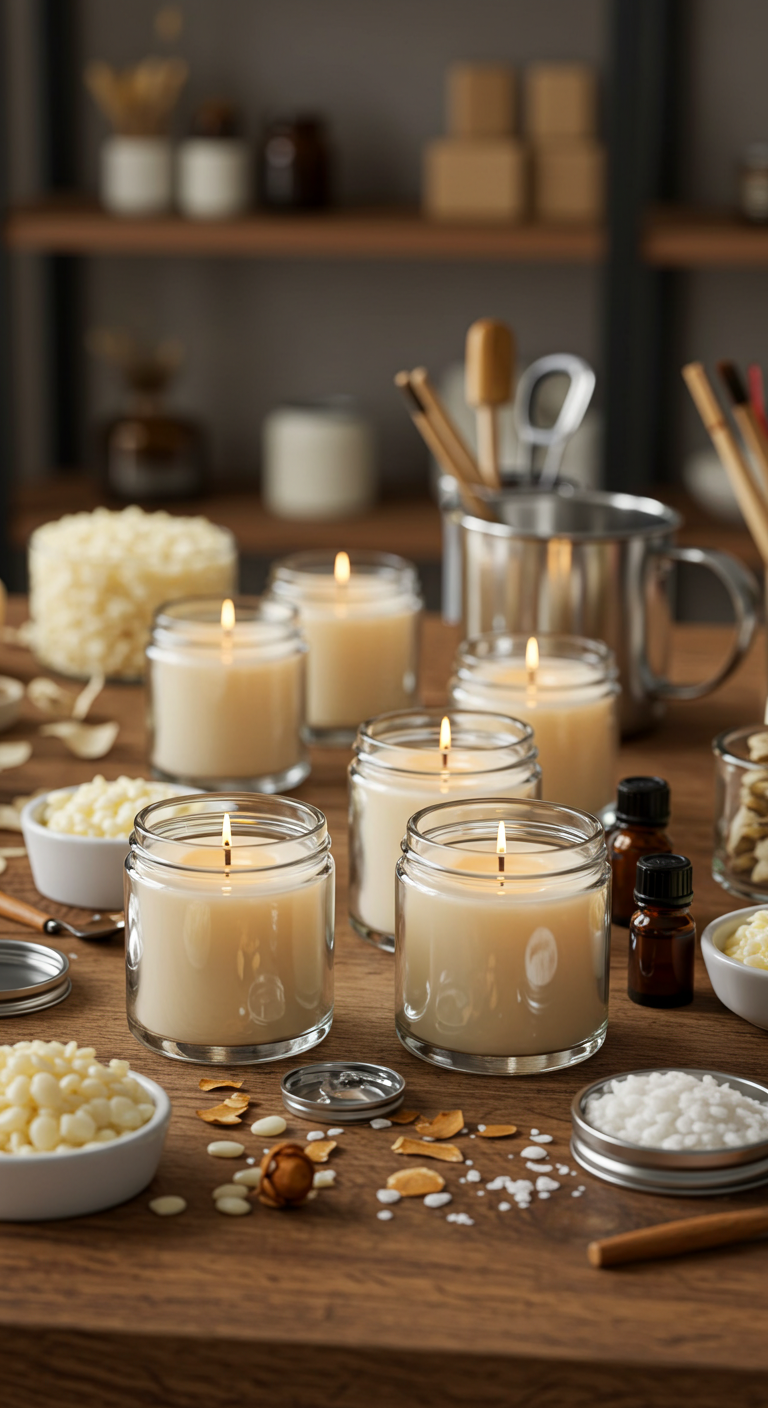
Creating eco-friendly soy wax candles is not only a rewarding DIY project but also a lucrative venture that aligns with current sustainability trends. Soy wax, derived from soybeans, is renewable and biodegradable, making it a popular choice for environmentally conscious crafters.
Getting Started with Soy Wax Candles
Follow these simple steps to craft your own soy wax candles:
- Gather Your Materials: You will need soy wax flakes, essential oils for fragrance, candle wicks, containers (like glass jars), and a double boiler.
- Melt the Wax: In the double boiler, melt the soy wax until it reaches approximately 170°F (77°C).
- Add Fragrance: Incorporate your chosen essential oils, typically around 10% of the total wax weight.
- Prepare Your Containers: Secure the wick to the bottom of your container using a dab of melted wax.
- Pour the Wax: Carefully pour the melted wax into the container, ensuring the wick remains centered.
- Let It Set: Allow the candle to cool completely before trimming the wick to about ¼ inch.
Expert Tips and Tricks
- Choose high-quality soy wax for a cleaner burn and better scent throw.
- Experiment with different essential oil blends to create unique fragrances.
- Label your candles with eco-friendly labels to emphasize their sustainable qualities.
Common Mistakes to Avoid
Many DIYers face pitfalls when making soy wax candles. Here are a few to watch out for:
- Using too much fragrance oil can lead to poor burning.
- Not allowing the wax to cool properly can result in uneven surfaces.
Best Practices for Success
To maximize your profitability, consider selling your candles at local markets or online platforms. Highlight their eco-friendly aspects and unique scents to attract customers. With the growing demand for sustainable products, your handmade soy wax candles will surely light the way to success!
2. Handcrafted Macrame Plant Hangers: Trendy Home Decor to Sell
Handcrafted Macrame Plant Hangers: Trendy Home Decor to Sell
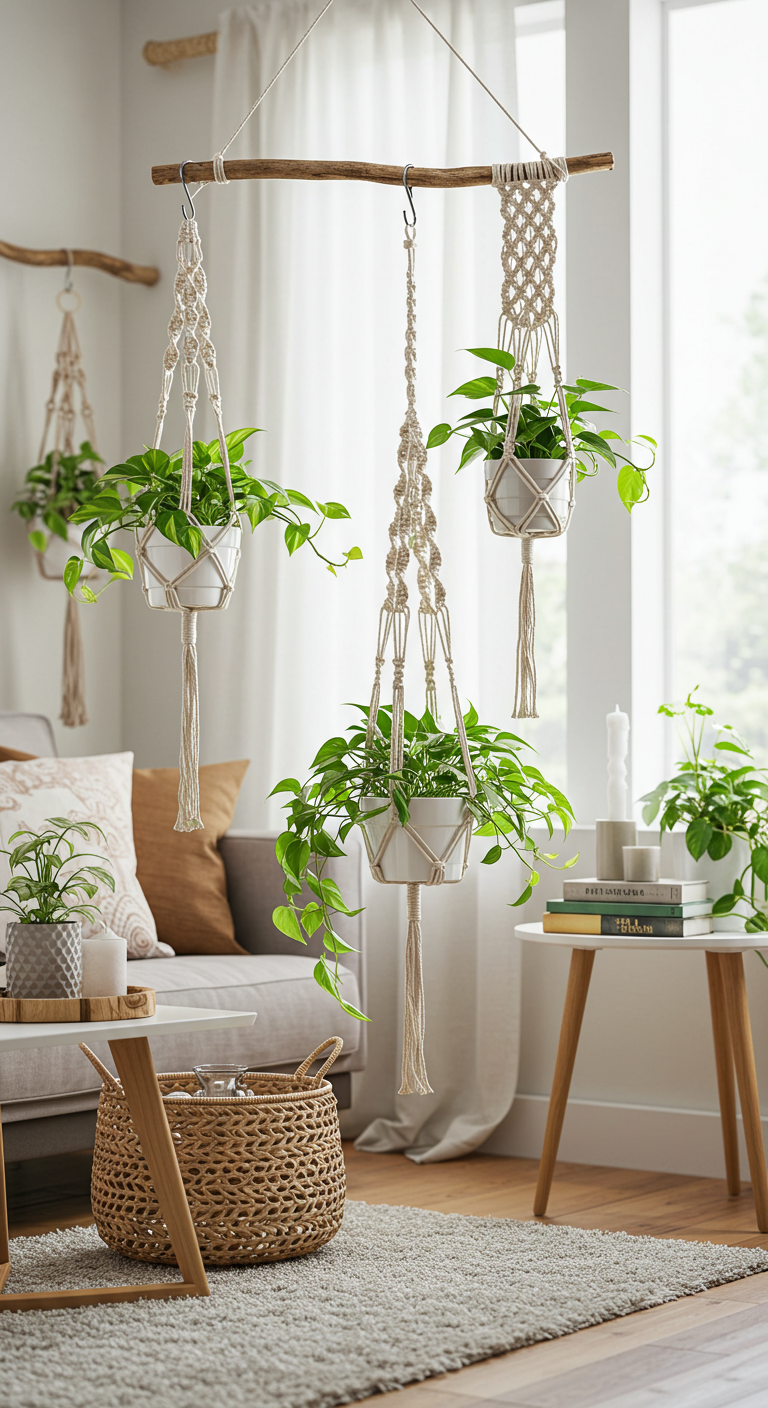
Macrame plant hangers are not just a nostalgic throwback; they are a vibrant trend in DIY and creative crafts. This handcrafted home decor item not only adds an aesthetic touch to interiors but is also a lucrative product to sell. With their intricate knots and unique designs, macrame hangers can elevate any space, making them a popular choice among plant enthusiasts and interior decorators alike.
Getting Started with Macrame
To create your own macrame plant hangers, start with high-quality cotton or jute cord, a wooden or metal ring, and scissors. Follow these simple steps:
- Cut the Cord: Measure and cut 4 strands of cord, each about 3-4 meters long.
- Attach to the Ring: Fold the cords in half and loop them through the ring, securing them with a lark’s head knot.
- Create Knots: Use square knots and half knots to create patterns and secure the plant holder at varying lengths.
- Finish the Design: Trim excess cord and add beads or decorative elements to personalize your hanger.
Expert Tips for Success
- Choose Trendy Colors: Neutral tones and earthy shades are currently in vogue.
- Experiment with Patterns: Don’t shy away from mixing techniques like spiral knots or ladder designs to stand out.
- Market Your Creations: Use social media platforms like Instagram or Etsy to showcase your unique designs.
Avoid Common Mistakes
Many beginners struggle with tension and consistency. Ensure your knots are evenly spaced and maintain consistent tension throughout your work. This will not only enhance the aesthetic appeal but also the durability of your hangers.
By following these guidelines, you can create stunning handcrafted macrame plant hangers that are not only beautiful but also marketable. Dive into this trending craft and transform your passion into profit!
3. Personalized Leather Wallets: Unique Gifts for Style Enthusiasts
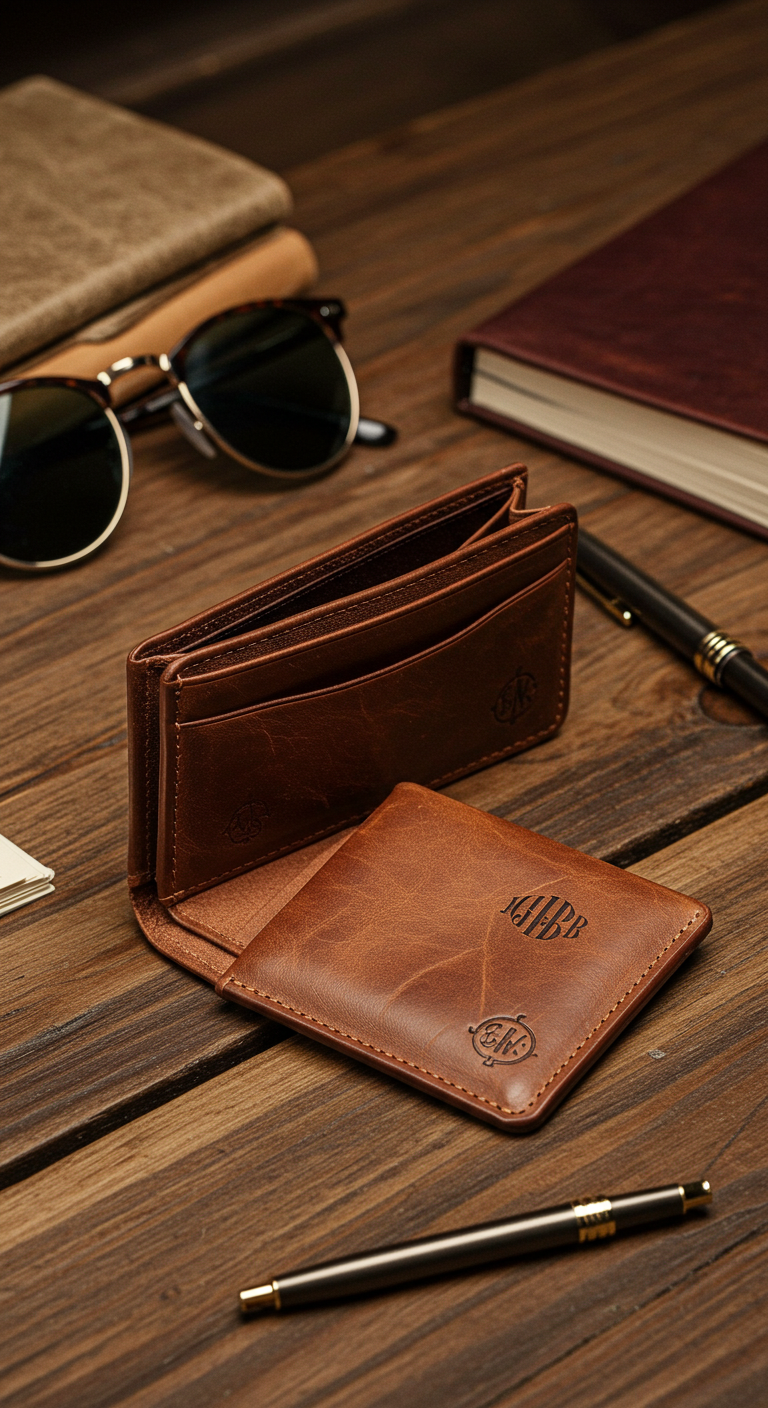
Personalized Leather Wallets: Unique Gifts for Style Enthusiasts
In the world of DIY and creative crafts, personalized leather wallets have emerged as a top choice for unique gifts. Perfect for style enthusiasts, these wallets not only showcase craftsmanship but also offer a personal touch that can’t be found in mass-produced items.
Current Trends in DIY Leathercraft
As we embrace sustainability, using eco-friendly leather options is trending. Vegetable-tanned leather, for instance, is both durable and environmentally conscious. Additionally, incorporating unique stitching patterns and using vibrant dyes can elevate your wallet’s aesthetic.
Step-by-Step Guide to Crafting Your Wallet
- Gather Materials: You will need vegetable-tanned leather, a cutting mat, a rotary cutter, a ruler, stitching thread, and a needle.
- Design Your Wallet: Sketch a design that includes card slots and a cash compartment. Aim for functionality without sacrificing style.
- Cut the Leather: Use your rotary cutter and ruler to cut the leather according to your design dimensions.
- Stitching: Use saddle stitch for durability. Avoid common mistakes like uneven stitching by practicing on scrap leather first.
- Personalization: Add initials or a meaningful symbol using leather stamps to give it that personal touch.
Expert Tips and Best Practices
- Choose high-quality leather to ensure longevity.
- Invest in good tools; they’ll make the crafting process smoother.
- Take your time with stitching to avoid mistakes.
In conclusion, creating personalized leather wallets is a rewarding venture that combines creativity with practicality. By following these steps and incorporating current trends, you can craft a stylish, unique gift that any style enthusiast will cherish.
4. Custom Tie-Dye Apparel: Vibrant Fashion for a Retro Revival
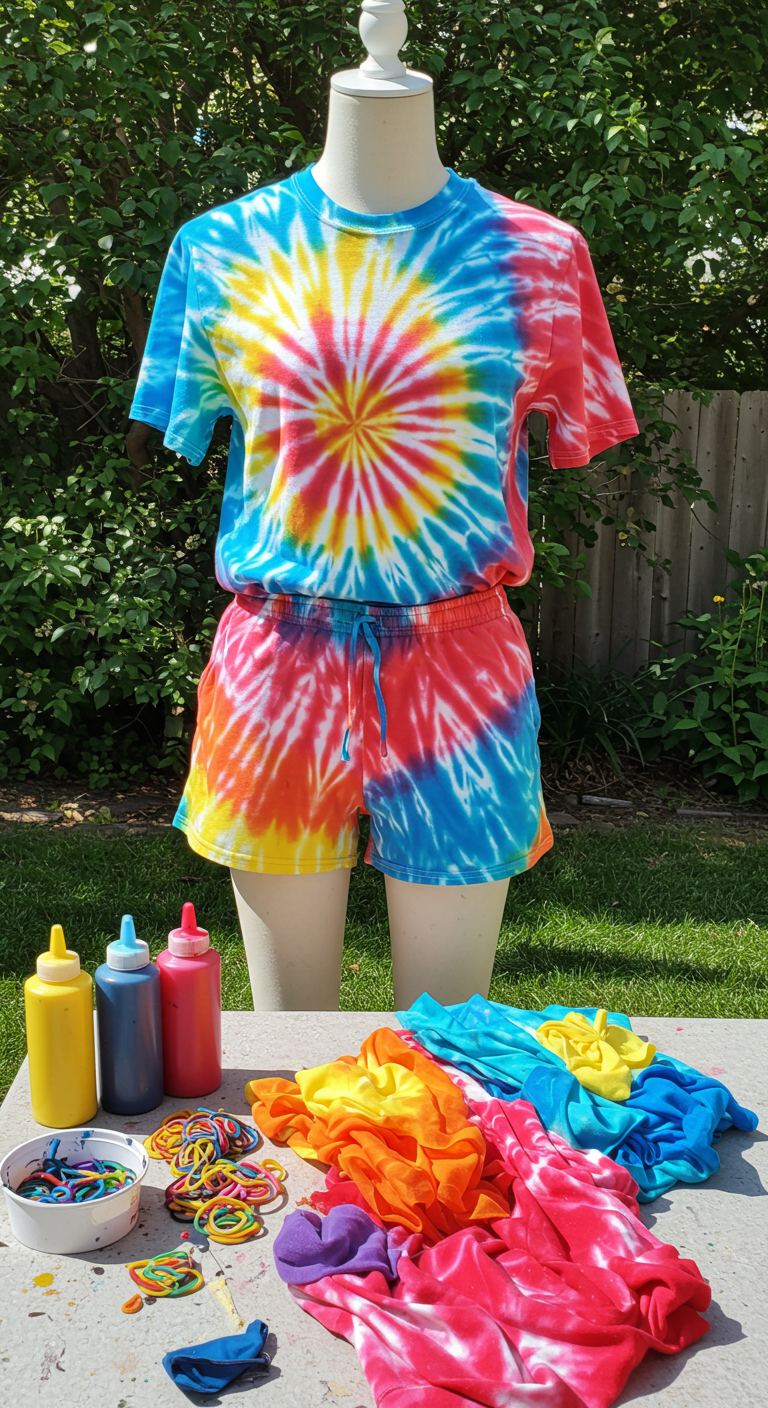
Custom Tie-Dye Apparel: Vibrant Fashion for a Retro Revival
Looking to embrace the bold and colorful vibes of the past? Custom tie-dye apparel is making a significant comeback in the fashion scene, offering a unique way to express your creativity. This DIY craft not only allows for vibrant personalization but also taps into the current trend of sustainable fashion by transforming plain garments into eye-catching pieces.
Step-by-Step Tie-Dye Guide
Creating your own custom tie-dye apparel is easy and fun! Follow these expert steps to achieve stunning results:
- Gather Materials: You will need white or light-colored cotton clothing, tie-dye kits (or fabric dye), rubber bands, gloves, and plastic wrap.
- Prepare the Fabric: Wash your fabric to remove any sizing, then dampen it slightly to help the dye absorb.
- Choose Your Technique: Options include spiral, crumple, or stripe patterns. Secure the fabric with rubber bands to create your desired design.
- Apply Dye: Use squeeze bottles to apply dye evenly, ensuring to saturate the fabric. Be creative with color combinations!
- Set the Dye: Wrap the dyed fabric in plastic and let it sit for 6-8 hours or overnight for vibrant colors.
- Rinse and Dry: Rinse the fabric in cold water until it runs clear, then wash separately and hang to dry.
Expert Tips and Common Mistakes to Avoid
- Tip: Experiment with different colors and patterns to find your unique style.
- Mistake to Avoid: Don’t skip the pre-wash; it’s essential for dye adherence.
- Best Practice: Always wear gloves to protect your hands from staining.
With these expert tips and techniques, you’ll create vibrant custom tie-dye apparel that’s not just a fashion statement but also a reflection of your personal style. Dive into this retro revival and let your creativity shine!
5. Sustainable Upcycled Jewelry: Crafting with Purpose and Style
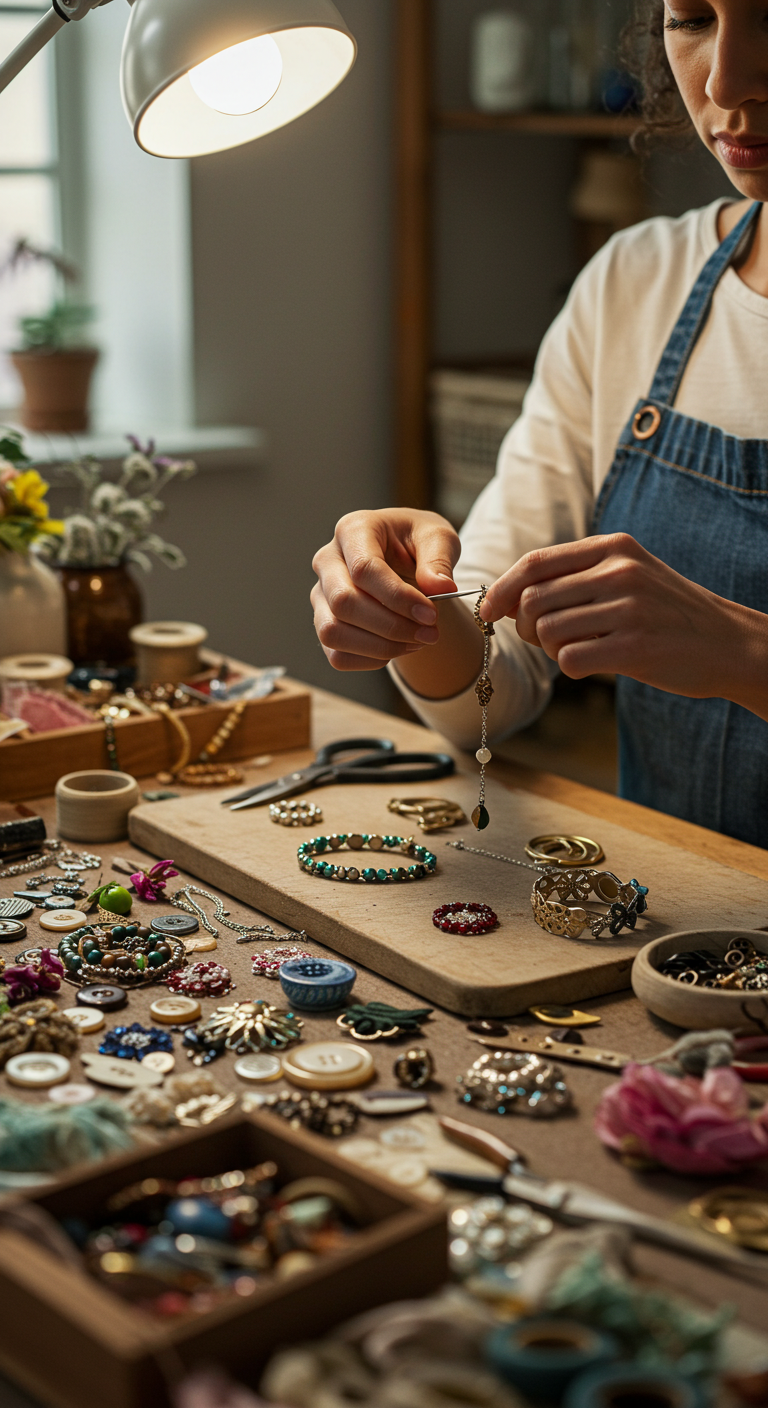
Sustainable Upcycled Jewelry: Crafting with Purpose and Style
Creating sustainable upcycled jewelry is more than a trend; it’s a lifestyle choice that combines creativity, environmental consciousness, and style. Upcycling allows you to transform discarded materials into stunning pieces of jewelry, making a statement while reducing waste.
Getting Started with Upcycled Jewelry
To begin your journey into crafting sustainable jewelry, gather materials from around your home. Look for:
- Old jewelry pieces
- Broken electronics (think circuit boards)
- Fabric scraps
- Buttons and beads
Step-by-Step Guide to Crafting
- Design Your Piece: Sketch your ideas based on the materials you have.
- Prepare Materials: Clean and separate items, ensuring they are suitable for use.
- Assemble: Use tools like pliers, wire, and glue to piece together your design.
- Finish: Add any necessary clasps or closures, ensuring durability.
Expert Tips and Common Mistakes
To elevate your upcycled jewelry, consider these expert tips:
- Mix textures and colors for a more dynamic look.
- Use eco-friendly adhesives and finishes.
- Avoid overcomplicating your design; simplicity often shines.
Common mistakes include:
- Ignoring safety; wear protective gear when using tools.
- Not testing the durability of your piece before wearing it.
Best Practices for Sustainable Crafting
To truly embrace sustainable crafting:
- Source materials ethically.
- Educate yourself on local recycling options.
- Share your creations on social media to inspire others.
By engaging in sustainable upcycled jewelry crafting, you not only create beautiful, one-of-a-kind pieces but also contribute positively to the environment. Start today, and let your creativity shine!
6. Chic Resin Coasters: Modern Home Accessories for Sale
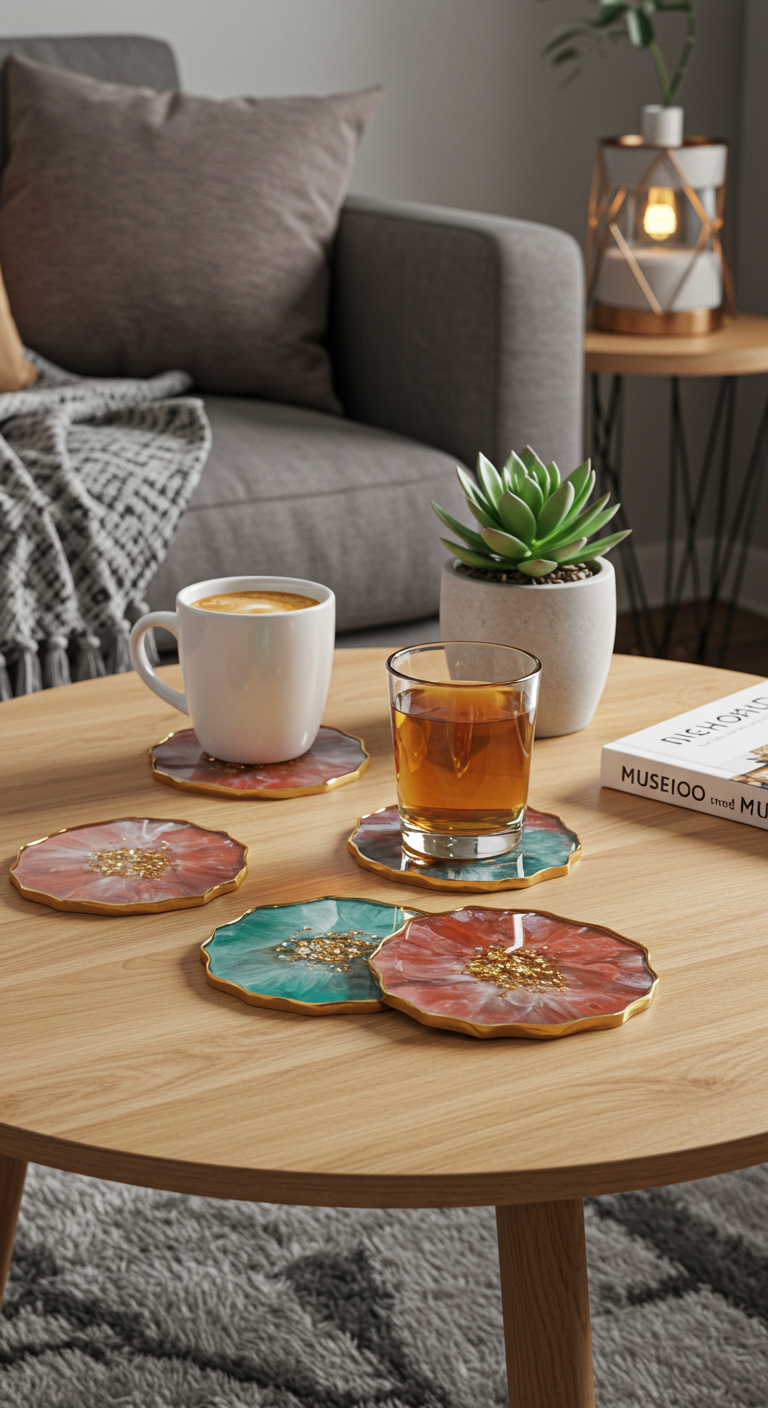
Chic Resin Coasters: Modern Home Accessories for Sale
Are you looking to elevate your home decor with stylish, functional accessories? Chic resin coasters are the perfect DIY project that combines artistry with practicality. Not only do they protect your surfaces, but they also add a contemporary touch to your living space. Below, we’ll explore how to create these trendy coasters yourself.
Materials You’ll Need
- Epoxy resin and hardener
- Silicone molds
- Color pigments or alcohol inks
- Protective gloves and mask
- Mixing cups and stir sticks
Step-by-Step Guidance
- Prepare Your Workspace: Ensure your area is well-ventilated and covered with protective sheets.
- Mix the Resin: Following the manufacturer’s instructions, combine the epoxy resin and hardener in a mixing cup.
- Add Color: Incorporate color pigments or alcohol inks to create unique designs.
- Pour into Molds: Carefully pour the mixture into the silicone molds, filling them to your desired height.
- Let Cure: Allow the coasters to cure for 24-48 hours until fully hardened.
- Demold and Finish: Gently remove the coasters from the molds and sand any rough edges for a smooth finish.
Expert Tips and Common Mistakes to Avoid
To achieve exceptional results with your resin coasters, consider these expert tips:
- Always wear protective gear to avoid skin contact with resin.
- Mix thoroughly to prevent sticky spots.
- Avoid pouring in high humidity, as it can cause bubbles.
By following these best practices, you can create chic resin coasters that will not only serve as functional items but also as stunning conversation starters in your home. Embrace the current trends in DIY crafts, and start designing your own modern home accessories today!
7. Hand-Painted Terracotta Pots: Stylish Planters for Green Thumbs
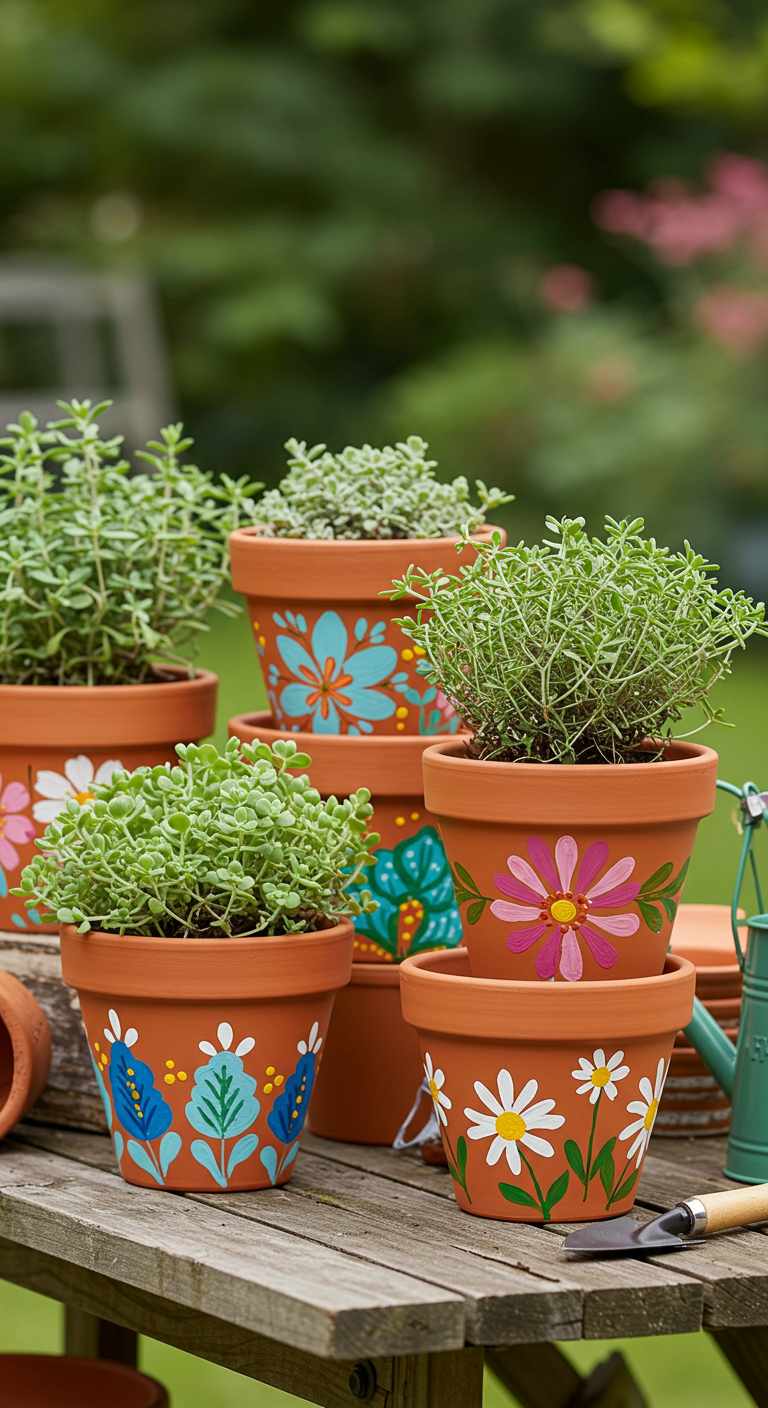
Hand-Painted Terracotta Pots: Stylish Planters for Green Thumbs
If you’re looking to elevate your gardening game, hand-painted terracotta pots are the perfect solution. These stylish planters not only showcase your creativity but also enhance your green space. With the rising trend of personalized home decor, customizing terracotta pots has never been more appealing.
Materials You’ll Need
- Terracotta pots (various sizes)
- Acrylic paints (weather-resistant)
- Paintbrushes (various sizes)
- Sealer (optional)
- Palette for mixing colors
Step-by-Step Guide
- Clean the Pots: Ensure your terracotta pots are free from dust and dirt.
- Design Your Plan: Sketch your design on paper before painting.
- Apply Base Coat: Use a light acrylic color as the base and let it dry.
- Paint Your Design: Use brushes to add details, layering colors for depth.
- Seal the Finish: Apply a weather-resistant sealer to protect your artwork.
Expert Tips and Common Mistakes
To achieve a professional look, consider these expert tips:
- Use low-VOC acrylic paints for a safer indoor environment.
- Allow each layer of paint to dry completely before adding more.
- Avoid painting the pot’s bottom to ensure proper drainage.
Common mistakes include rushing the drying process and using non-weatherproof paints, which can lead to fading. Remember, patience is key!
Trendy Designs to Try
Current trends favor minimalist designs, botanical patterns, and vibrant color palettes. Incorporating geometric shapes can also add a modern touch to your planters.
Hand-painted terracotta pots are a simple yet effective way to personalize your gardening experience. By following these steps and tips, you’ll create beautiful, functional art that enhances your green thumb!
8. Luxury Bath Bombs: DIY Spa Treats that Attract Customers
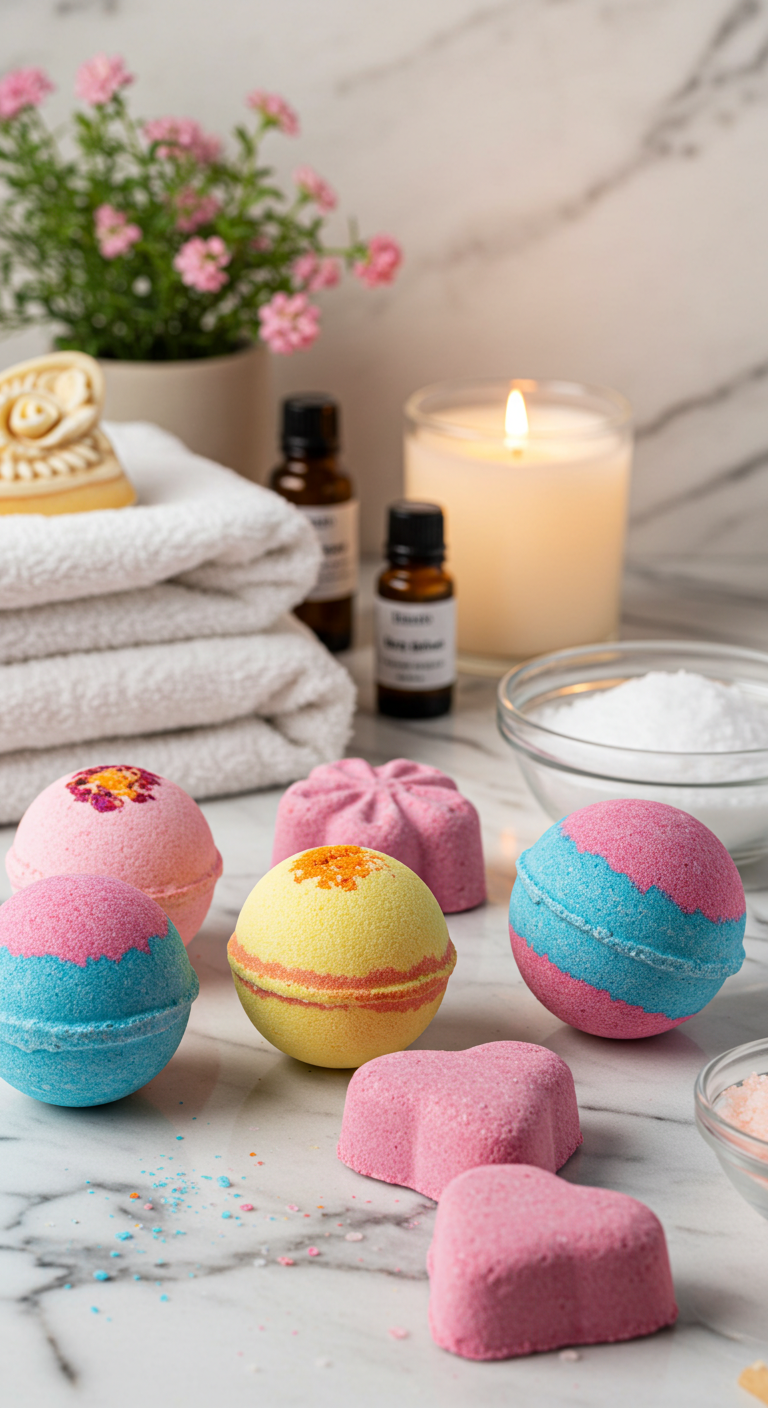
Luxury Bath Bombs: DIY Spa Treats that Attract Customers
Creating luxury bath bombs at home is not only a fun DIY project but also a lucrative opportunity to attract customers seeking a spa-like experience. With the current trend of self-care and wellness, offering unique bath bombs can set your craft apart in the market.
Essential Ingredients
To craft exquisite bath bombs, you will need:
- Baking Soda: The primary ingredient that provides fizz.
- Citric Acid: Reacts with baking soda to create effervescence.
- Epsom Salt: Soothes muscles and adds a luxurious touch.
- Essential Oils: For fragrance—lavender, eucalyptus, or citrus are popular choices.
- Colorants: Natural dyes or pigments to enhance visual appeal.
Step-by-Step Guidance
Follow these steps to create your own luxury bath bombs:
- Mix Dry Ingredients: In a bowl, combine 2 cups of baking soda, 1 cup of citric acid, and 1 cup of Epsom salt.
- Add Oils: Slowly incorporate 2-3 tablespoons of essential oils and mix thoroughly.
- Color and Mould: Add natural colorants, then pack the mixture tightly into molds.
- Drying Time: Allow your bath bombs to dry for at least 24 hours before removing them from the molds.
Expert Tips and Tricks
To ensure the success of your luxury bath bombs:
- Keep the mixture slightly damp but not too wet to avoid premature fizzing.
- Experiment with unique scents and combinations to create signature products.
- Package them attractively; consider eco-friendly materials to appeal to eco-conscious consumers.
Common Mistakes to Avoid
Avoid these pitfalls when creating your bath bombs:
- Not using a precise measurement can lead to inconsistent results.
- Skipping the drying time may result in crumbling bath bombs.
By following these best practices, you can successfully create and market luxury bath bombs that not only pamper users but also attract customers looking for a unique DIY spa treat.
9. Artisan Handmade Soaps: Crafting Natural Skincare Essentials
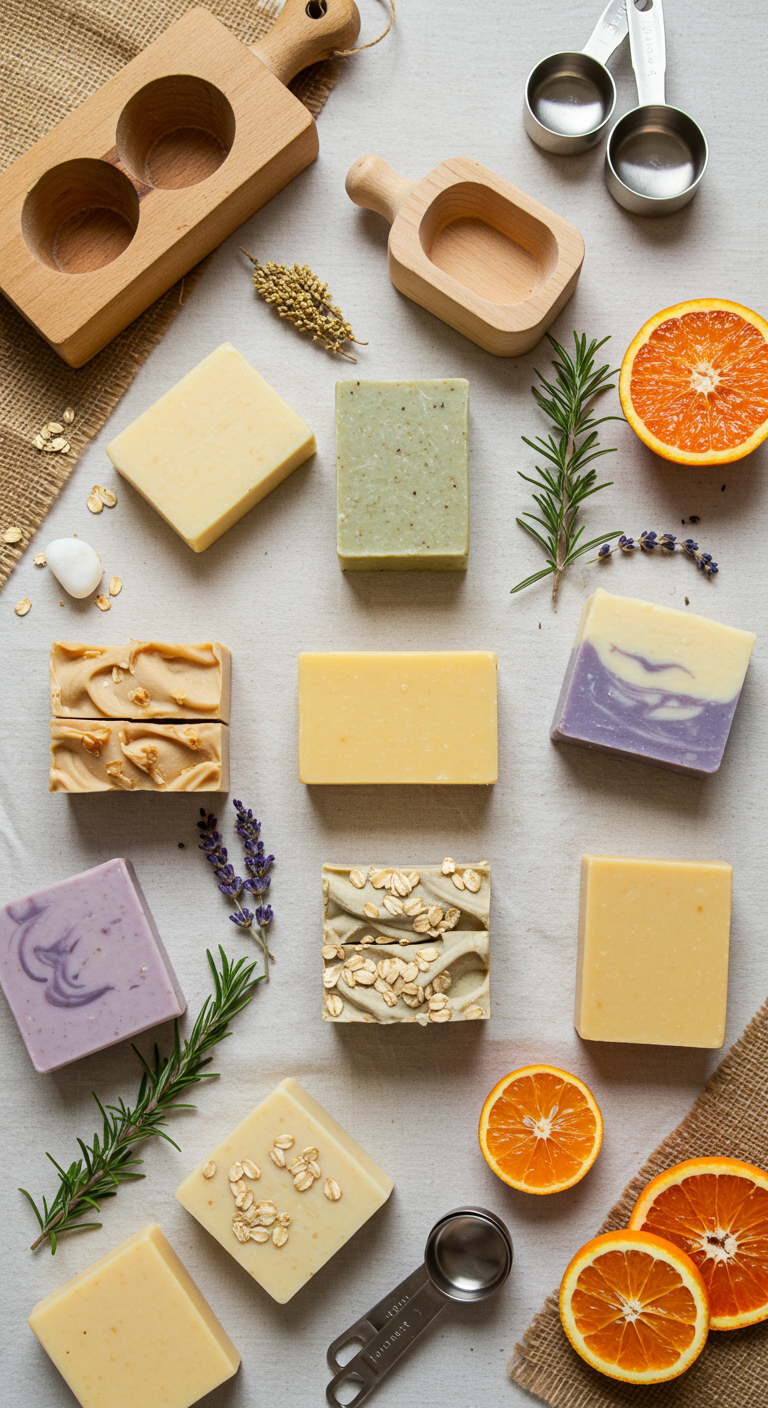
Artisan Handmade Soaps: Crafting Natural Skincare Essentials
Creating artisan handmade soaps is not just a rewarding craft; it’s a journey into the world of natural skincare essentials. With the rising demand for organic products, making your own soaps allows you to customize ingredients for your skin type while also embracing sustainable practices.
Getting Started: Essential Ingredients
To begin crafting your artisan soaps, gather the following key ingredients:
- Base Oils: Olive oil, coconut oil, and shea butter are excellent choices for nourishing skin.
- Lye: Sodium hydroxide is necessary for the saponification process.
- Essential Oils: Lavender, eucalyptus, and tea tree oils not only add fragrance but also provide skin benefits.
- Additives: Natural colorants like turmeric or activated charcoal can enhance the visual appeal.
Step-by-Step Guide to Crafting Artisan Soaps
- Prepare Your Workspace: Ensure a clean, well-ventilated area and wear protective gear.
- Mix Lye and Water: Carefully combine lye with water (always add lye to water, never the reverse) and let it cool.
- Heat Oils: Melt your chosen oils in a separate pot until they reach around 100°F.
- Combine: Slowly add the lye solution to the oils, stirring gently until trace forms.
- Add Fragrance and Color: Incorporate essential oils and natural colorants, mixing thoroughly.
- Pour and Cure: Pour the mixture into molds and allow it to cure for 4-6 weeks.
Expert Tips and Common Mistakes to Avoid
When crafting your artisan handmade soaps, consider these expert tips:
- Always measure ingredients accurately to ensure successful saponification.
- Experiment with small batches to perfect your recipes before scaling up.
- Avoid using metallic containers as they can react with lye.
By following these best practices, you’ll create exquisite soaps that are not only beautiful but also beneficial for your skin. Embrace the trend of natural skincare by incorporating these artisan techniques into your crafting routine!
10. Stylish Knitted Scarves: Cozy Accessories for Fashion Lovers
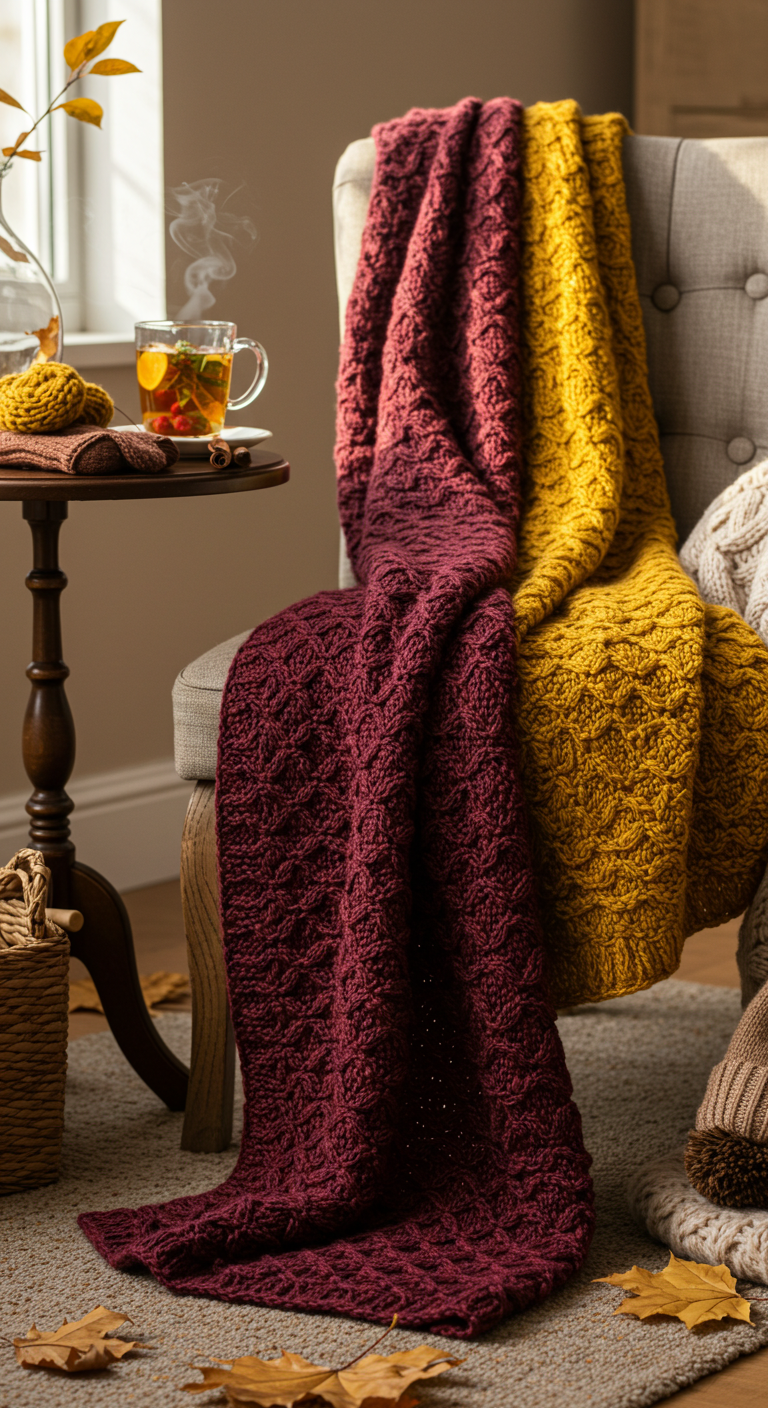
Stylish Knitted Scarves: Cozy Accessories for Fashion Lovers
Knitted scarves are not just about warmth; they are essential style statements for fashion enthusiasts. With current trends leaning towards sustainability and handmade crafts, creating your own cozy accessory can be both fulfilling and chic.
Choosing the Right Materials
When embarking on your knitting journey, opt for high-quality yarns like merino wool or alpaca blends. These materials not only provide warmth but also add a luxurious touch. Choose colors that complement your wardrobe, focusing on seasonal trends like earthy tones or vibrant pops of color.
Step-by-Step Guidance
- Gather Supplies: You’ll need knitting needles, yarn, and scissors.
- Cast On: Begin by casting on 30 stitches for a standard-width scarf.
- Choose Your Stitch: A basic knit stitch or ribbing (k1, p1) adds texture and style.
- Maintain Consistency: Keep your tension even for a polished finish.
- Bind Off: Once you reach your desired length, bind off the stitches and weave in any loose ends.
Expert Tips and Common Mistakes
- Avoid using yarn that is too thick for beginners; it may lead to uneven stitches.
- Don’t rush the process; take your time to avoid mistakes.
- Experiment with different stitch patterns to personalize your scarf.
By following these best practices, you’ll create stylish knitted scarves that not only keep you cozy but also elevate your fashion game. Embrace the art of knitting and enjoy crafting accessories that reflect your unique style!
11. Decorative Wall Art: Creating Unique Canvas Prints to Sell
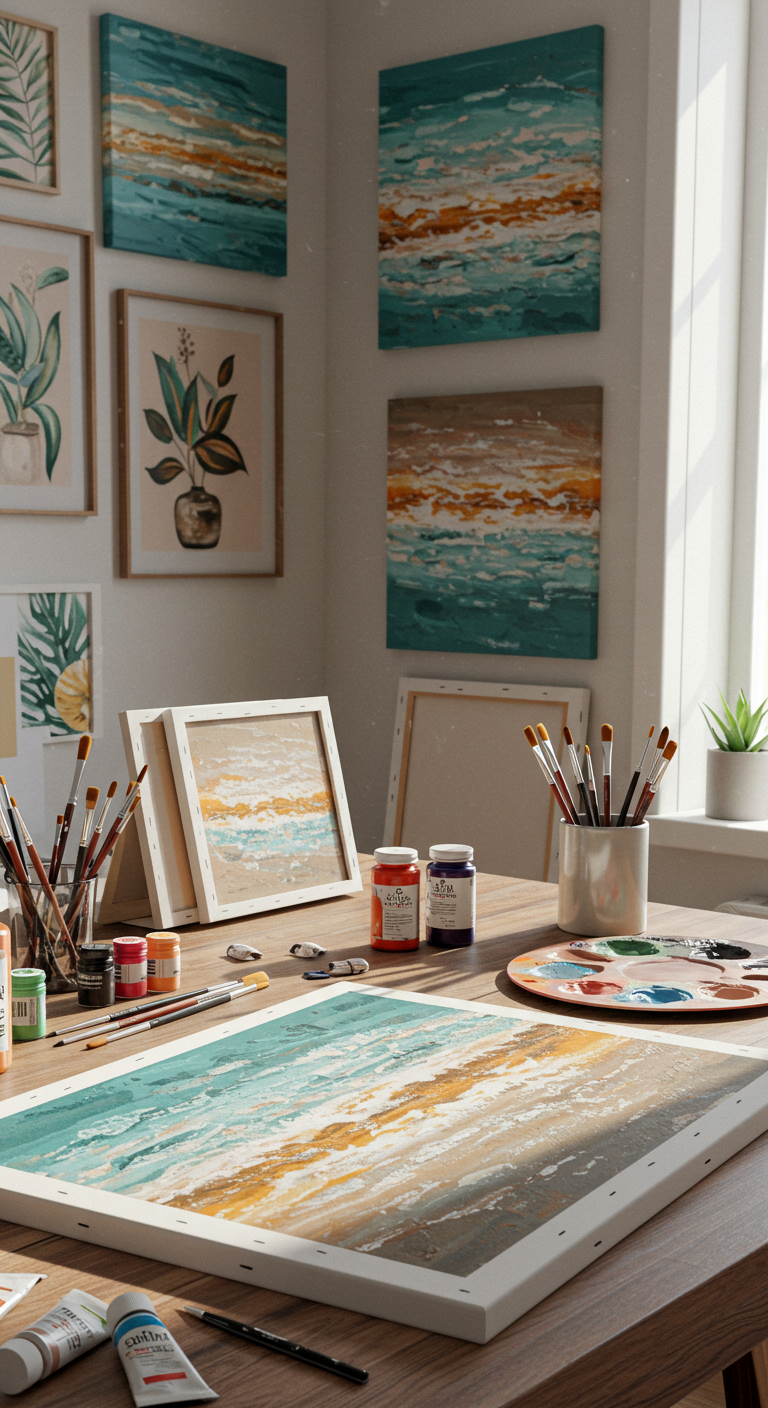
Decorative Wall Art: Creating Unique Canvas Prints to Sell
Creating decorative wall art through unique canvas prints is a fantastic way to express creativity and earn income. With the current trend leaning towards personalized and handmade decor, your custom canvas prints can cater to various tastes and styles, appealing to a wide audience.
Step-by-Step Guidance
- Gather Supplies: Start with high-quality canvas, acrylic paints, brushes, and any additional materials like stencils or mixed media elements.
- Choose a Theme: Consider popular themes such as abstract designs, nature motifs, or inspirational quotes that resonate with potential buyers.
- Design Your Canvas: Use a combination of painting techniques, such as pouring, layering, and splattering, to create depth and texture.
- Finishing Touches: Seal your artwork with a clear varnish to protect it. This enhances colors and provides a professional finish.
Expert Tips and Tricks
- Incorporate current trends, like minimalist designs or bold colors, to attract contemporary buyers.
- Utilize social media platforms to showcase your work and reach a larger audience.
Common Mistakes to Avoid
- Neglecting the importance of high-quality materials, which can affect the longevity of your art.
- Overcomplicating designs, which may overwhelm potential buyers.
By following these best practices, you can create stunning canvas prints that stand out in the market. Remember, the key is to engage with your audience and continuously evolve your designs to meet their preferences. Happy crafting!
12. Custom Pet Accessories: Trendy Items for Furry Family Members
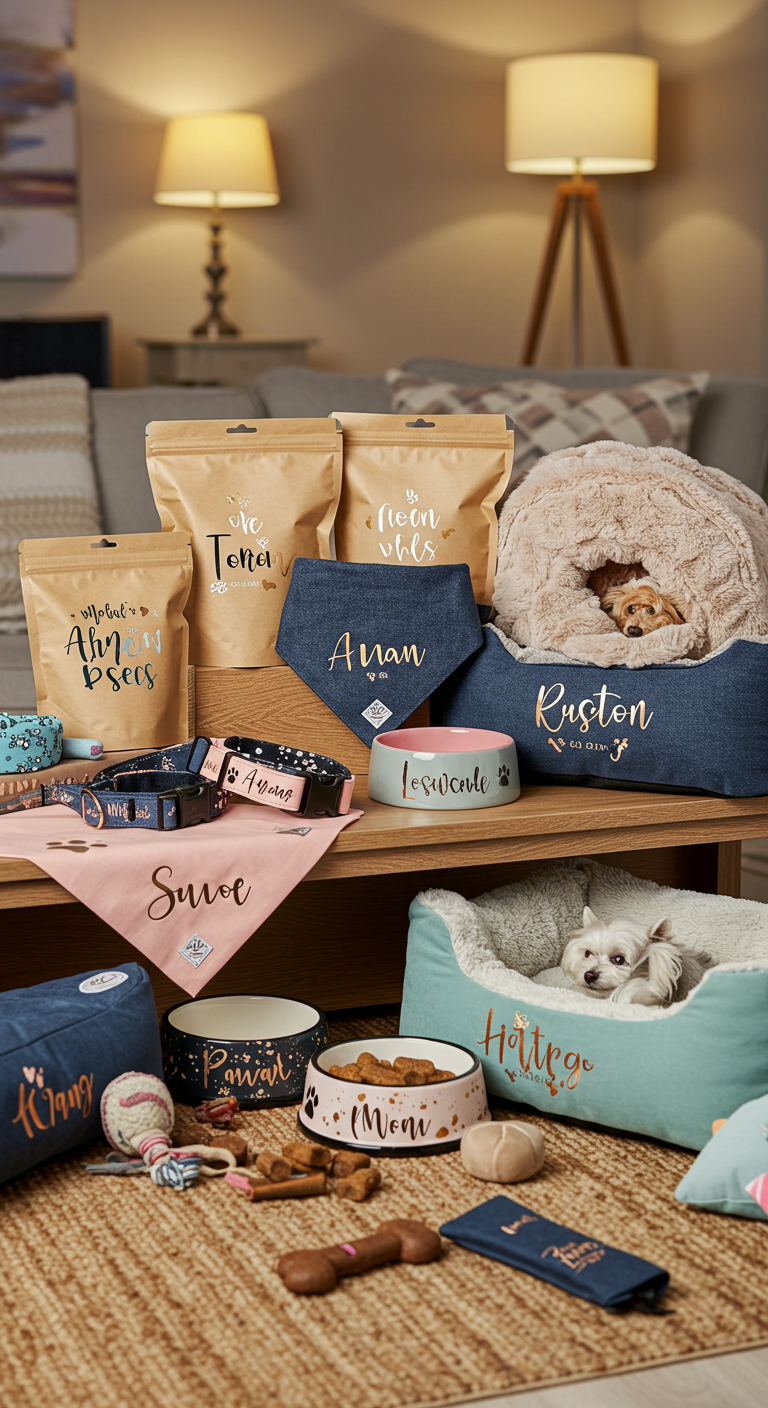
Custom Pet Accessories: Trendy Items for Furry Family Members
Creating custom pet accessories is a delightful way to express your pet’s personality while keeping them stylish. As DIY enthusiasts embrace the furry family member trend, unique items such as personalized collars, custom bandanas, and tailored pet beds are becoming increasingly popular. Let’s explore how you can craft these trendy accessories.
Step-by-Step Guide to Making Custom Pet Collars
To create a personalized collar, start with these materials:
- Plain nylon or leather collar
- Fabric paint or embroidery thread
- Stencils or design ideas
Steps:
- Choose your design and gather inspiration online.
- Use stencils to apply fabric paint or embroider the pet’s name onto the collar.
- Let it dry completely before allowing your pet to wear it.
Expert Tips and Common Mistakes to Avoid
When crafting custom pet accessories, consider these expert tips:
- Always use pet-safe materials to prevent any allergic reactions.
- Measure your pet accurately to ensure a perfect fit.
- Avoid overcrowding the design; simplicity often leads to elegance.
Common mistakes include using non-washable materials or neglecting safety features like breakaway collars. Focus on durability and comfort to ensure your pet enjoys their new accessory.
Best Practices for Customization
Stay on trend by incorporating current styles, such as boho patterns or minimalistic designs. Remember, custom pet accessories not only enhance your pet’s wardrobe but also make for delightful gifts. Engage in the creative process and enjoy the bonding experience with your furry family member!
13. Bohemian Beaded Necklaces: Fashion-Forward Jewelry Making
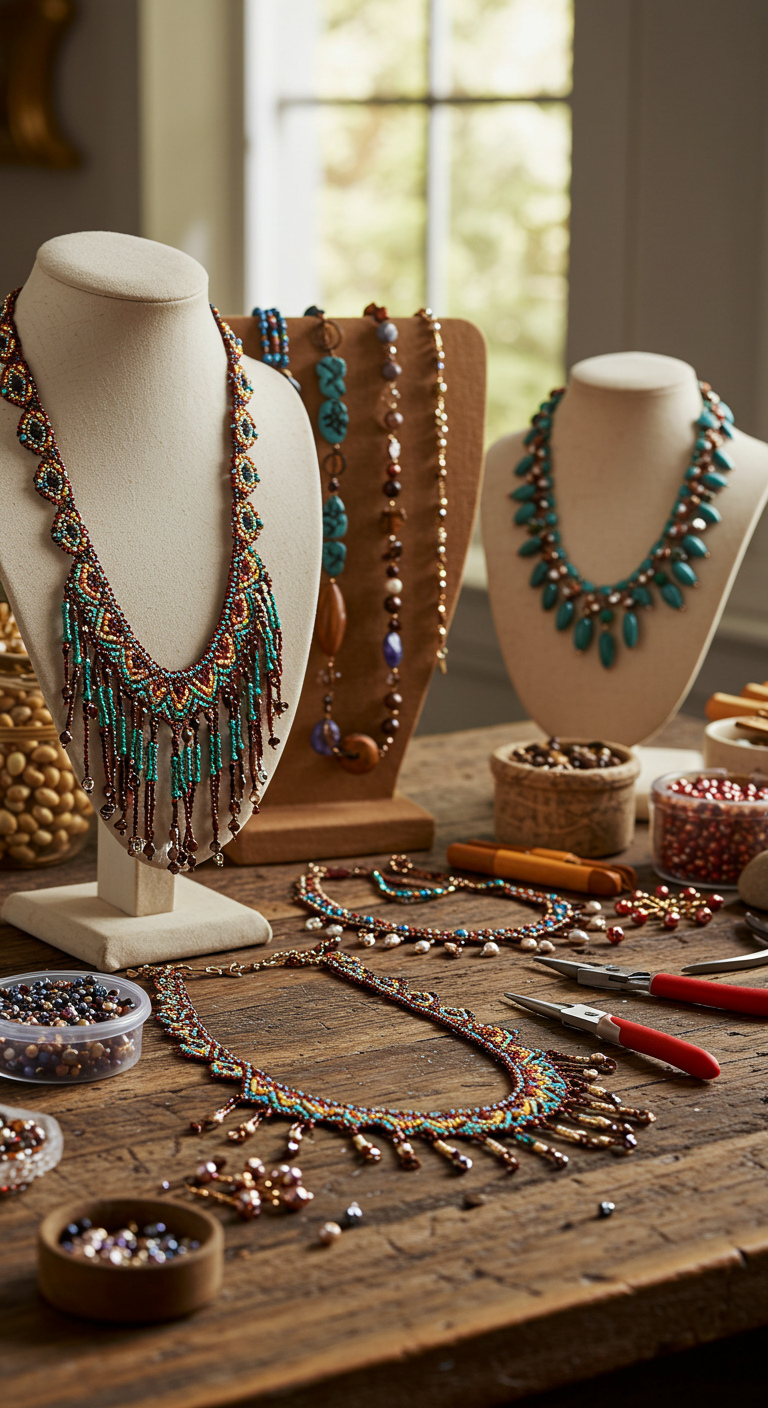
Bohemian Beaded Necklaces: Fashion-Forward Jewelry Making
Creating stunning Bohemian beaded necklaces is a fantastic way to express your unique style while diving into the world of DIY jewelry making. With current trends leaning towards artisanal, handmade pieces, this craft allows you to effortlessly blend colors, textures, and shapes, resulting in eye-catching accessories.
Materials Needed
- Beads (glass, wood, or gemstone)
- Beading wire or nylon string
- Crimp beads
- Clasps
- Wire cutters
- Beading needle (optional)
Step-by-Step Guidance
- Design Your Necklace: Sketch your design or lay out beads on a flat surface to visualize the final piece.
- Cut the Wire: Measure and cut a piece of beading wire approximately 12 inches longer than your desired necklace length.
- String the Beads: Begin threading your selected beads onto the wire in your desired pattern.
- Secure the Ends: Once you’re satisfied, use crimp beads to secure the ends and attach your clasp.
- Finishing Touches: Trim any excess wire and ensure everything is secure.
Expert Tips and Tricks
To elevate your Bohemian beaded necklaces, consider mixing different bead sizes and textures for a dynamic look. Additionally, adding charms or pendants can enhance visual interest. Avoid common mistakes such as overcrowding your design or using too many similar colors, as this can detract from the overall aesthetic.
Best Practices
Always ensure your workspace is organized to minimize loss of materials. Regularly check the strength of your knots and crimp beads to prevent breakage, especially if you plan on wearing your necklace frequently.
By following these guidelines, you can create beautiful, fashion-forward Bohemian beaded necklaces that reflect your personal style and creativity.
14. Personalized Tote Bags: Functional Style for Everyday Use
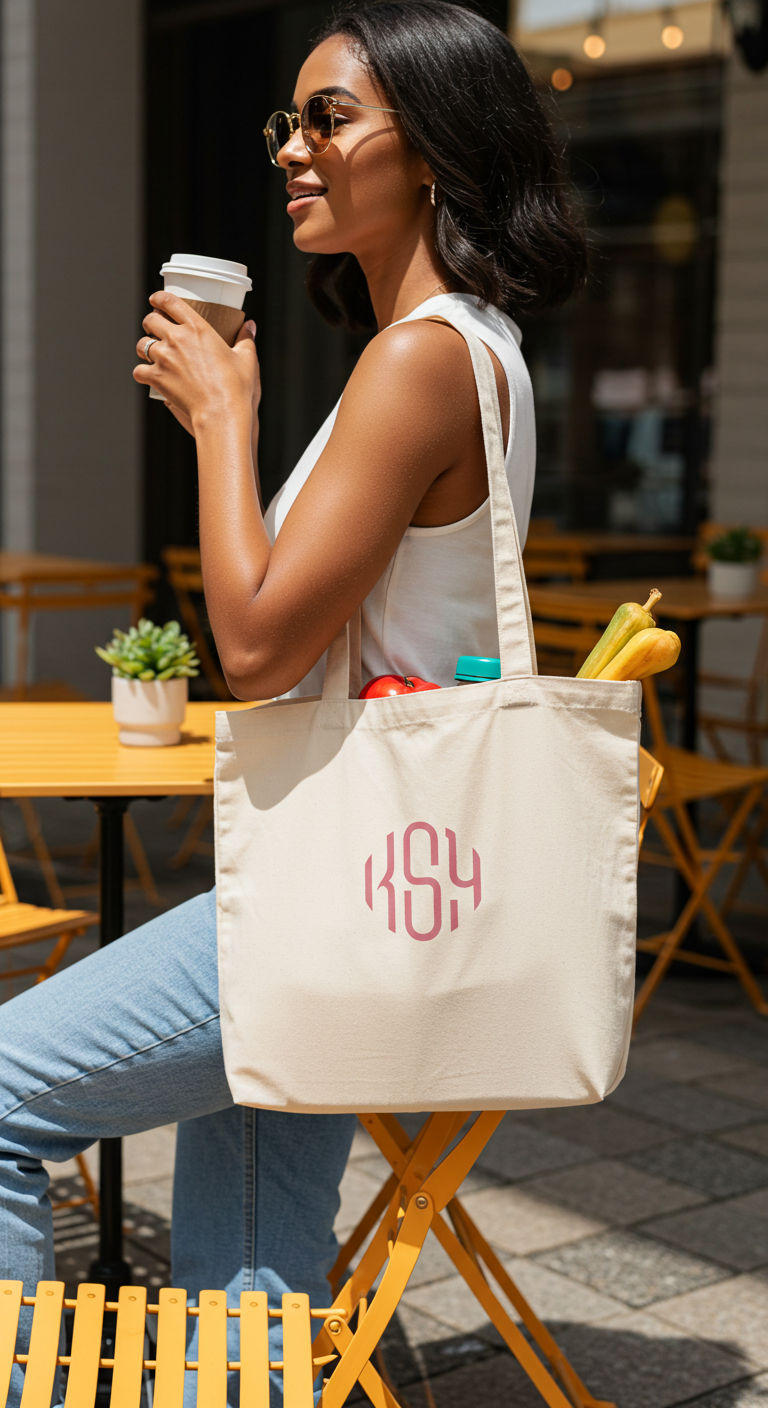
Personalized Tote Bags: Functional Style for Everyday Use
In today’s fast-paced world, personalized tote bags offer a perfect blend of functionality and style for everyday use. These versatile accessories not only serve practical purposes but also showcase your unique personality. Whether you’re heading to the grocery store, the gym, or a casual outing, a custom tote bag is an essential addition to your lifestyle.
Current Trends in DIY Tote Bags
One of the hottest trends in DIY crafts is upcycling materials to create personalized tote bags. Using old clothing, fabric remnants, or even canvas drop cloths can yield stunning results. Additionally, incorporating popular patterns like tie-dye or botanical prints can elevate your design.
Step-by-Step Guide to Creating Your Own Tote Bag
- Gather Materials: You will need a sturdy fabric (canvas is ideal), scissors, sewing machine, thread, and fabric paint or markers.
- Design Your Bag: Sketch your design on paper. Consider adding pockets for functionality.
- Cut the Fabric: Cut two identical rectangles for the body and two strips for handles.
- Sewing: Sew the sides of the bag, attach the handles, and finish with a hem.
- Personalize: Use fabric paint or markers to add your personal touch.
Expert Tips and Common Mistakes to Avoid
- Tip: Pre-wash your fabric to prevent shrinking.
- Mistake to Avoid: Not reinforcing the bag’s handles, which can lead to tearing.
- Best Practice: Choose a color scheme that complements your wardrobe for maximum versatility.
By creating a personalized tote bag, you not only express your creativity but also contribute to sustainability. Embrace the DIY spirit and enjoy functional style that reflects who you are!
15. Rustic Wooden Signs: Handcrafted Decor for Home and Garden
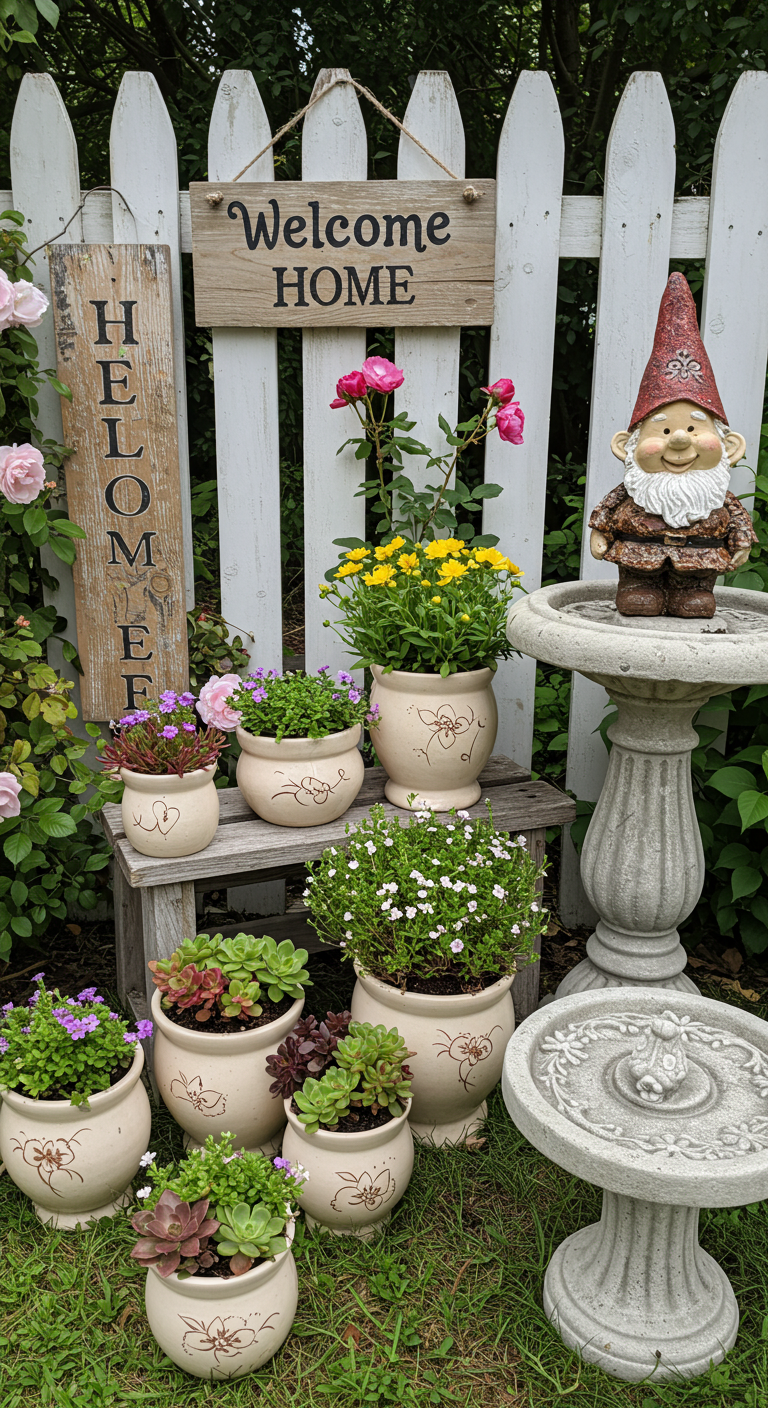
Rustic Wooden Signs: Handcrafted Decor for Home and Garden
Rustic wooden signs have emerged as a popular trend in DIY & creative crafts, providing a charming touch to both home and garden decor. Handcrafted with care, these signs can transform any space into a cozy retreat, reflecting personal style and warmth. Here’s how to create your own rustic wooden sign.
Materials Needed
- Reclaimed wood or new lumber
- Sandpaper (medium and fine grit)
- Wood stain or paint
- Paintbrushes and sponges
- Stencils or transfer paper (optional)
- Sealer (optional)
Step-by-Step Guide
- Select Your Wood: Choose rustic wood that fits your desired aesthetic. Reclaimed wood often has unique character.
- Prep the Surface: Sand the wood to smooth out rough edges and surfaces.
- Stain or Paint: Apply your chosen stain or paint. Natural stains enhance the wood grain, while paint can add a pop of color.
- Add Text: Use stencils or transfer paper to paint your desired message. Keep it simple and meaningful.
- Seal Your Work: If it’s for outdoor use, apply a weatherproof sealant to protect it from the elements.
Expert Tips and Common Mistakes
To ensure success, avoid using wood that is too soft, as it may warp or degrade quickly. Additionally, always test your stain or paint on a scrap piece before applying it to your sign. This ensures the final look matches your vision.
Best Practices for Display
For a rustic look, consider hanging your signs in unexpected places like garden fences or entryways. Pair them with plants or fairy lights to enhance the ambiance. Remember to choose fonts that complement the rustic style—handwritten or vintage fonts work beautifully.
Creating rustic wooden signs is an enjoyable and rewarding DIY project that brings personality to any space. By following these expert tips and utilizing current trends, you can craft decor that’s not only stylish but also uniquely yours.
Frequently Asked Questions
How do I make eco-friendly soy wax candles to sell?
To make eco-friendly soy wax candles, start by melting soy wax in a double boiler, then add fragrance oils and color if desired. Pour the mixture into prepped containers with a wick, allowing it to cool completely before selling. Ensure proper labeling and consider packaging that emphasizes your eco-friendly approach to attract environmentally conscious customers.
Why are handcrafted macrame plant hangers popular for selling?
Handcrafted macrame plant hangers are popular due to the growing trend of indoor gardening and home decor. Their unique, bohemian aesthetic enhances any space, making them appealing to a wide audience. By offering customizable options, you can attract even more buyers looking for personalized home accents.
What materials do I need to create personalized leather wallets?
To create personalized leather wallets, gather high-quality leather, a cutting mat, sharp utility knife, leather hole punch, needles, and waxed thread. Additional tools like edge tools and leather dyes can enhance the final product. Investing in quality materials will ensure your wallets are durable and appealing to potential customers.
How can I troubleshoot issues with custom tie-dye apparel?
If you encounter issues with custom tie-dye apparel, such as fading colors or uneven patterns, ensure you are using high-quality fabric dyes and pre-wash fabrics to remove any sizing. Experiment with different folding techniques for better designs, and allow sufficient time for the dye to set. Following these best practices can result in vibrant, sellable products.
What are the best practices for selling sustainable upcycled jewelry?
To successfully sell sustainable upcycled jewelry, focus on sourcing unique materials and telling the story behind each piece. Use high-quality images and engaging descriptions to highlight the eco-friendly aspect. Additionally, promote your jewelry on social media platforms and consider local craft fairs to reach a broader audience interested in sustainable fashion.

