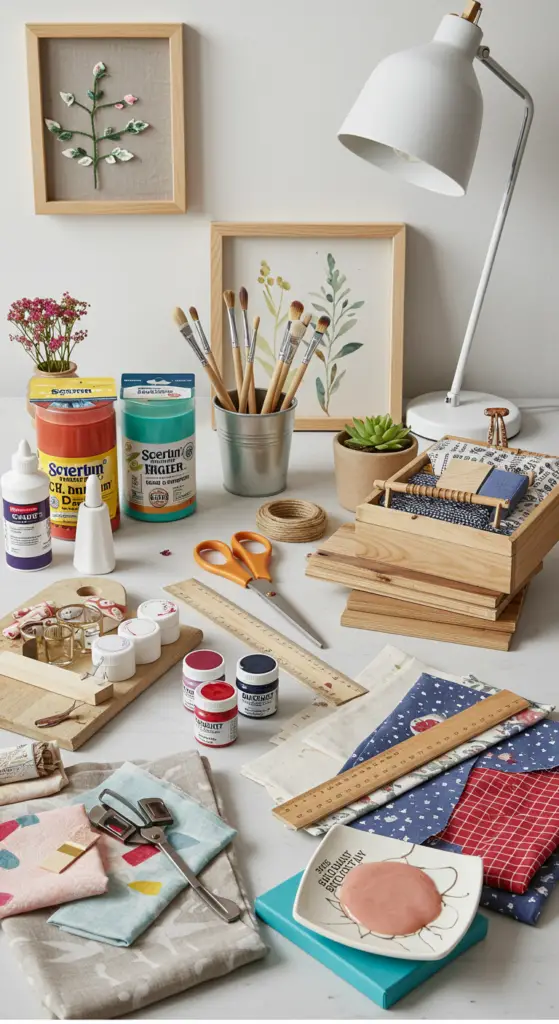
1. Transform Thrift Store Finds into Chic Home Décor on a Budget
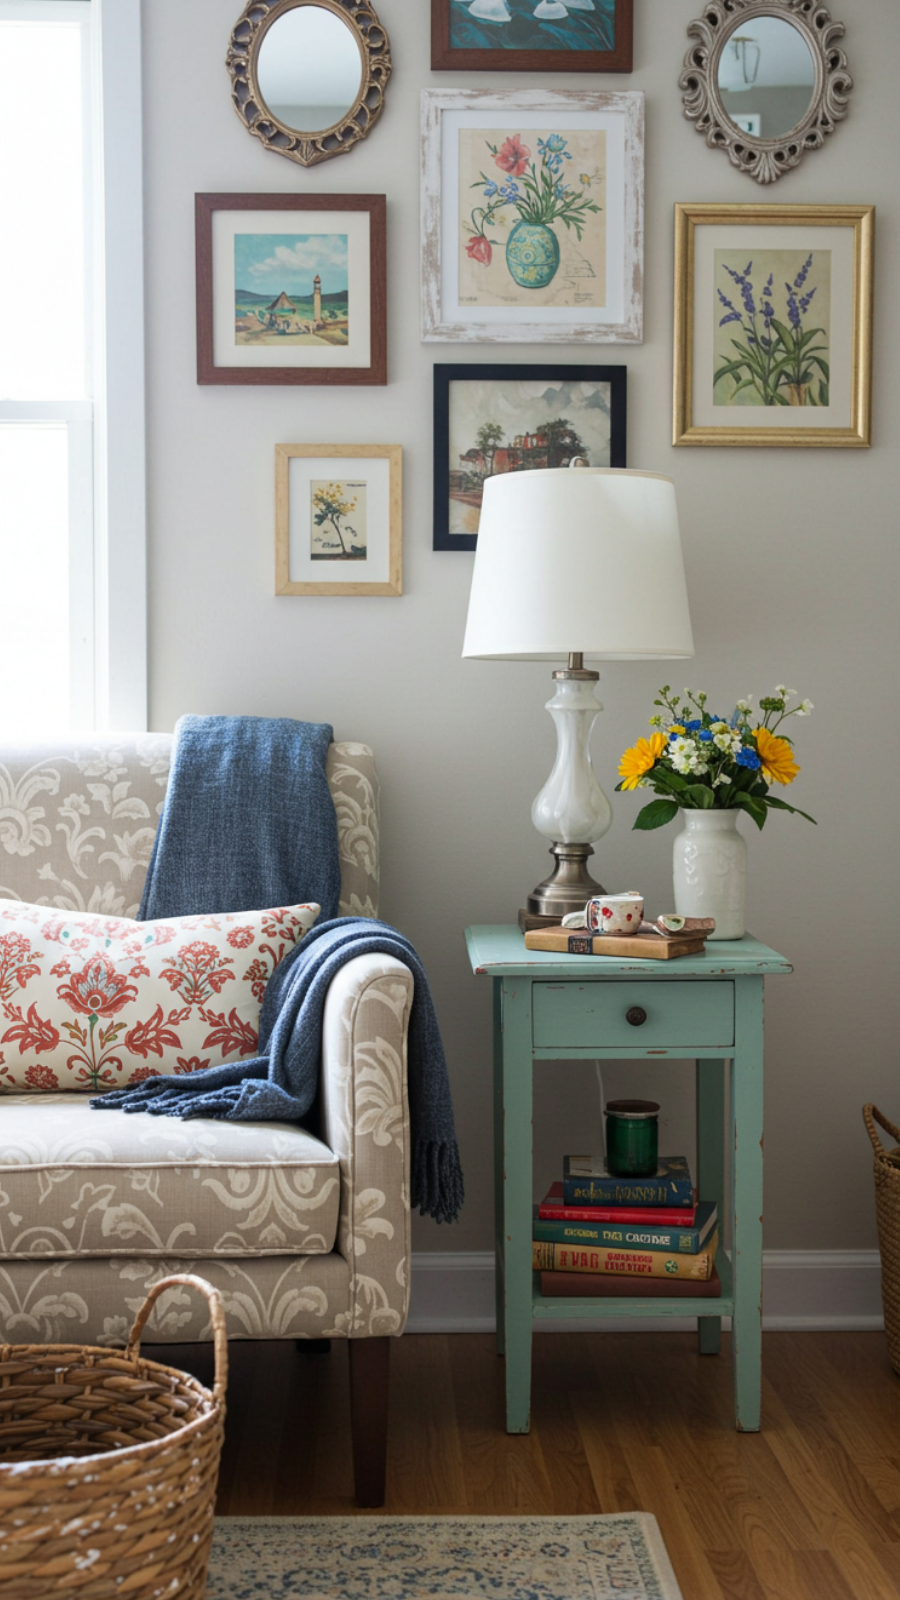
Transform Thrift Store Finds into Chic Home Décor on a Budget
Thrift stores are treasure troves for DIY enthusiasts looking to transform unique finds into chic home décor on a budget. With a little creativity and some expert techniques, you can breathe new life into forgotten items, turning them into stylish centerpieces for your home.
Step-by-Step Guide to Transforming Thrift Store Finds
- Choose Your Pieces Wisely: Look for items with good bones—think vintage frames, wooden furniture, or decorative ceramics. Avoid overly damaged items unless you’re up for a challenge.
- Envision the Final Look: Before you buy, visualize how the piece will fit in your space. Consider current trends like minimalism or bohemian styles for inspiration.
- Prep and Paint: Clean your finds thoroughly. A fresh coat of paint can work wonders—opt for chalk paint for a matte finish that’s on-trend.
- Accessorize: Use stencils or decoupage techniques to add patterns or textures. Fabrics, wallpaper scraps, or even old book pages can create stunning effects.
- Display Creatively: Arrange your revamped décor with intention. Group items in odd numbers for visual appeal, and don’t shy away from mixing textures and colors.
Expert Tips and Common Mistakes to Avoid
- Tip: Always test paint on a small area first to avoid mismatched colors.
- Tip: Don’t overlook the power of lighting—consider adding fairy lights to enhance ambiance.
- Common Mistake: Overcomplicating designs. Keep it simple to maintain elegance and functionality.
By following these best practices, you can effortlessly transform thrift store finds into chic home décor that reflects your personal style without breaking the bank. Happy crafting!
2. Upcycle Old T-Shirts into Stylish Tote Bags for Sustainable Fashion

Upcycle Old T-Shirts into Stylish Tote Bags for Sustainable Fashion
Transforming old t-shirts into fashionable tote bags is a fantastic way to embrace sustainable fashion while showcasing your creativity. This DIY project not only reduces textile waste but also allows you to express your personal style.
Materials You Will Need
- Old t-shirts (preferably cotton)
- Scissors
- Measuring tape
- Fabric pins (optional)
- Sewing machine or needle and thread
Step-by-Step Guide
- Choose the Right T-Shirt: Select a shirt with a fun print or color that you love. Vintage tees are particularly trendy!
- Cut the T-Shirt: Cut off the sleeves and neckline to create the bag opening. Then, cut the bottom to your desired length.
- Create the Bag Base: Turn the shirt inside out and sew the bottom hem closed. Ensure to secure the stitches for durability.
- Turn it Right Side Out: Flip the bag right side out, and you have a chic tote ready for use!
Expert Tips and Common Mistakes to Avoid
To ensure your upcycled tote bag is both stylish and functional, consider these tips:
- Use a t-shirt with a thicker fabric for added durability.
- Double stitch the bottom seam for extra strength.
- Avoid cutting too much fabric; you can always trim later.
Best Practices for Sustainable Fashion
Embrace current DIY trends by personalizing your tote bags further. Add embellishments like patches, fabric paint, or embroidery to make your tote uniquely yours. This not only enhances the aesthetic but also promotes the ethos of sustainable fashion.
In conclusion, upcycling old t-shirts into stylish tote bags is a practical, eco-friendly craft that aligns with today’s sustainability trends. By following these steps and tips, you can create a functional accessory that makes a statement.
3. Create Elegant Wall Art with DIY Canvas Paint Pour Techniques

Create Elegant Wall Art with DIY Canvas Paint Pour Techniques
Transform your living space with stunning DIY canvas paint pour techniques that evoke elegance and creativity. This trending art form allows you to create mesmerizing, abstract designs with minimal effort. Here’s how to dive into this captivating craft.
Materials Needed
- Canvas (any size)
- Acrylic paint in various colors
- Pouring medium
- Plastic cups
- Stir sticks
- Drop cloth or plastic sheet
- Gloves (optional)
Step-by-Step Guidance
Follow these steps to create your masterpiece:
- Prepare Your Workspace: Lay down a drop cloth to protect surfaces and wear gloves if desired.
- Mix Your Paint: Combine acrylic paint with a pouring medium in plastic cups. Aim for a fluid consistency.
- Layer Your Colors: Pour different colors into a single cup without mixing them to achieve a beautiful swirl.
- Pour onto Canvas: Tilt the canvas to let the paint flow and create unique patterns.
- Let It Dry: Allow your canvas to dry completely in a dust-free environment.
Expert Tips and Tricks
To elevate your paint pour art:
- Experiment with color combinations to find your unique style.
- Use a heat gun or torch to create cells and enhance textures.
Common Mistakes to Avoid
Steer clear of these pitfalls:
- Using too much paint can lead to muddy results.
- Not allowing enough drying time may ruin the finish.
By mastering DIY canvas paint pour techniques, you can create elegant wall art that reflects your personal style. This contemporary craft is not just a fun activity; it’s a way to bring beauty into your home while expressing your creativity.
4. Make Your Own Budget-Friendly Macramé Plant Hangers for Boho Vibes

Make Your Own Budget-Friendly Macramé Plant Hangers for Boho Vibes
If you’re looking to add a touch of bohemian flair to your home décor, making your own budget-friendly macramé plant hangers is an excellent DIY project. Not only are they aesthetically pleasing, but they also offer a practical way to display your favorite plants while saving money. Here’s a step-by-step guide to get you started.
Materials Needed
- 3-4 strands of cotton macramé cord (each 3-4 meters long)
- Scissors
- Wooden or metal ring (optional)
- Plant pot of your choice
Step-by-Step Instructions
- Prepare the Cord: Cut your macramé cord into equal lengths.
- Attach the Cord: If using a ring, fold the cords in half and attach them to the ring with a lark’s head knot.
- Make Knots: Create square knots or spiral knots, leaving enough length for the pot to sit comfortably.
- Finish the Design: Once you reach the desired length, tie off the ends with a secure knot.
Expert Tips and Tricks
To enhance your macramé plant hangers:
- Experiment with various knotting techniques to create unique patterns.
- Incorporate beads or shells for added boho vibes.
Avoid Common Mistakes
Many beginners struggle with tension. Ensure your knots are consistent in tightness for a polished look. Additionally, avoid overly complex patterns unless you’re confident in your skills.
Best Practices
Always measure the length of your cords based on the height of your plant pot, allowing extra length for the knots. This ensures a balanced and harmonious design.
By following these guidelines, you’ll create stunning macramé plant hangers that not only beautify your space but also reflect your personal style!
5. Repurpose Glass Jars into Trendy Candle Holders for Cozy Ambiance

Repurpose Glass Jars into Trendy Candle Holders for Cozy Ambiance
Transforming glass jars into stylish candle holders is a delightful way to create a cozy ambiance in your home. This DIY project not only helps you repurpose items but also adds a personal touch to your décor. With current trends leaning towards sustainable living and upcycling, this craft aligns perfectly with a creative lifestyle.
Materials You Will Need
- Variety of glass jars (mason jars, pickle jars, etc.)
- Candle (tea lights, votives, or pillar candles)
- Decorative elements (twine, paint, beads, or sand)
- Adhesive (hot glue gun or craft glue)
- Scissors
Step-by-Step Guidance
- Clean the Jars: Ensure your glass jars are spotless. Remove labels and residue.
- Decorate: Apply paint or wrap twine around the jars. Use hot glue to secure embellishments like beads or dried flowers.
- Add Candles: Place your chosen candle inside the jar. If using sand, fill the bottom of the jar for added stability.
- Finish: Light the candle and enjoy the warm glow.
Expert Tips and Tricks
To enhance the aesthetic, consider using different sizes and shapes of jars for a varied display. Mixing textures, such as matte paint with glossy finishes, can elevate the visual appeal. Always ensure proper ventilation when burning candles and avoid overcrowding jars with decorations to maintain a safe environment.
Common Mistakes to Avoid
- Using oversized candles that can cause overheating.
- Neglecting to secure decorations, which may fall into the flame.
- Forgetting to use heat-resistant materials.
Best Practices
For optimal safety, always monitor burning candles and never leave them unattended. Consider using LED candles if you prefer a maintenance-free alternative. This DIY project is perfect for seasonal décor, parties, or as thoughtful gifts.
With this guide, you can easily repurpose glass jars into trendy candle holders that exude charm and warmth, making your space inviting and stylish.
6. Design Affordable Customized Throw Pillows Using Iron-On Transfers

Design Affordable Customized Throw Pillows Using Iron-On Transfers
Transform your living space with affordable customized throw pillows using iron-on transfers. This DIY project not only enhances your decor but also reflects your personal style. Here’s how to create stunning pillows that are both fashionable and functional.
Materials You’ll Need
- Plain throw pillows or pillow covers
- Iron-on transfer paper
- Inkjet printer
- Iron
- Scissors
- Design software (like Canva or Adobe Spark)
Step-by-Step Guide
- Design Your Transfer: Use design software to create a unique pattern or phrase. Ensure your design is high-resolution for crisp results.
- Print on Transfer Paper: Follow the manufacturer’s instructions for printing. Remember to mirror your image for correct placement.
- Prepare Your Pillow: Iron the pillow cover to eliminate wrinkles, ensuring a smooth surface for transfer application.
- Apply the Transfer: Place the printed transfer face down on the pillow cover. Iron on medium heat, applying firm pressure for about 30 seconds.
- Cool and Peel: Let the transfer cool before gently peeling off the backing. Your design should now be securely adhered to the fabric.
Expert Tips and Common Mistakes
- Choose fabrics that can withstand heat, like cotton or polyester.
- Avoid using too much heat or pressure, which can damage the transfer.
- Test the transfer on a scrap piece of fabric if you’re unsure.
By following these steps, you can easily create custom throw pillows that elevate your home decor. Stay on top of current trends by experimenting with seasonal themes or popular quotes. Enjoy your crafting journey!
7. Craft Unique Jewelry Organizers from Repurposed Wooden Crates
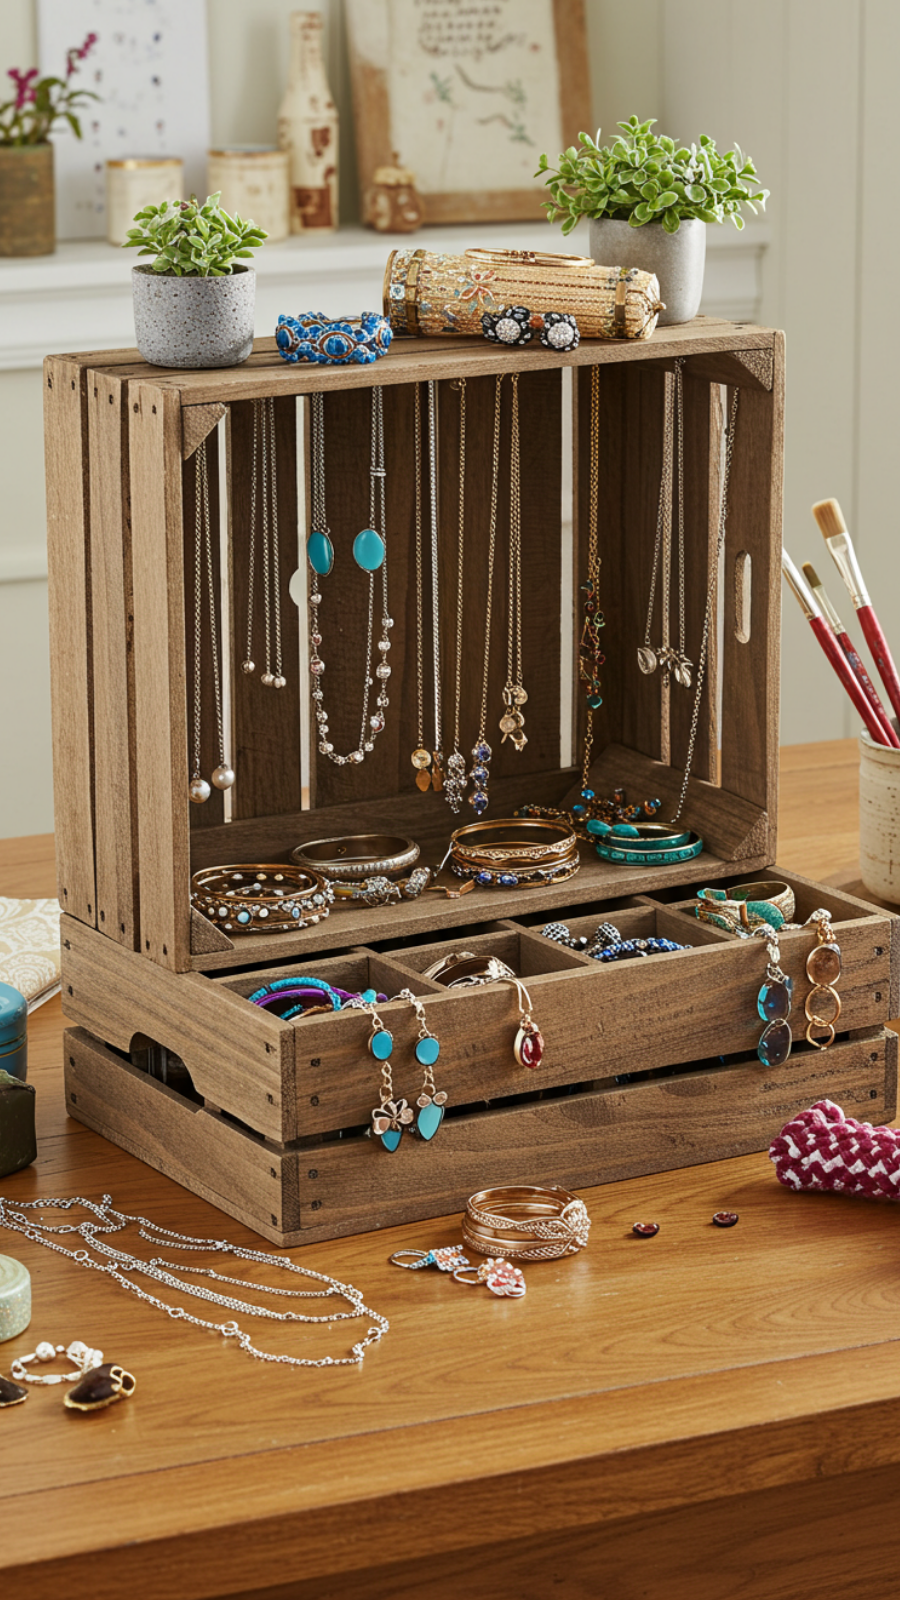
Craft Unique Jewelry Organizers from Repurposed Wooden Crates
Transforming repurposed wooden crates into unique jewelry organizers is not only a sustainable choice but also a stylish addition to your home decor. This DIY project aligns with current trends in upcycling and creative crafts, allowing you to showcase your accessories while keeping them neatly organized.
Step-by-Step Guidance
- Gather Materials: You will need wooden crates, sandpaper, wood stain or paint, hooks, and decorative knobs.
- Prep the Crates: Sand down any rough edges to ensure a smooth finish. If desired, apply a wood stain or paint to match your decor.
- Add Hardware: Attach hooks on the sides for hanging necklaces and decorative knobs on the front for securing bracelets and rings.
- Organize Your Jewelry: Arrange your jewelry pieces in the crate, utilizing sections for different types of accessories.
Expert Tips and Tricks
- Consider adding a mirror to the back of the crate for functionality.
- Use removable wall hooks to avoid damaging the crate when hanging it on the wall.
Common Mistakes to Avoid
One common mistake is overloading the organizer, which can lead to tangling. Ensure you categorize your jewelry effectively and leave some space for easy access.
Best Practices
Regularly declutter your jewelry collection to keep your organizer functional. Additionally, consider seasonal colors and themes to refresh your organizer’s look.
By following these steps, you can create a practical and eye-catching jewelry organizer that reflects your personal style. Embrace the trend of DIY and upcycling while ensuring your accessories are beautifully displayed and easily accessible!
8. Build a Chic Pallet Coffee Table with Minimal Tools for Outdoor Living

Build a Chic Pallet Coffee Table with Minimal Tools for Outdoor Living
Creating a chic pallet coffee table is a fantastic DIY project that enhances your outdoor living space while being budget-friendly. This guide will walk you through the process step-by-step, ensuring you achieve a stylish and functional addition to your patio or garden.
Materials and Tools You’ll Need
- Wood pallets (2-3 depending on desired size)
- Sandpaper (80 and 220 grit)
- Wood stain or outdoor paint
- Wood screws
- Drill
- Measuring tape
- Level
Step-by-Step Guidance
- Choose Your Pallets: Select pallets that are in good condition, free of splinters and rot. Aim for heat-treated pallets marked with “HT.”
- Sand and Prep: Use coarse sandpaper first, followed by fine grit to create a smooth surface. This step is vital to avoid splinters when using the table.
- Assemble the Base: Stack two pallets on top of each other for height. Secure them with wood screws, ensuring stability.
- Add Legs: For a chic look, use spare wood or cinder blocks as legs, or repurpose furniture legs for a more polished finish.
- Stain or Paint: Apply a weather-resistant stain or paint to enhance aesthetics and protect against the elements.
- Final Touches: Allow the table to dry completely. Once dry, ensure it’s level and secure before use.
Expert Tips and Common Mistakes to Avoid
- Always check for loose nails and remove them to ensure safety.
- Don’t rush the sanding process; proper preparation is key to a professional finish.
- Use outdoor-rated materials for longevity.
By following these steps, you’ll create a chic pallet coffee table that not only complements your outdoor living area but also showcases your DIY skills. This project is currently trending in the DIY & Creative Crafts community, making it a perfect addition to your home.
9. Sew DIY Fabric Banners for Celebrations that Won’t Break the Bank

Sew DIY Fabric Banners for Celebrations that Won’t Break the Bank
Creating your own fabric banners is a budget-friendly way to add a personal touch to any celebration. From birthdays to weddings, these banners can enhance the atmosphere while showcasing your creativity. Here’s how to sew your own DIY fabric banners with expert-level advice and practical examples.
Materials You’ll Need
- Assorted fabrics (cotton or canvas works best)
- Scissors
- Sewing machine or needle and thread
- String or ribbon for hanging
- Iron and ironing board
Step-by-Step Guidance
- Design Your Banner: Sketch out your design on paper. Popular trends include pennant shapes or triangular flags.
- Cut the Fabric: Use your template to cut fabric pieces. Ensure you leave a seam allowance of about 1/4 inch.
- Sew the Pieces: With right sides together, sew along the edges, then turn inside out and iron flat for a crisp look.
- Attach to String: Fold the top edge over your string or ribbon and sew along the fold to secure.
Expert Tips and Tricks
- Mix and match patterns for a trendy look.
- Consider adding embellishments like sequins or fabric paint for extra flair.
Common Mistakes to Avoid
- Not pre-washing your fabric, which may cause shrinkage.
- Forgetting to iron your fabric before sewing, which can lead to uneven edges.
Best Practices
Using high-quality fabrics will ensure durability. Additionally, planning the layout beforehand can save time and materials. Remember, the goal is to create a banner that reflects your style and elevates your celebration—without breaking the bank!
10. Create a Budget-Friendly Vision Board Using Magazine Clippings and Pins

Create a Budget-Friendly Vision Board Using Magazine Clippings and Pins
Creating a vision board is an inspiring way to visualize your goals and aspirations. By utilizing magazine clippings and pins, you can craft a budget-friendly vision board that reflects your dreams without breaking the bank.
Step-by-Step Guidance
Follow these simple steps to create your own vision board:
- Gather Your Materials: Collect old magazines, scissors, a poster board or corkboard, push pins, and glue. Look for magazines that resonate with your lifestyle goals—think travel, wellness, or career-oriented publications.
- Define Your Goals: Before diving in, jot down what you want to achieve. This could include personal growth, health, or financial aspirations.
- Cut and Curate: Flip through your magazines and cut out images, quotes, and words that align with your goals. Be selective to ensure your board stays cohesive.
- Arrange and Attach: Lay your clippings on the board before gluing or pinning them down. This allows for a creative layout that speaks to you.
- Display: Place your vision board in a prominent space where you’ll see it daily. This keeps your goals top of mind.
Expert Tips and Tricks
- Incorporate current trends like color blocking or minimalism for a modern touch.
- Use washi tape or decorative pins to add flair and personality.
- Consider digital options by creating a virtual board using platforms like Pinterest for a modern twist.
Common Mistakes to Avoid
- Avoid overcrowding your board; less is more.
- Don’t neglect to update your vision board as your goals evolve.
- Be cautious with magazine selections; ensure they reflect positive and aspirational content.
By following these guidelines, you’ll create a personalized vision board that inspires and motivates you daily. A vision board made with magazine clippings and pins is not only budget-friendly but also a powerful tool in achieving your lifestyle goals.
Frequently Asked Questions
How can I transform thrift store finds into chic home décor on a budget?
To transform thrift store finds into chic home décor, start by selecting items with good bones but in need of some love. Use paint, fabric, or new hardware to give them a fresh look. Incorporating trendy colors or textures can elevate the piece significantly without breaking the bank.
Why should I upcycle old t-shirts into stylish tote bags?
Upcycling old t-shirts into tote bags is a great way to reduce textile waste while creating functional items. It’s an easy DIY project that requires minimal sewing skills and transforms unused clothing into stylish accessories, promoting sustainable fashion and saving money.
What materials do I need for DIY canvas paint pour techniques?
For DIY canvas paint pour techniques, you’ll need acrylic paints, a canvas, pouring medium, and a protective covering for your workspace. Additionally, using cups for mixing and tools like straws or sticks for swirling can help create unique patterns. This project is a fun way to add personalized art to your home.
How do I make budget-friendly macramé plant hangers?
To create budget-friendly macramé plant hangers, start with cotton cord and follow simple knotting techniques like square knots and lark’s head knots. You can find free patterns online, making it easy to craft beautiful hangers that add boho vibes to your space without a hefty price tag.
What can I do if my repurposed glass jars don’t hold candles well?
If your repurposed glass jars don’t hold candles well, ensure they are clean and dry before use. For a secure fit, consider using a small amount of melted wax or adhesive to stabilize the candle inside the jar. Additionally, check that the glass is heat-resistant to prevent cracking during burning.

