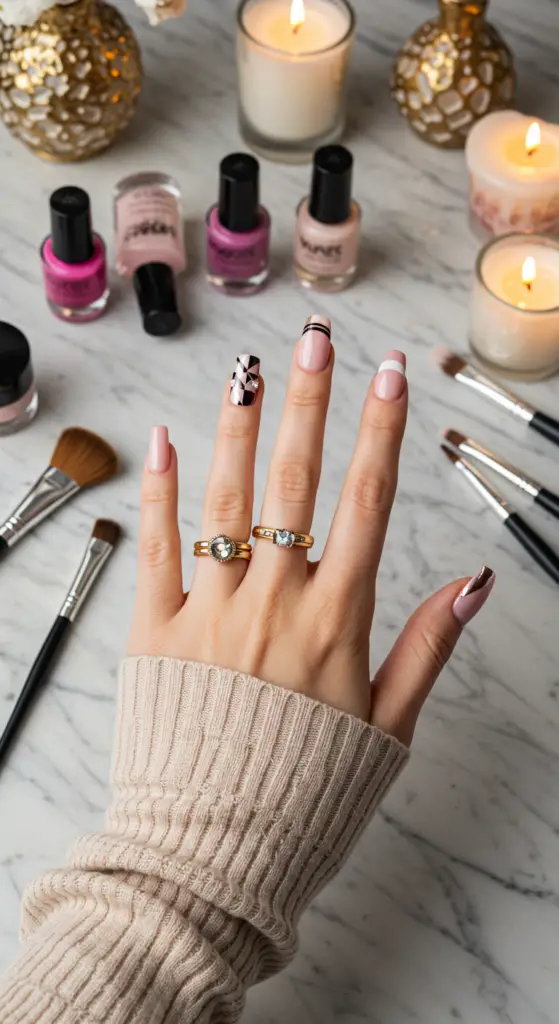
1. Sustainable Nail Art: Eco-Friendly Products for Trendy Designs
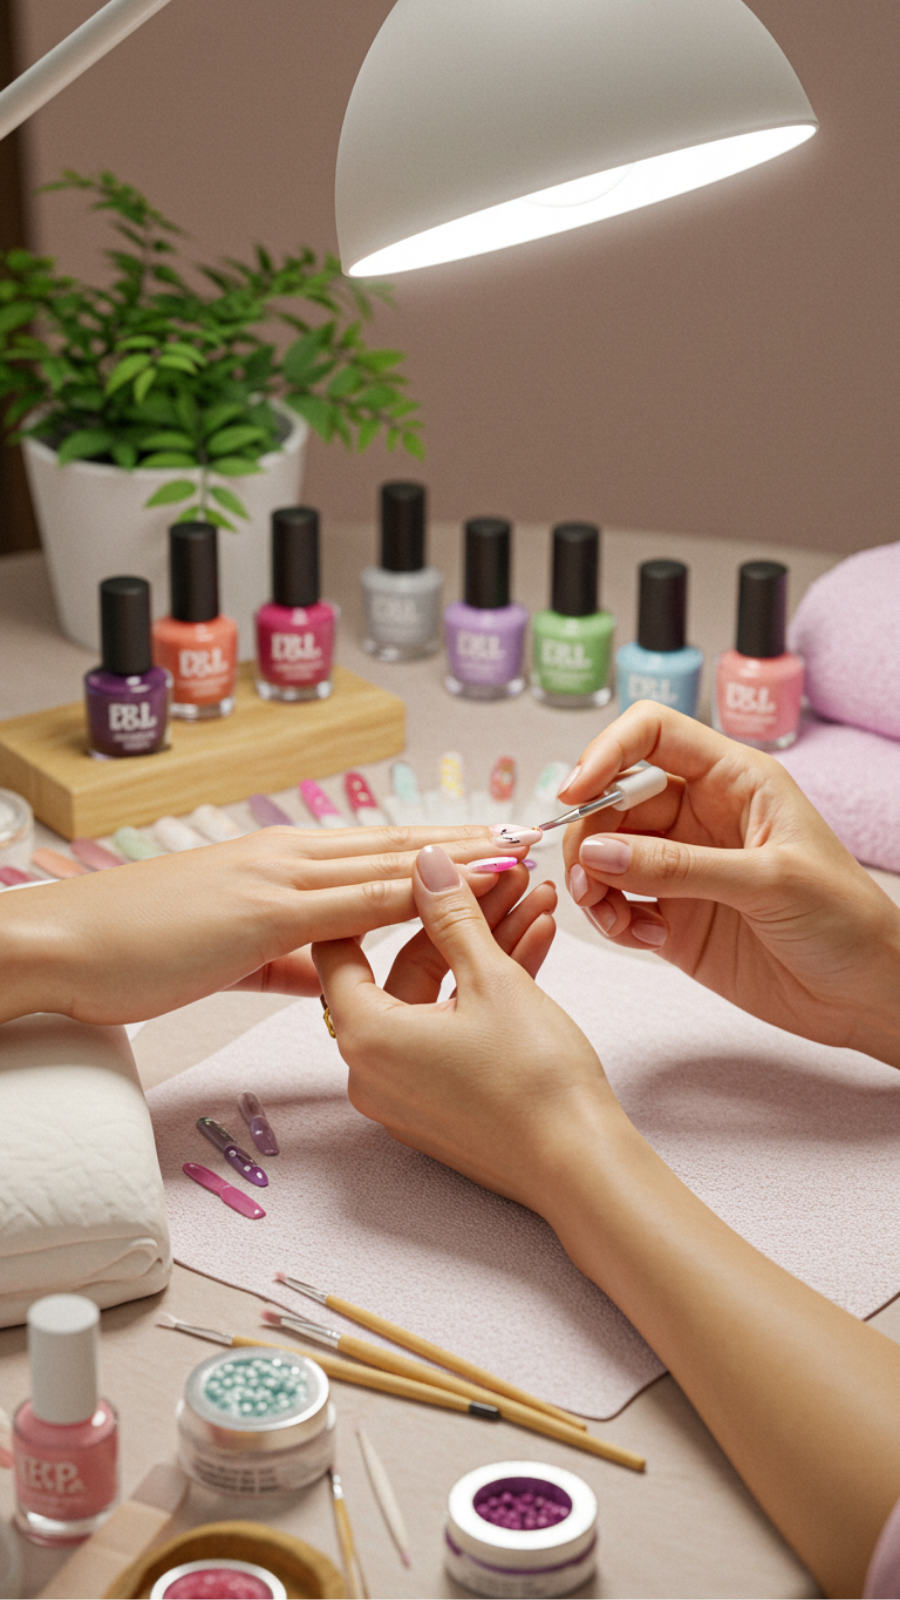
Sustainable Nail Art: Eco-Friendly Products for Trendy Designs
As the beauty industry shifts towards sustainability, sustainable nail art is becoming increasingly popular. Eco-friendly products not only reduce environmental impact but also offer unique and trendy designs that reflect a conscious lifestyle. Here’s how to embrace this movement with expert tips and practical guidance.
Choosing Eco-Friendly Nail Products
Start by selecting non-toxic nail polishes made from natural ingredients. Look for brands that are free from harmful chemicals like toluene, formaldehyde, and DBP. Some trending eco-friendly brands include:
- PACIFICA
- Butter London
- Ellie’s Best
Additionally, consider using biodegradable nail files and reusable nail art tools to minimize waste. These products not only contribute to sustainability but also help achieve professional results.
Step-by-Step Guide to Sustainable Nail Art
- Prep Your Nails: Clean and buff your nails using eco-friendly tools.
- Base Coat: Apply a non-toxic base coat to protect your nails.
- Color Application: Choose a vegan nail polish and apply 2-3 thin layers for a vibrant finish.
- Nail Art: Use natural or cruelty-free nail art stickers or stamps for trendy designs.
- Top Coat: Seal your design with a non-toxic top coat for lasting wear.
Expert Tips and Common Mistakes
To achieve the best results, avoid these common mistakes:
- Skipping the base coat, which can lead to staining.
- Applying thick layers of polish, which can cause chipping.
Instead, focus on thin, even layers for durability. Remember to let each layer dry completely before applying the next for a flawless finish.
Conclusion
By incorporating sustainable nail art practices, not only do you enhance your beauty routine, but you also contribute positively to the environment. With trendy, eco-friendly designs at your fingertips, you can showcase your style while promoting sustainability.
2. Biodegradable Nail Wraps: The Future of Responsible Nail Art
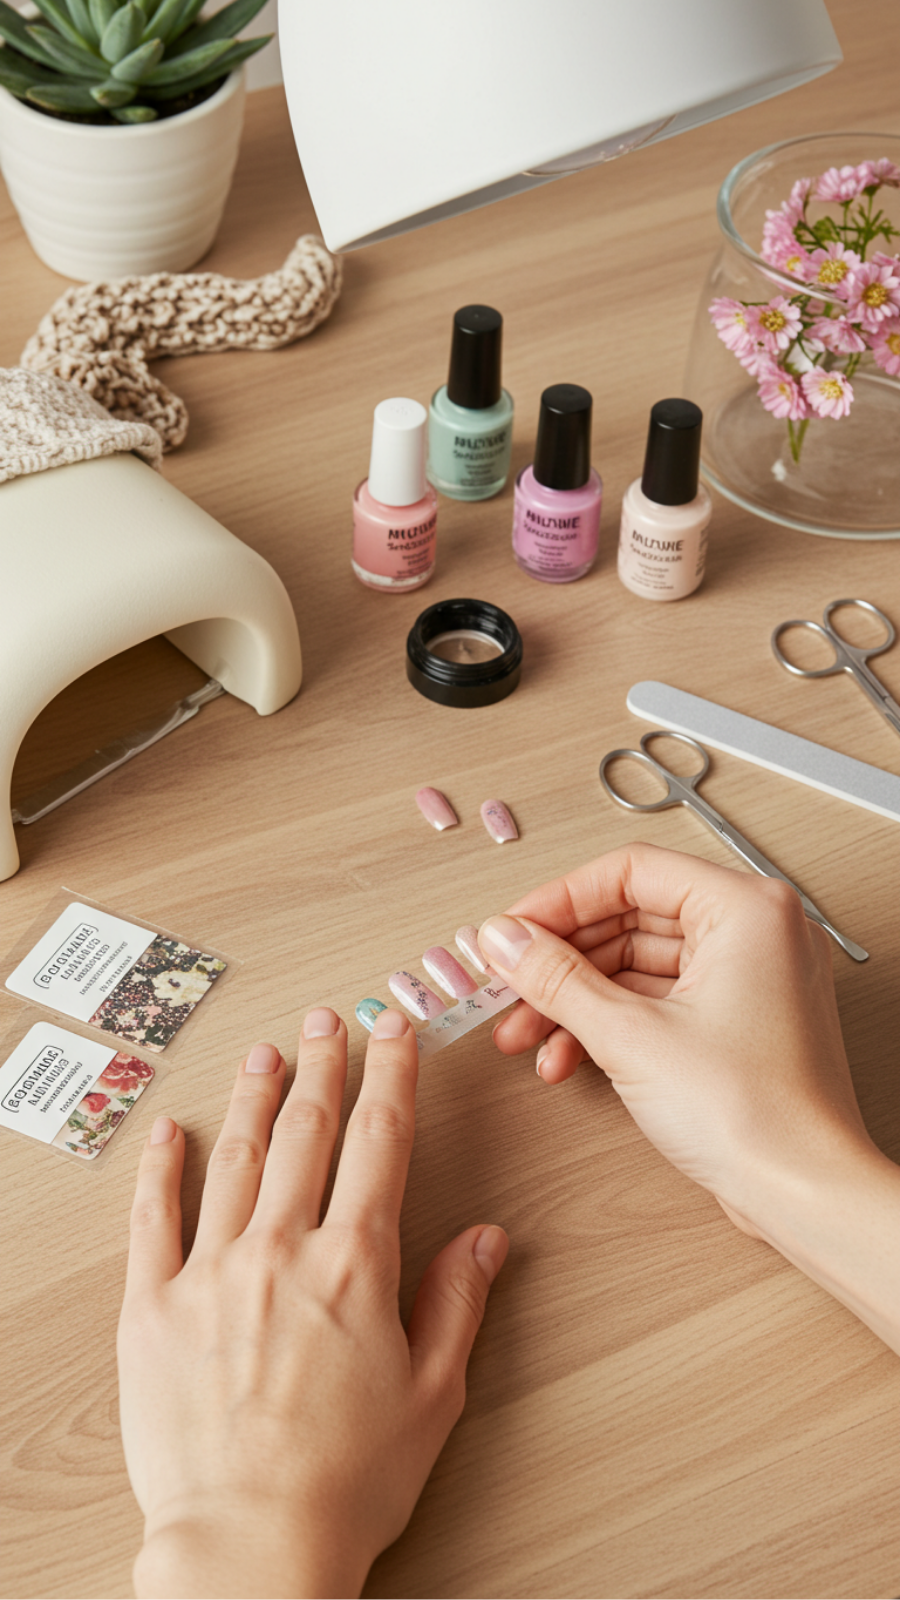
Biodegradable Nail Wraps: The Future of Responsible Nail Art
In recent years, biodegradable nail wraps have emerged as a sustainable alternative in the world of nail art. These eco-friendly products not only allow for creative expression but also align with a growing desire for responsible beauty practices.
Current Trends in Nail Art & Beauty
As environmental awareness rises, consumers are gravitating towards products that minimize ecological impact. Biodegradable nail wraps are made from natural materials that decompose without harming the planet. They come in an array of colors and patterns, reflecting current nail art trends such as floral designs and geometric shapes.
Expert Tips and Tricks
- Preparation is Key: Ensure your nails are clean and dry before application for optimal adhesion.
- Use a Base Coat: Applying a base coat can enhance the longevity of the wraps.
- Seal with Top Coat: This step not only adds shine but also protects your design.
Common Mistakes to Avoid
When using biodegradable nail wraps, avoid these common pitfalls:
- Skipping nail prep, which can lead to peeling.
- Applying wraps on wet or oily nails.
- Ignoring the instructions, as each brand may have unique application methods.
Best Practices for Application
For the best results with biodegradable nail wraps, follow these steps:
- Start with a clean nail surface.
- Measure and cut the wrap to fit your nail.
- Apply the wrap starting from the cuticle and smooth out towards the tip.
- Finish with a top coat for durability.
Incorporating biodegradable nail wraps into your beauty routine not only enhances your style but also contributes to a greener planet. As more brands adopt eco-friendly practices, you can stay chic while being responsible.
3. Textured Nails: Embrace 3D Designs for a Bold Statement Look
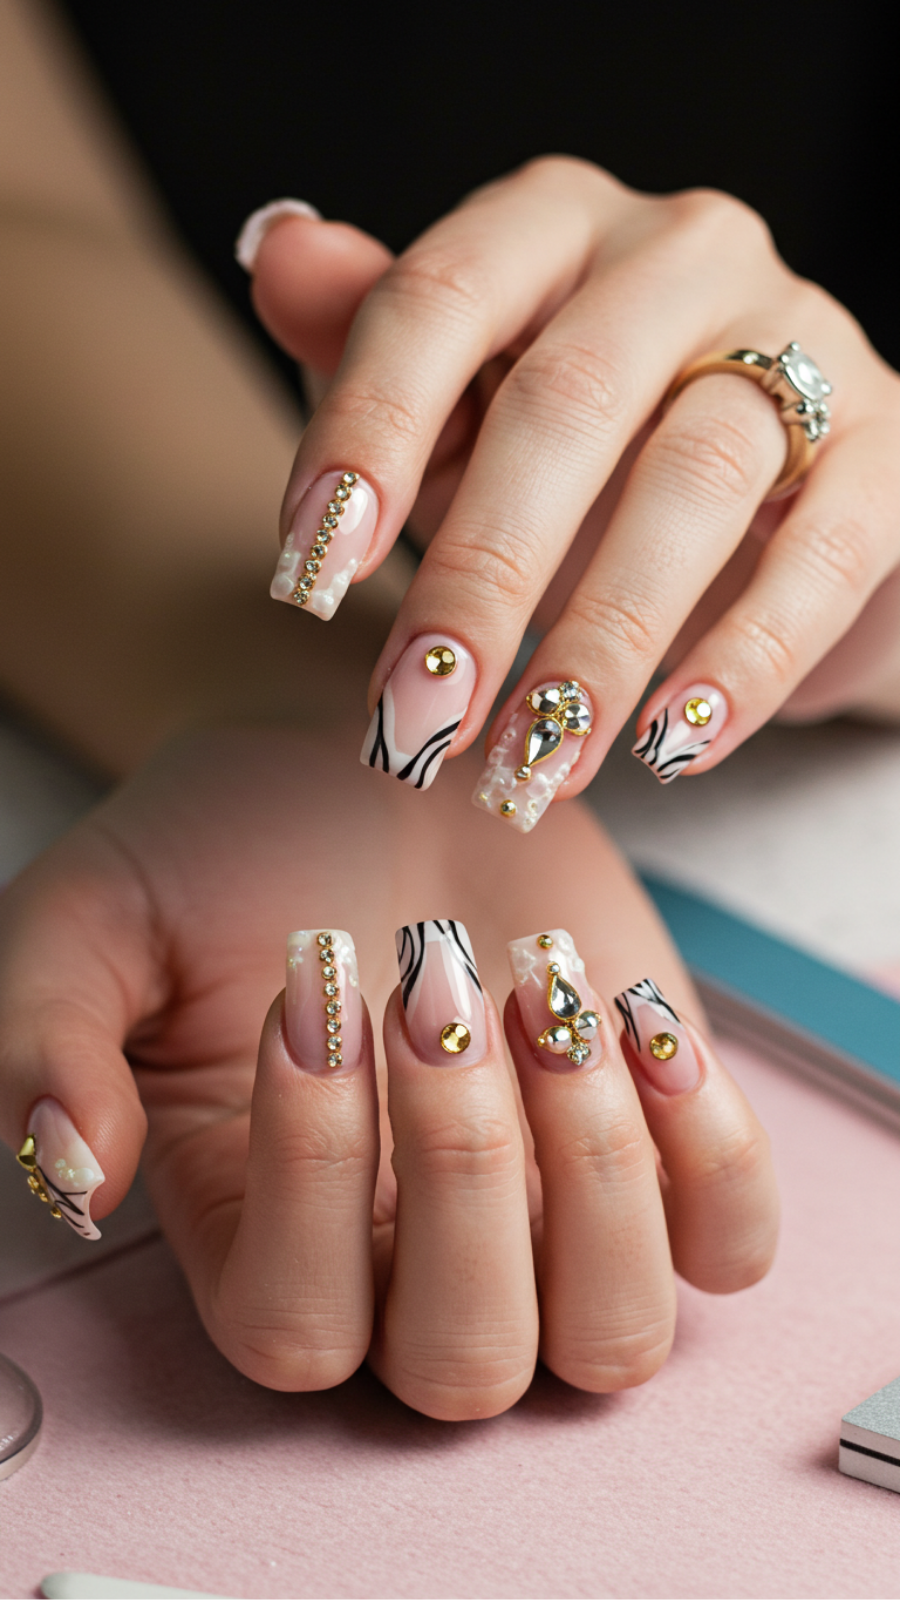
Textured Nails: Embrace 3D Designs for a Bold Statement Look
Textured nails are taking the beauty world by storm, offering a striking way to express individuality through 3D nail designs. These bold styles not only elevate your manicure but also provide a unique tactile experience. Whether you’re preparing for a special occasion or simply want to make a statement, textured nails can be your go-to for an eye-catching look.
Current Trends in Textured Nail Art
In 2023, the trend of textured nails is all about creativity and depth. Popular styles include:
- Rhinestones and Gems: Adding bling for a luxurious feel.
- Matte Finishes: A sophisticated contrast to glossy polish.
- Foil Accents: For a metallic shimmer that catches the light.
Step-by-Step Guide to Creating Textured Nails
Follow these expert tips to achieve stunning 3D nail designs:
- Prep Your Nails: Start with clean, shaped nails. Apply a base coat to protect them.
- Choose Your Base Color: Select a polish that complements your texture elements.
- Add Texture: Use nail art tools to apply products like flocking powder, beads, or gel for a raised effect.
- Finish with Top Coat: Seal your design with a clear top coat to enhance shine and longevity.
Common Mistakes to Avoid
When experimenting with textured nails, be mindful of these pitfalls:
- Applying too much product can lead to an overwhelming look.
- Skipping the base and top coat can result in chipping.
- Not allowing layers to dry completely may ruin your design.
Best Practices for Textured Nail Art
To ensure your textured nails remain flawless:
- Invest in quality nail products for better results.
- Experiment with different textures to find your unique style.
- Regularly moisturize your cuticles to maintain nail health.
By embracing textured nails, you can showcase your personality and creativity. Whether you go for an avant-garde design or subtle accents, 3D nail art allows for endless possibilities. Get inspired, and let your nails do the talking!
4. Chromatic Color Shifts: Explore Iridescent Nail Art Techniques
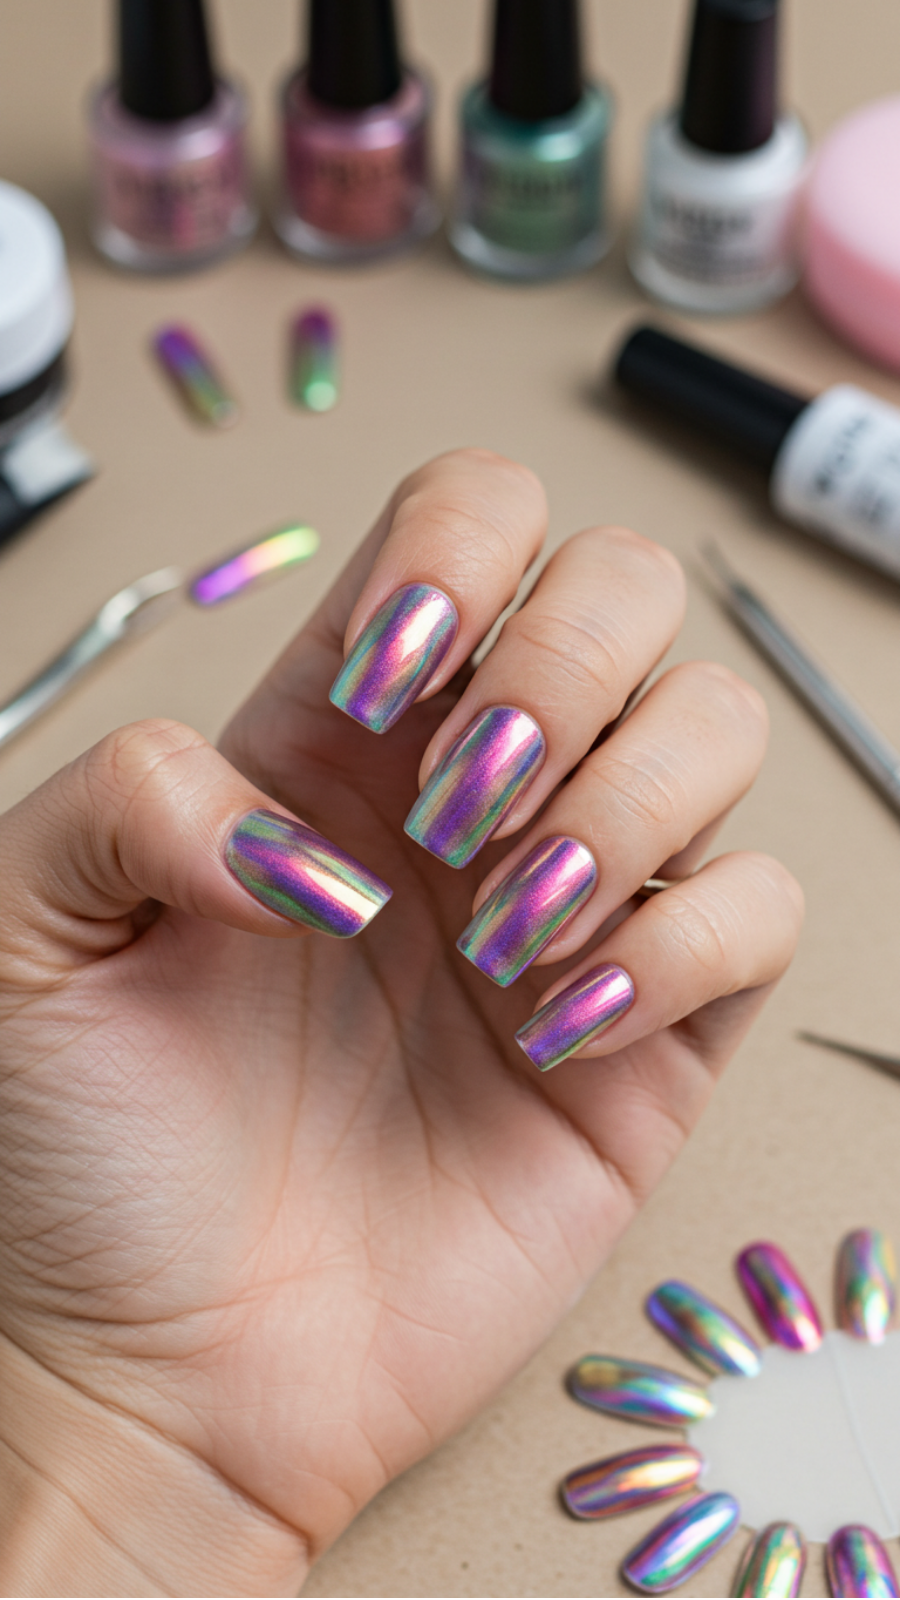
Chromatic Color Shifts: Explore Iridescent Nail Art Techniques
In the vibrant world of nail art, chromatic color shifts and iridescent techniques are at the forefront of current trends. These stunning styles transform your nails into a canvas of shifting hues, catching the light in mesmerizing ways. Whether you’re a seasoned nail art enthusiast or a beginner, understanding these techniques can elevate your manicure game.
Essential Techniques for Iridescent Nail Art
To achieve a breathtaking iridescent look, consider the following expert tips:
- Base Coat: Start with a clear or opaque base coat to create a smooth canvas.
- Color Selection: Choose a sheer polish or a holographic topcoat. Shades like teal, lavender, and peach create beautiful shifts.
- Layering: Apply multiple thin layers to build depth. This enhances the chromatic effect.
- Finish with Top Coat: Seal your design with a high-gloss top coat for longevity and shine.
Step-by-Step Guide
- Apply a base coat and let it dry completely.
- Using a sponge, dab on your chosen iridescent polish to create a gradient effect.
- After the color is set, apply a holographic topcoat for added depth.
- Finish with a glossy top coat to protect your design.
Common Mistakes to Avoid
To ensure your iridescent nail art turns out flawless, avoid these common pitfalls:
- Skipping the base coat can lead to uneven application.
- Applying thick layers may cause bubbling and uneven color.
- Neglecting to use a top coat can dull the iridescent finish.
By mastering these iridescent nail art techniques, you can create stunning looks that are sure to impress. Embrace the trend of chromatic color shifts and let your creativity shine!
5. Minimalist Nail Art: Clean Lines and Negative Space Designs
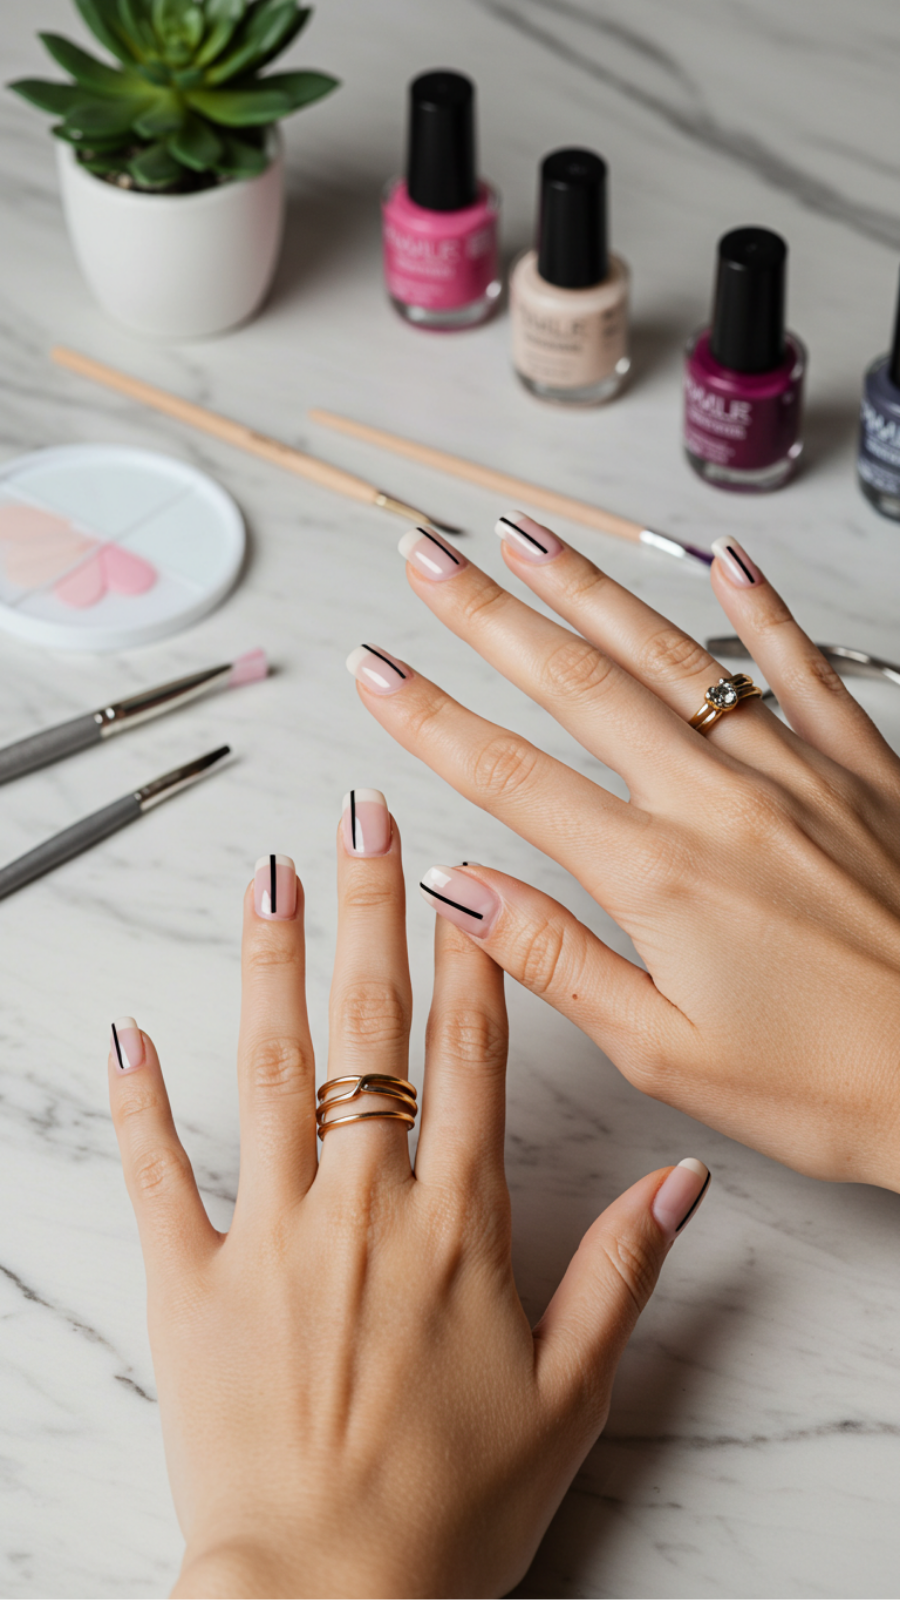
Minimalist Nail Art: Clean Lines and Negative Space Designs
Minimalist nail art is taking the beauty world by storm, emphasizing clean lines and negative space designs that exude elegance and sophistication. This style is perfect for those who appreciate simplicity and want to make a statement without overwhelming details.
Current Trends in Minimalist Nail Art
As of 2023, the trend is all about geometric shapes, monochromatic palettes, and strategic use of negative space. Think of thin stripes, delicate dots, and angular designs that create a chic look. Popular color choices include soft pastels, classic whites, and muted earth tones.
Step-by-Step Guidance for Perfecting Minimalist Nail Art
- Prep Your Nails: Start by cleaning, buffing, and moisturizing your nails.
- Choose Your Base Color: Apply a solid base coat in a neutral shade for a flawless look.
- Create Designs: Use a nail art brush or tape to create clean lines or shapes. Opt for negative space by leaving parts of your nail unpolished.
- Seal the Look: Finish with a top coat to enhance shine and longevity.
Expert Tips and Tricks
To achieve the best results, consider these expert tips:
- Use high-quality nail polish for smooth application.
- Practice your designs on paper before applying them to your nails.
- Ensure your tools are clean to avoid smudges.
Common Mistakes to Avoid
Many enthusiasts overlook the importance of nail prep, which can lead to chipping and uneven application. Additionally, overloading your brush with polish can result in messy lines. Always start with a thin coat and build up as needed.
Best Practices for Minimalist Nail Art
Embrace the beauty of less by focusing on quality over quantity. Keep your designs simple yet striking, and don’t shy away from experimenting with different shapes and negative space configurations. Remember, practice makes perfect!
6. Retro Revival: Vintage Nail Art Trends Making a Modern Comeback

Retro Revival: Vintage Nail Art Trends Making a Modern Comeback
As we embrace a nostalgic wave in fashion and beauty, vintage nail art trends are making a remarkable comeback. From classic florals to bold geometric patterns, retro styles are redefining modern nail aesthetics. Here’s how you can incorporate these trendy vintage designs into your nail care routine.
Current Trends in Nail Art
Today’s nail art enthusiasts are looking back at styles from the 1960s through the 1980s, where vibrant colors and unique shapes flourished. Key trends include:
- Polka dots and stripes reminiscent of the 60s
- Floral designs inspired by 70s boho vibes
- Neon colors and abstract patterns from the 80s
Expert Tips for Achieving Vintage Nail Art
Follow these steps to create stunning vintage-inspired nails:
- Prep Your Nails: Start with a clean, shaped nail. Use a base coat to prevent staining.
- Select Your Colors: Choose retro color palettes, such as pastel pinks or bold oranges.
- Design Application: Use nail tape for clean lines or dotting tools for polka dots. Layer your designs for depth.
- Finish with a Top Coat: Seal your artwork with a shiny top coat for lasting durability.
Common Mistakes to Avoid
To ensure your vintage nail art shines:
- Avoid overcrowding designs; keep it simple for a cleaner look.
- Don’t skip the base and top coats; they protect and enhance your art.
- Be mindful of drying time; rushing can smudge your designs.
Incorporating retro nail art into your beauty routine not only showcases your creativity but also allows you to express your unique style. Embrace this retro revival and let your nails tell a story of vintage elegance!
7. Metallic Foil Accents: Elevate Your Nail Game with Stunning Shimmers
Metallic Foil Accents: Elevate Your Nail Game with Stunning Shimmers
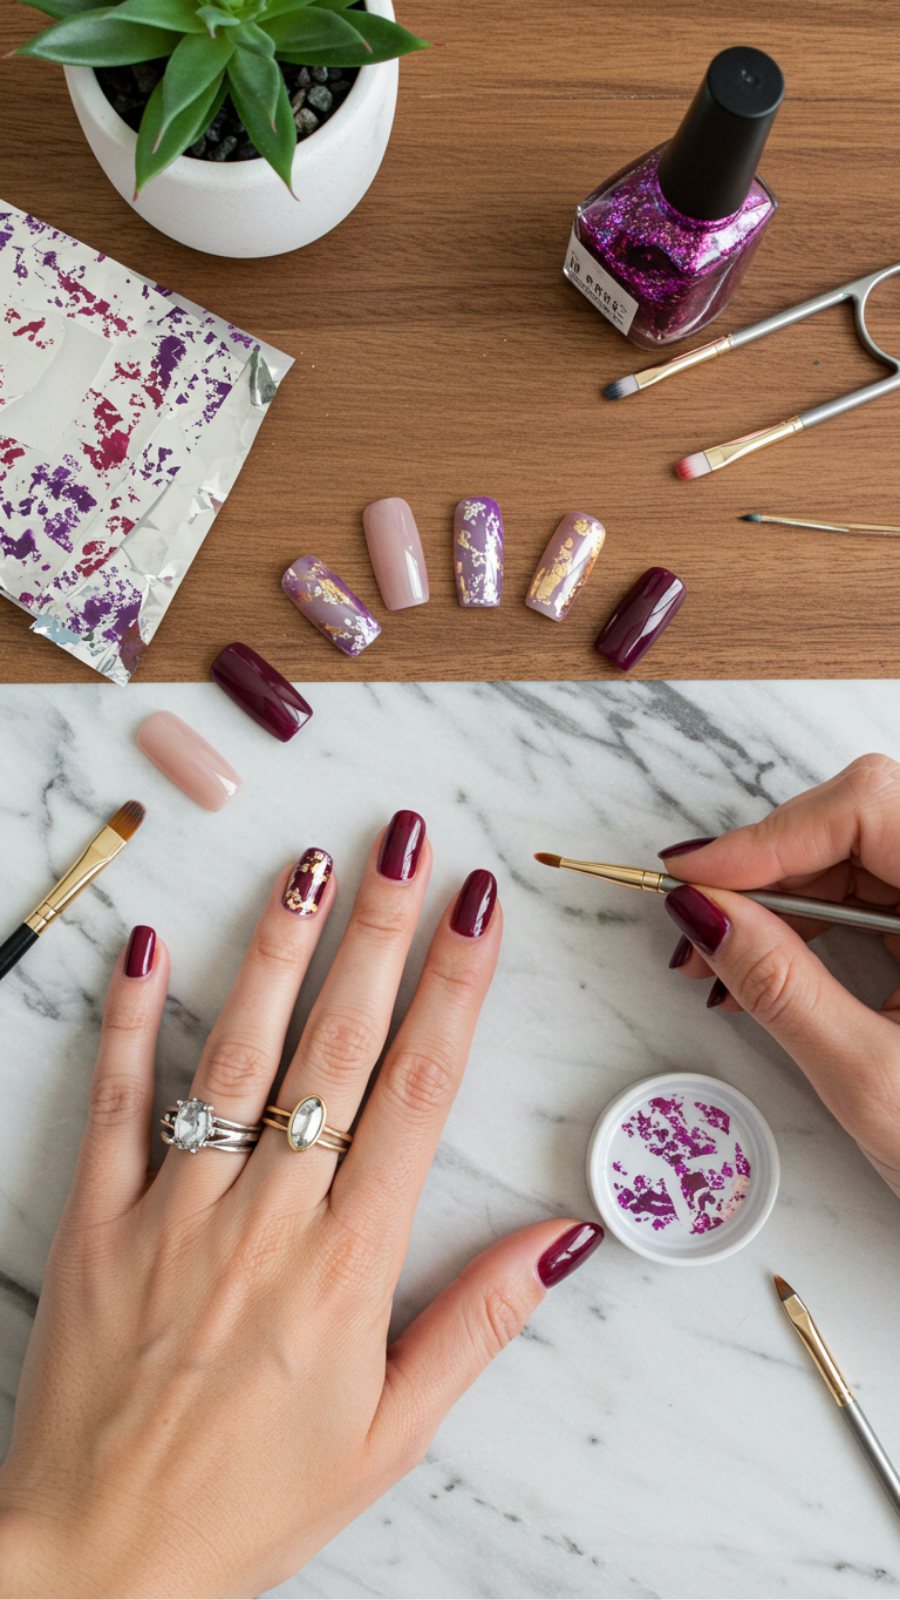
Metallic foil accents are taking the nail art world by storm, offering a way to add vibrant shimmers and eye-catching designs to your manicure. Whether you’re preparing for a night out or just want to elevate your everyday look, incorporating metallic foils into your nail art can create stunning results. Here’s how to master this trend.
Step-by-Step Guide to Applying Metallic Foil
- Prep Your Nails: Start by cleaning your nails and trimming them to your desired length. Apply a base coat to protect your nails and enhance adhesion.
- Choose Your Base Color: Opt for a solid color nail polish that complements your foil. Neutral shades work well, but don’t shy away from bold hues!
- Apply the Foil Adhesive: Once your base color is dry, apply a thin layer of foil adhesive. Allow it to become tacky but not completely dry.
- Apply the Metallic Foil: Gently press pieces of metallic foil onto the adhesive with a tweezers or your fingers. You can create various designs, from full coverage to abstract accents.
- Seal with Top Coat: Finish your design with a clear top coat to protect your foil and add shine.
Expert Tips and Common Mistakes
To achieve the best results with metallic foil accents, consider these expert tips:
- Use high-quality foils for vibrant colors and better adherence.
- Avoid overloading with adhesive; a thin layer works best.
- Practice your technique on a nail wheel before applying to your own nails.
Some common mistakes to avoid include:
- Applying foil to wet polish, which can lead to smudging.
- Skipping the top coat, which can cause the foil to lift or dull.
With these tips, you can effortlessly incorporate metallic foil accents into your nail art routine, ensuring your manicure is always on trend and full of life!
8. Mood Ring Nails: Color-Changing Gel Polishes for 2025
Mood Ring Nails: Color-Changing Gel Polishes for 2025
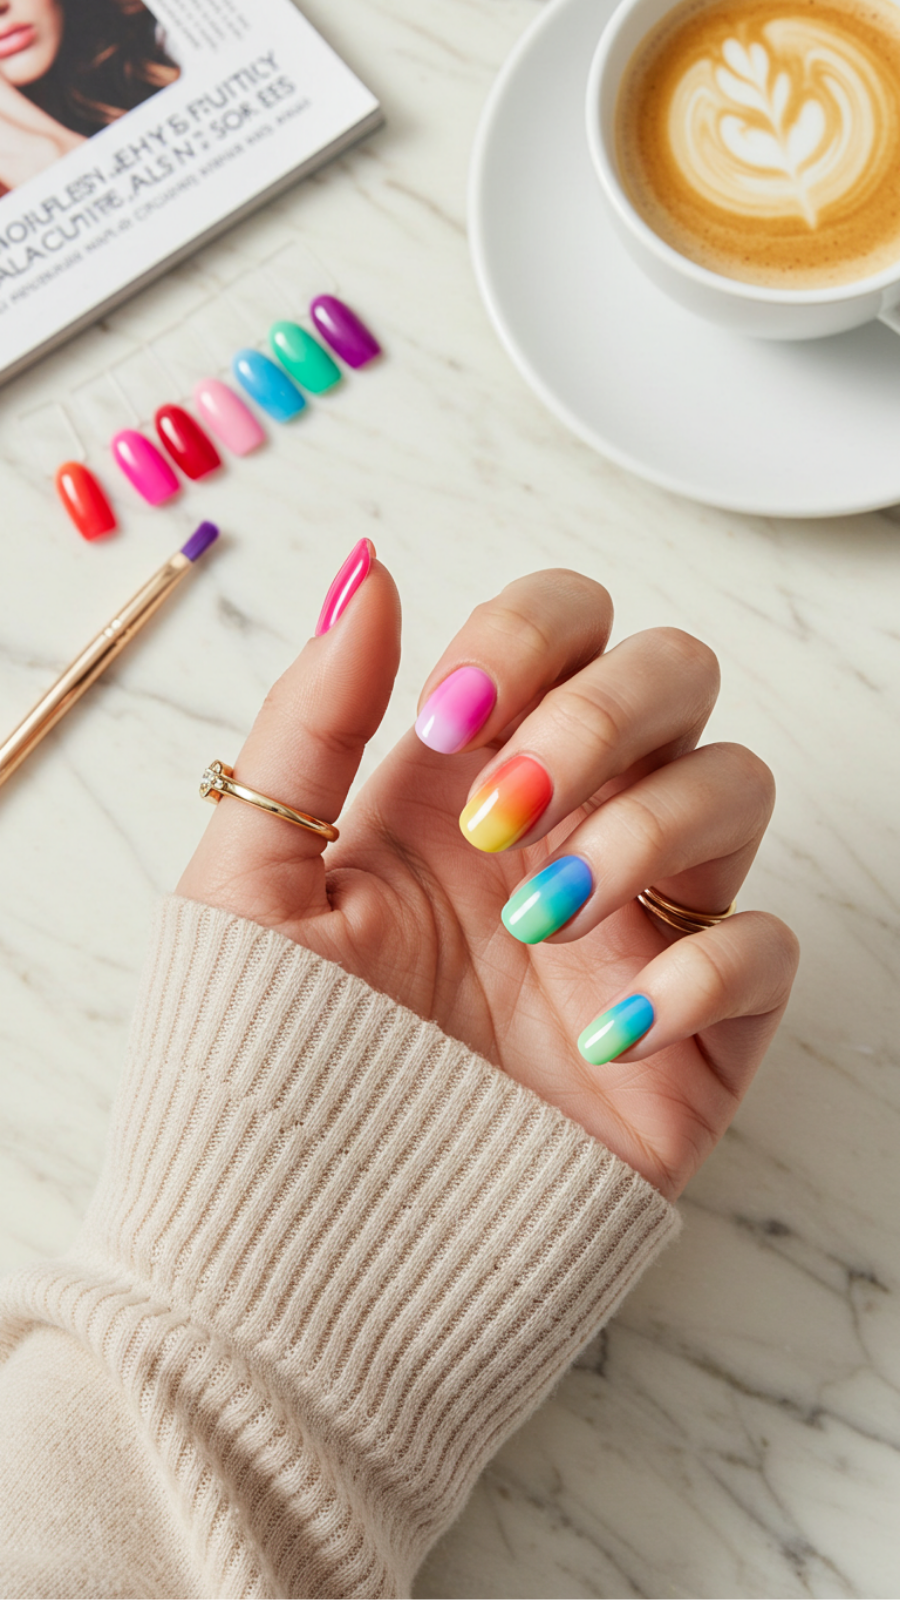
As we step into 2025, one of the most exciting trends in nail art is the resurgence of mood ring nails. These innovative color-changing gel polishes are designed to react to your body temperature, creating a dynamic nail art experience that is both fun and fashionable. This guide will delve into how to achieve the perfect mood ring nails, along with expert tips to make your manicure stand out.
Step-by-Step Guide to Achieving Mood Ring Nails
- Prep Your Nails: Start with clean, dry nails. Push back your cuticles and buff the surface for a smooth canvas.
- Base Coat: Apply a quality base coat to protect your natural nails and improve adherence.
- Choose Your Gel Polish: Select a high-quality mood-changing gel polish. Look for brands with good reviews to ensure color vibrancy.
- Application: Apply two coats of the mood gel polish, ensuring even coverage. Cure each layer under a UV/LED lamp for the recommended time.
- Top Coat: Finish with a gel top coat to seal in the color and add shine. Cure again to set.
Expert Tips and Tricks
- Temperature Sensitivity: Remember that these polishes change color based on body temperature. Keep your hands warm to activate vibrant hues.
- Layering Colors: Experiment with layering different shades. This can create unique transitions and personalized designs.
- Maintenance: Use cuticle oil regularly to keep your nails healthy and prolong the life of your manicure.
Common Mistakes to Avoid
While applying mood ring nails, avoid these pitfalls:
- Skipping the base coat, which can lead to staining.
- Over-curing the gel polish, resulting in a brittle finish.
- Neglecting to properly clean your tools, which can impact the polish’s application.
Incorporating mood ring nails into your beauty routine not only aligns with the latest trends but also allows for a unique expression of your personality. Embrace the vibrant colors and enjoy a manicure that truly reflects your mood!
9. Nail Art with Purpose: Integrating Wellness into Your Manicure
Nail Art with Purpose: Integrating Wellness into Your Manicure
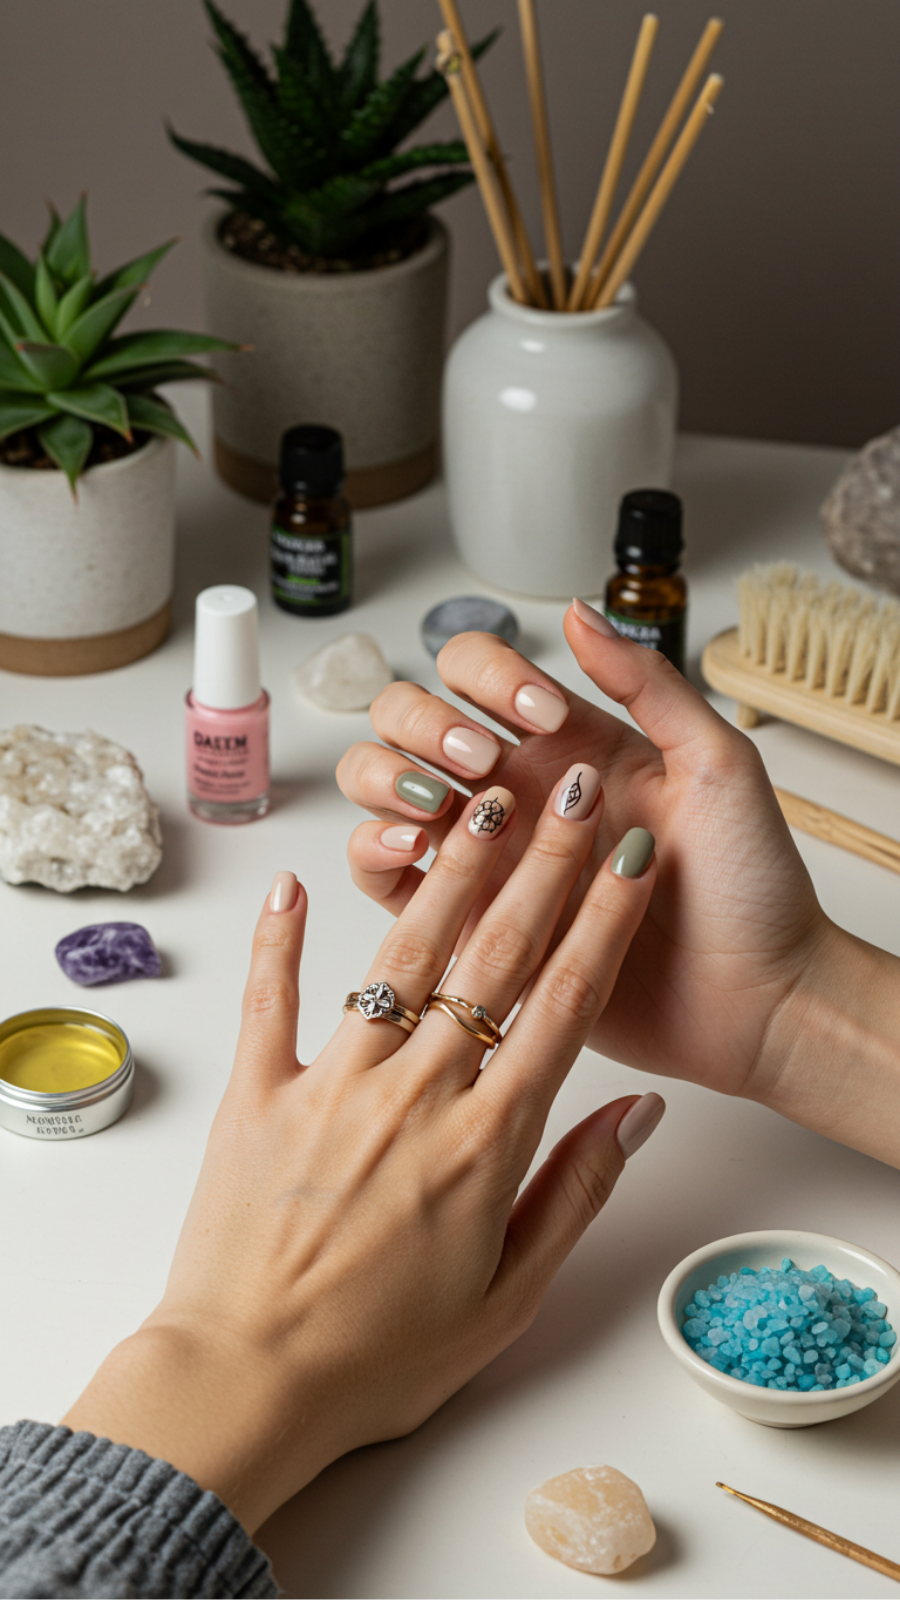
Nail art has transcended mere aesthetics; it now incorporates elements of wellness, offering not just beauty but also benefits for mental and physical well-being. By integrating wellness into your manicure, you can create a personal ritual that enhances relaxation and self-care.
Current Trends in Wellness Nail Art
One of the most exciting trends is the use of aromatherapy nail polish. These polishes are infused with essential oils that promote relaxation or invigoration, depending on your mood. Another popular approach is mindful nail art, where designs are inspired by affirmations or calming visuals, helping to center your thoughts.
Step-by-Step Guidance for a Wellness Manicure
- Choose the Right Products: Opt for organic polishes that are free from harmful chemicals. Look for brands that emphasize wellness.
- Prep Your Nails: Start with a gentle soak in warm water infused with a few drops of lavender oil to relax and soften your cuticles.
- Design Your Art: Create simple yet meaningful designs, such as stripes or dots representing your goals or keywords that inspire you.
- Finish with a Top Coat: Seal your design with a nourishing top coat that includes vitamin E or aloe vera for added hydration.
Expert Tips and Common Mistakes
- Stay Hydrated: Drink plenty of water before and after your manicure to keep your nails healthy.
- Avoid Over-Shaping: Don’t file your nails excessively, as it can lead to brittleness.
- Limit Exposure: Protect your nails from harsh chemicals in cleaning products by wearing gloves.
By following these best practices, you can achieve a stunning manicure that not only looks great but also supports your overall well-being. Remember, your nails are an extension of your self-care routine—embrace the art of wellness!
10. Augmented Reality Nail Art: The Digital Future of Nail Design
Augmented Reality Nail Art: The Digital Future of Nail Design
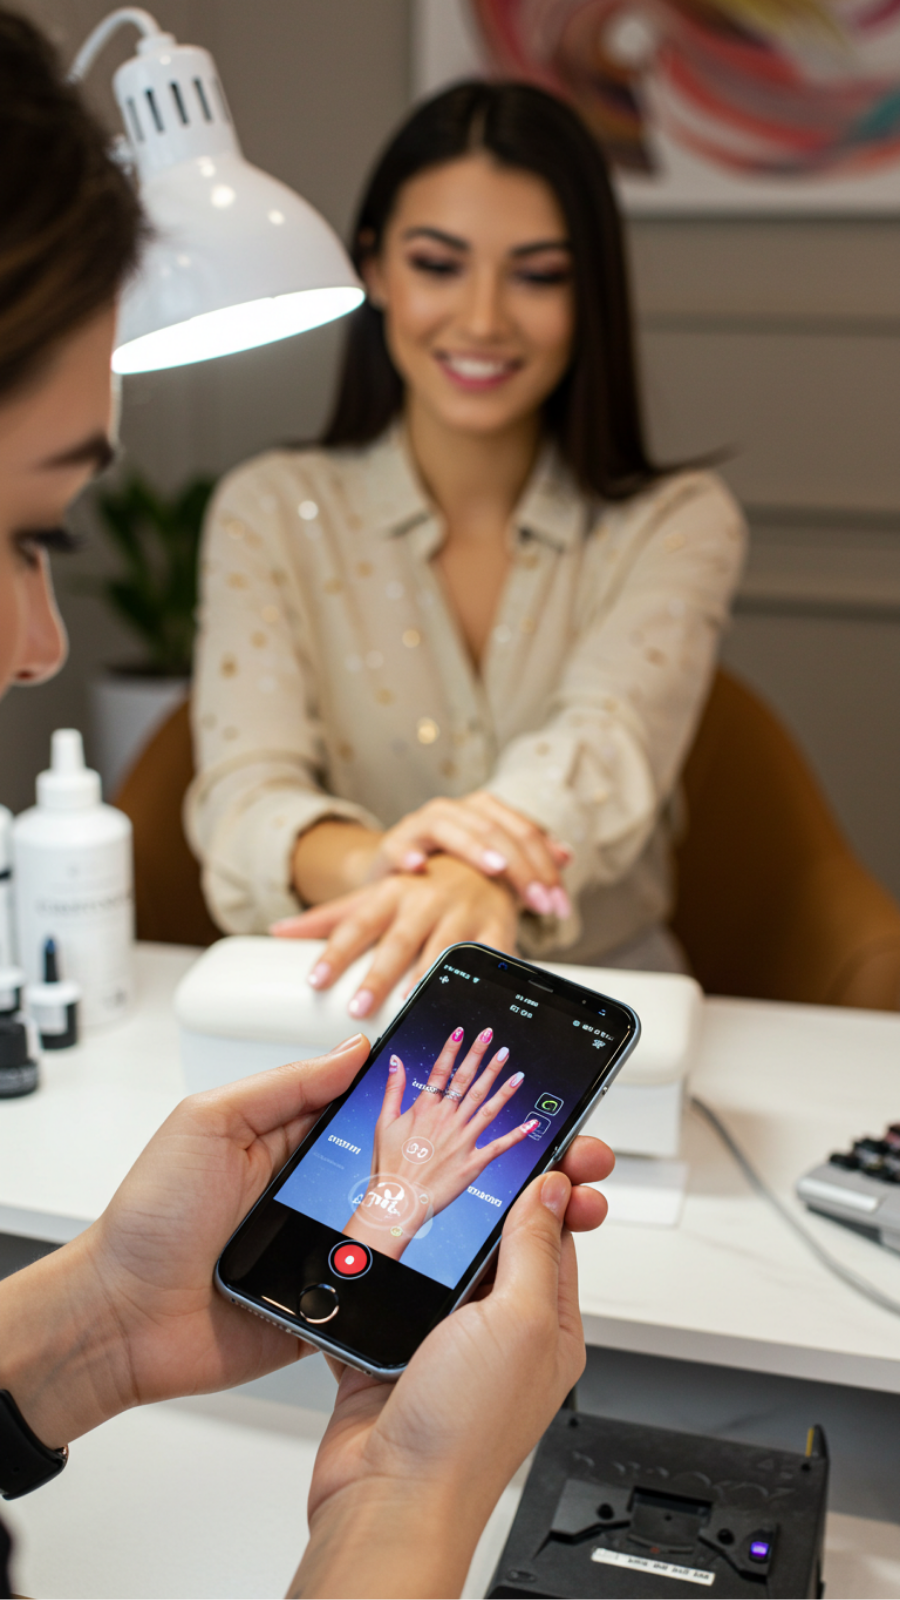
As the beauty industry embraces technology, augmented reality nail art is revolutionizing how we approach nail design. This innovative technique allows users to visualize intricate nail designs in real-time, eliminating the guesswork and enhancing creativity.
Current Trends in Augmented Reality Nail Art
Today’s trends include customizable patterns, 3D effects, and even animated designs. Popular AR applications, like Paintbox and ModiFace, let users try various styles virtually before committing. This is particularly beneficial for special occasions such as weddings or holidays.
Step-by-Step Guidance for Using AR Nail Art
- Download an AR Nail Art App: Choose a reputable app that offers a wide range of designs.
- Upload a Clear Photo: Capture a well-lit image of your nails for accurate visualization.
- Select Your Design: Browse through various styles and choose one that resonates with your personality.
- Visualize: Use the AR feature to see how the design looks on your nails in real-time.
- Experiment: Don’t hesitate to try multiple designs until you find the perfect match!
Expert Tips and Common Mistakes to Avoid
- Tip: Ensure your nails are clean and well-groomed for the best visual results.
- Tip: Use natural lighting to enhance the accuracy of the AR experience.
- Mistake to Avoid: Forgetting to align the camera properly can distort the design.
- Mistake to Avoid: Overlooking the nail shape; certain designs may not suit all nail types.
Best Practices for a Flawless AR Nail Art Experience
For optimal results, regularly update your AR app to access the latest features and designs. Additionally, consider sharing your AR nail art creations on social media to inspire others and stay updated on emerging trends.
Embrace the future of nail design with augmented reality and unleash your creativity like never before!
Frequently Asked Questions
How can I create sustainable nail art at home?
To create sustainable nail art, start by using eco-friendly nail polishes that are free from harmful chemicals. Look for brands that prioritize biodegradable ingredients and consider using reusable tools, like silicone nail art brushes. This not only helps the environment but also ensures your nail art is trendy and chic.
What are biodegradable nail wraps and why are they important?
Biodegradable nail wraps are a sustainable alternative to traditional nail stickers, made from plant-based materials that decompose over time. They are important because they reduce plastic waste in landfills and oceans, making your nail art not just stylish but responsible. Opt for these wraps to stay on-trend while caring for the planet.
What are some tips for achieving textured nail designs?
To achieve stunning textured nail designs, try using 3D nail art products like beads, foils, or gel polishes that create dimension. Ensure your base coat is dry before applying textures to prevent smudging. Experiment with layering different textures for a bold statement that reflects your personal style.
How do I master chromatic color shifts in nail art?
Mastering chromatic color shifts involves using iridescent or holographic nail lacquers that change colors depending on the light angle. Apply a base coat first, then layer the color-shifting polish, allowing it to dry between coats for maximum effect. Finish with a glossy top coat to enhance the iridescence and protect your nail art.
Why should I consider minimalist nail art for my next manicure?
Minimalist nail art is a timeless trend that emphasizes clean lines and negative space, making it perfect for any occasion. This style often requires less time and fewer products, making it both cost-effective and low-maintenance. Additionally, its simplicity can allow for more creativity in designs, making it an ideal choice for those who appreciate understated beauty.

